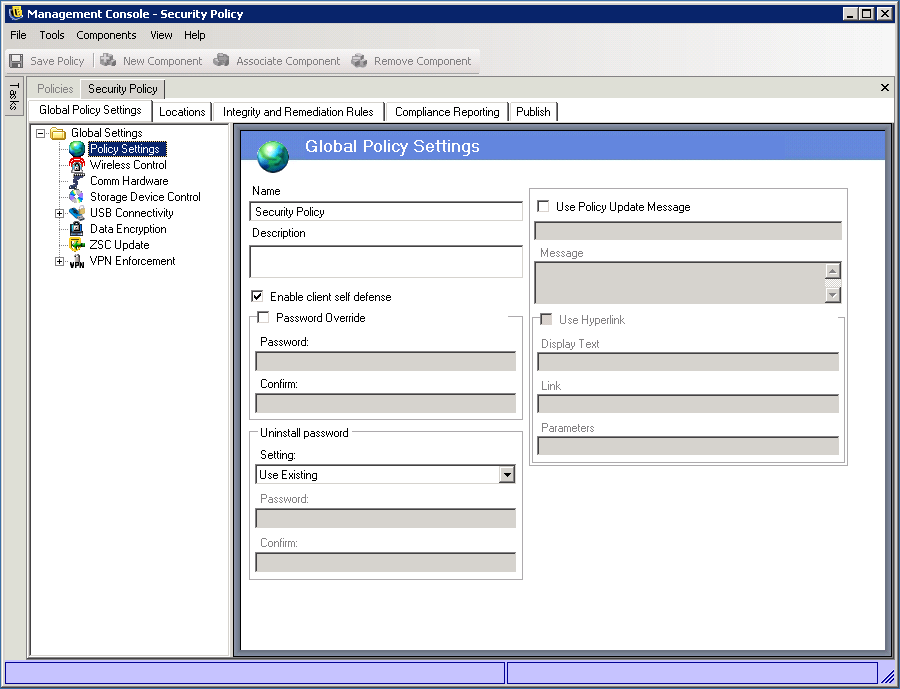
10.2 Policy Settings
The Policy Settings include general settings for the Security Client. To configure the settings:
-
Make sure the policy you want to configure is open in the Management Console (see Section 10.1, Accessing the Global Settings).
-
On the tab, click .
-
Configure the settings as desired:
-
Name and Description: The policy name was specified at the beginning of the policy creation process. You can edit the name or provide a description of the policy.
-
Enable client self defense: Client Self Defense can be enabled or disabled by policy. Leaving this box checked ensures that Client Self Defense is active. Unchecking the box deactivates Client Self Defense for all endpoints using this policy.
-
Password Override: This feature allows an administrator to set a password override that temporarily disables the policy for a specified period of time. Select the box and enter the password in the provided field. Enter the password again in the confirmation field. Use this password in the Override Password Generator to generate the password key for this policy.
WARNING:End users should not be given this password. Instead, you should use the Override Password Generator to generate a temporary key for them.
-
Uninstall Password: To effectively implement Client Self Defense, you need to control the uninstalling of the Security Client. We strongly recommend that every Security Client be installed with an uninstall password to prevent users from uninstalling the software. This password is normally configured at installation; however, the password can be updated, enabled, or disabled via a policy.
-
The default setting is , which will not change the uninstall password specified at installation.
-
is used to either activate an uninstall password or to change it. Enter the new password and confirm it.
-
is used to deactivate the uninstall password requirement.
-
-
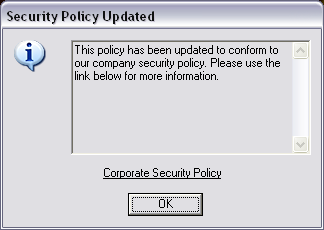
Use Policy Update Message: You can display a custom user message whenever the policy is updated. Click the check box, then specify the message information in the provided boxes. The following is an example of the dialog box displayed to the user.
-
Use Hyperlink: You can include a hyperlink to additional information, corporate policy, or other related information at the bottom of the custom message.
-
-
Click to save your changes.