Novell Vibe Desktop for Windows
You can synchronize your Novell Vibe files with your computer, then modify the files without accessing the Vibe site directly. Additions and modifications are synchronized between Vibe and your computer. If you delete a Vibe file from your desktop, it is not deleted in Vibe, and is synchronized back to your desktop at the next synchronization.
Your Vibe administrator must enable this functionality in order for it to be available. For information on how administrators can enable this functionality, see Configuring Vibe Desktop and the Microsoft Office Add-In
in the Novell Vibe 3.3 Administration Guide.
1.0 Getting Started
1.1 Understanding Synchronization
When Synchronization Occurs
Synchronization occurs at an interval designated by your Vibe administrator. The default is every 15 minutes.
You can manually synchronize files if you do not want to wait for the scheduled synchronization. For more information, see Manually Synchronizing Files.
Which Folders Are Synchronized
Only files in Files folders and Photo Album folders within your personal workspace are synchronized by default.
You can easily configure files in Files folders and Photo Album folders within your teams or followed places to be synchronized, as described in Synchronizing Your Teams and Favorite Places.
It is possible to configure other types of Vibe folders (such as Blog folders or Wiki folders) within your personal workspace, team workspaces, or followed places to be synchronized. For information on how to accomplish this, see Configuring Folders to Be Synchronized.
What Actions Are Supported
When you perform any of the following actions on documents, the action is synchronized between your computer’s file system and the Vibe server:
-
Create documents
-
Modify documents
What Actions Are Not Supported
In order to prevent you from inadvertently making changes on the Vibe server that you do not want to make, the following actions are not synchronized between your computer’s file system and the Vibe server:
-
Delete documents
-
Delete folders
-
Create folders
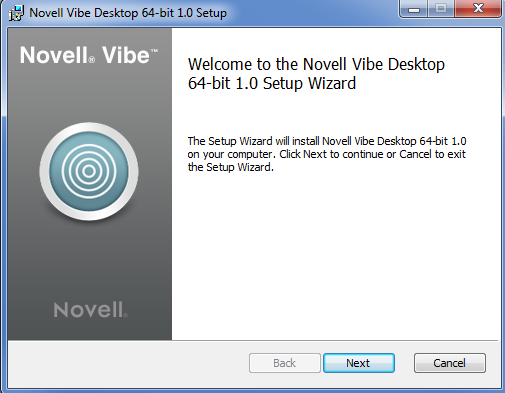
1.2 Downloading and Installing Vibe Desktop
-
On your personal workstation, download Vibe Desktop from the Novell Downloads Web site.
-
Run the downloaded NovellVibeDesktop-x86-version.msi file or NovellVibeDesktop-x64-version.msifile, depending on whether you have a 32-bit or 64-bit operating system.
-
Click .
-
Accept the license agreement, then click .
-
Change the installation location for Vibe Desktop, or simply click to accept the default location.
-
Click .
-
Click when the installation is complete, then continue with Configuring Vibe Desktop for the First Time.
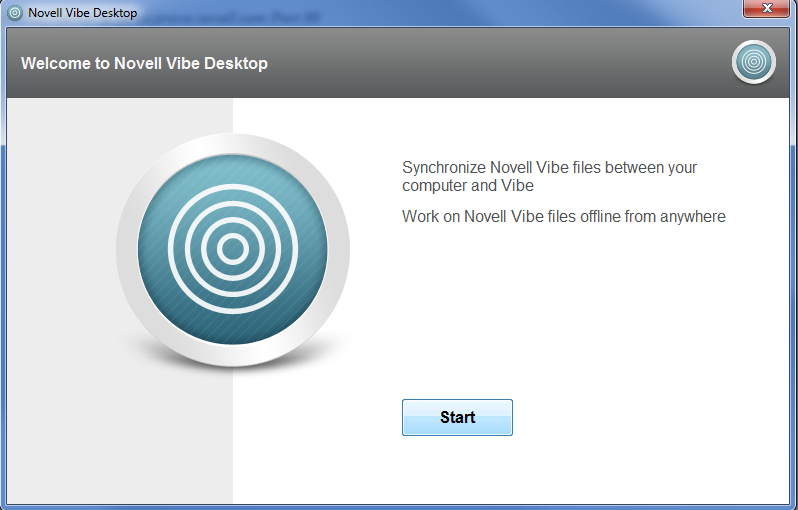
1.3 Configuring Vibe Desktop for the First Time
After you have downloaded and installed Vibe Desktop for the first time as described in Downloading and Installing Vibe Desktop, you are prompted to configure it. This process includes entering account information, choosing which workspaces and folders to synchronize, and choosing where to store information on your computer’s file system.
-
Click to begin setting up Vibe Desktop.
-
In the section, specify the following information:
Server URL: Specify the URL for the Vibe site where you want to synchronize files to your computer. For example, https://vibe.mycompany.com.
Username: Specify the Vibe username that you use to log in to the Vibe site.
Password: Specify the Vibe password that you use to log in to the Vibe site.
-
Click .
-
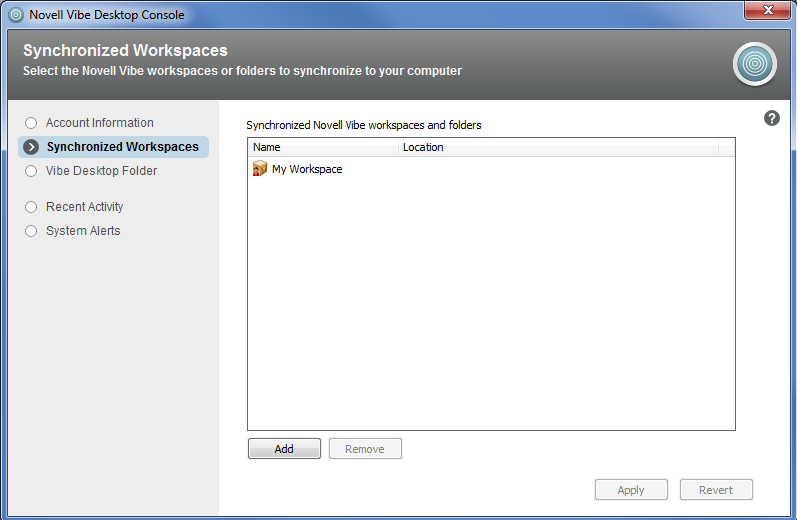
In the section, click , select which folders and workspaces you want to synchronize, then click .
Files folders and Photo Album folders within your personal workspace are synchronized by default. You can select Files folders and Photo Album folders in your teams or followed places to be synchronized. For more information about how to enable other kinds of folders to be synchronized, see Configuring Folders to Be Synchronized.
-
Click .
-
In the section, click if you want to change the installation location for Vibe Desktop, or simply click to accept the default location.
-
Click .
Vibe Desktop is now running, and the icon
 is visible in the notification area.
2.0 Viewing Vibe Files from Your Computer
-
Double-click the icon
in the notification area.
or
Right-click the icon
in the notification area, then click .
You can access the Vibe folder directly from your file system. By default, Vibe Desktop synchronizes Vibe files to the Vibe Desktop folder on your file system, which is typically in the following location, depending on your operating system:
-
Windows 7 or Vista: c:\Users\username\Vibe
-
Windows XP: c:\Docuents and Settings\username\My Documents\Vibe
On Windows Vista, the Vibe folder is also located in your Favorites.
On Windows 7, the Vibe folder is also located in your Favorites and in your Libraries.
For information on how to change the default location, see Changing the Vibe Desktop Location on Your File System.
You should not synchronize files to a location on a network that can be accessed by multiple computers. If the Vibe Desktop folder is on a network location that is accessed by multiple computers, synchronization issues can occur when Vibe files accessed from either computer are out of sync with each other and with the Vibe server.
3.0 Manually Synchronizing Files
You can manually synchronize files between Vibe and your computer if you do not want to wait for the scheduled synchronization. Files must be closed before they can be synchronized.
-
Right-click the icon
in the notification area, then click .
4.0 Launching Vibe in a Browser from Vibe Desktop
You can launch Novell Vibe in a browser by using Vibe Desktop.
-
Right-click the icon
in the notification area, then click .
5.0 Viewing Recent Activity
You can use Vibe Desktop to view activity that has recently taken place. For example, you can see the date and time that Vibe folders were synchronized, which files were modified, and so forth.
To view recent Vibe Desktop activity:
-
Right-click the icon
in the notification area, then click .
-
Click .
6.0 Viewing System Alerts
Vibe Desktop might need to make you aware of various alerts, such as new software updates, expired passwords, server downtime, and so forth.
To view system alerts:
-
Right-click the icon
in the notification area, then click .
-
Click .
7.0 Synchronizing Your Teams and Favorite Places
When you first configure Vibe Desktop, you can choose workspaces and folders in your teams or favorite places to synchronize. You can also configure Vibe Desktop to synchronize files in your teams and favorite places any time after the initial configuration.
Before you can synchronize favorite workspaces and folders, you must ensure that the workspaces and folders that you want to synchronize have been added as favorites in Vibe. For information on how to add a workspace or folder as a favorite, see Adding a Favorite Place
in the Novell Vibe 3.3 User Guide.
To configure your teams and favorite places in Vibe to be synchronized to your computer:
-
Right-click the icon
in the notification area, then click .
-
Click to display the workspaces that are currently being synchronized.
-
Click .
-
Expand and , then select the workspace or folder that you want to be synchronized to your computer.
By default, only Files folders and Photo Album folders can be synchronized. Folders that are dimmed cannot be selected by default. For information on how to configure these folders to be synchronized, see Configuring Folders to Be Synchronized.
-
Click .
8.0 Configuring Folders to Be Synchronized
8.1 Synchronizing Files Folders and Photo Album Folders
Files folders and Photo Album folders can be easily synchronized to your computer with Vibe Desktop because they require each file to have a unique name. For more information on how to synchronize Files folders and Photo Album folders that are not already synchronized, see Synchronizing Your Teams and Favorite Places.
8.2 Synchronizing Mirrored Files Folders and Micro-Blog Folders
Synchronizing Mirrored Files folders and Micro-Blog folders is not supported in this release of Vibe Desktop.
8.3 Synchronizing All Other Folder Types
Some types of Vibe folders such as Blog folders and Wiki folders must first be configured in Vibe in order to be synchronized with Vibe Desktop because by default these types of folders allow you to add multiple files with the same name to a single folder. Synchronizing folders that have multiple files with the same name would be confusing in Vibe Desktop because when you view a folder through Vibe Desktop, you see only the files that are within the folder and not the entries that contain each file.
You can configure folders such as Blog folders to require unique filenames if you have rights to edit the folder in Vibe. After you configure a folder in this way, you can then synchronize the folder to your computer with Vibe Desktop.
-
When you access Vibe from your browser, navigate to the folder that you want to configure to support Vibe Desktop.
-
Click > in the Action toolbar.
-
Near the bottom of the page, select .
-
Click .
9.0 Changing the Vibe Desktop Location on Your File System
By default, Vibe Desktop is installed in the c:\Users\username\Vibe folder on your file system.
The Vibe folder contains a folder that is named after the Vibe account name that you created when you first configured Vibe Desktop, as described in Configuring Vibe Desktop for the First Time. This folder contains all of your synchronized files. To quickly access this folder, follow the steps in Viewing Vibe Files from Your Computer.
When you first configure Vibe Desktop, you can specify the installation location on your file system. You can change the location of the Vibe folder at any time after initial configuration:
-
Right-click the icon
in the notification area, then click .
-
Click , then click to browse to the new location on the file system where you want the Vibe folder to reside.
-
Click > .
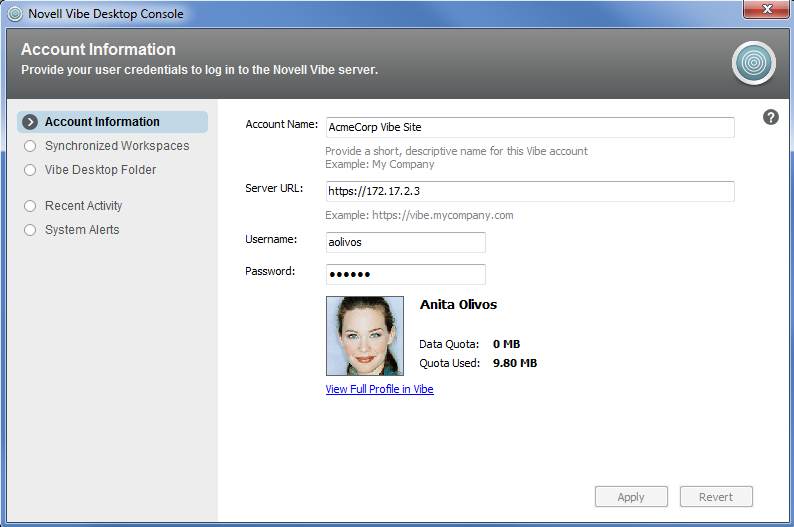
10.0 Changing Your Vibe Account Information for Vibe Desktop
When you first configure Vibe Desktop, you specify your account information and Vibe server information. You can change your Vibe Desktop account information and Vibe server information at any time after the initial configuration:
-
Right-click the icon
in your notification area.
-
Click .
-
Click in the Novell Vibe Desktop Console dialog box.
-
Specify the following information:
Account Name: Specify a descriptive name for the Vibe account. A folder with this name is created in your user directory in the file system.
Server URL: Specify the URL for the Vibe site where you want to synchronize files to your computer. For example, https://vibe.mycompany.com.
Username: Specify the Vibe username that you use to log in to the Vibe site.
Password: Specify the Vibe password that you use to log in to the Vibe site.
-
Click .
11.0 Uninstalling Novell Vibe Desktop
If you have upgraded Vibe Desktop since the beta release, you might want to uninstall Vibe Desktop before you install the shipping version. Complete the following sections to completely uninstall Vibe Desktop:
11.1 Uninstalling Vibe Desktop from the Windows Control Panel
-
Click the icon, then click .
-
Click > .
-
Select > .
11.2 Deleting the Vibe Directory
The location of the Vibe directory differs depending on your operating system:
Windows Vista or Windows 7: UserProfile\AppData\Local\Novell\Vibe
Windows XP: UserProfile\Local Settings\Application\Data\Novell\Vibe
11.3 Deleting Registry Keys
-
Click the icon, then click .
If Run does not appear, type Run in the field, then press Enter.
-
Type regedit, then click .
-
Delete the following registry keys if they exist:
-
\\HKEY_CURRENT_USER\Software\Novell\Vibe Desktop
-
\\HKEY_LOCAL_MACHINE\Software\Novell\Vibe Desktop
-
11.4 Deleting Credentials
NOTE:These credentials are shared with the Novell Vibe Add-in for Microsoft Office. If you are running the Vibe Add-in, you should not delete these credentials.
On Windows Vista and Windows 7
-
Click the icon, then click .
-
Click > .
-
Remove credentials beginning with Novell.Collaboration.Vibe.
On Windows XP
-
Click , then click .
-
Double-click .
-
Click the user account that you are logged in as.
-
Click .
-
Remove credentials beginning with Novell.Collaboration.Vibe.
12.0 Viewing Vibe Desktop Logs
If Vibe files are not being downloaded to your workstation as you expect, or you are experiencing other unexpected behaviors, you can see the vibedesktop.log file for more information.
-
Open Windows Explorer.
-
In the Windows Explorer address bar (this is the field at the top of the explorer window that shows you a breadcrumb view to your current location), type or paste the following address:
%USERPROFILE%\Local Settings\Application Data\Novell\Vibe Desktop
-
In the Vibe Desktop folder, open the vibedesktop.log file.
13.0 Vibe Desktop FAQ
See the Vibe Desktop FAQ for a list of frequently asked questions and answers.
14.0 Known Issues
For a list of known issues, see the Novell Vibe Desktop Readme.
15.0 Legal Notices:
Copyright © 2012 Novell, Inc. All rights reserved. No part of this publication may be reproduced, photocopied, stored on a retrieval system, or transmitted without the express written consent of the publisher. For Novell trademarks, see the Novell Trademark and Service Mark list. All third-party trademarks are the property of their respective owners.