Environment
Windows 2000 SP4
Windows 2003 SP1
Situation
Resolution
Introduction:
The purpose of this document is to describe in detail of how to set up the eSecurity service logon account as NT AUTHORITY\NetworkService instead of a Domain user account.
A service must log on to an account to access resources and objects on the operating system. If you select an account that does not have permission to log on as a service, the Services snap-in automatically grants that account the user rights that are required to log on as a service on the computer that you are managing. However, this does not guarantee that the service will start. It is recommended that the user accounts that are used to log on as a service have the Password never expires check box selected in their properties dialog box and that they have strong passwords. If account lockout policy is enabled and the account is locked out, the service will malfunction
The following table describes the service logon accounts and how they are used.
Logon account | Description |
Local System account | The Local System Account is a powerful account that has full access to the system, including the directory service on domain controllers. If a service logs on to the Local System account on a domain controller, that service has access to the entire domain. Some services are configured by default to log on to the Local System account. Do not change the default service setting. Local System account - A predefined local account that is used to start a service and provide the security context for that service. The name of the account is NT AUTHORITY\System. This account does not have a password, and any password information that you supply is ignored. The Local System account has full access to the system, including the directory service on domain controllers. Because the Local System account acts as a computer on the network, it has access to network resources. |
Local Service account | The Local Service Account is a special, built-in account that is similar to an authenticated user account. The Local Service account has the same level of access to resources and objects as members of the Users group. This limited access helps safeguard your system if individual services or processes are compromised. Services that run as the Local Service account access network resources as a null session with no credentials. Local Service account – A predefined local account that is used to start a service and provide the security context for that service. The name of the account is NT AUTHORITY\LocalService. The Local Service account has limited access to the local computer and Anonymous access to network resources. |
Running a service in the context of a user logon account has the following disadvantages:
- The account must be created before the service can run. If the setup program for the service creates the account, Setup must run from an account that has sufficient administrative credentials to create accounts in the directory service.
- Service account names and passwords are stored on each computer on which the service is installed. If the password for a service account on a computer is changed or expires, the service cannot start on that computer until the password is set to the new password for that service. The recommendation is to use LocalService and Network Service instead of using an account that requires a password: this simplifies password management.
- If a service account is renamed, locked out, disabled, or deleted, the service cannot start on that computer until the account is reset.
Due to the above disadvantages, we are testing out running eSecurity service under NT AUTHORITY\NetworkService account. NT AUTHORITY\LocalSercie account does not have enough privilege for this purpose, since DAS processes need to communicate to database server on the network.
Steps to set up NT AUTHORITY\NetworkService as the logon account for eSecurity service.
Set up from database side
In order to use NT AUTHORITY\NetworkServices, we need to add the machine which runs eSecurity Service as a login account to ESEC and ESEC_WF database instances.
As an example, here are the steps to add esecurity\tstwin8 as a login to database server on tstwin2.
Open up SQL Server Enterprise Manager. Click on Security -> Logins.
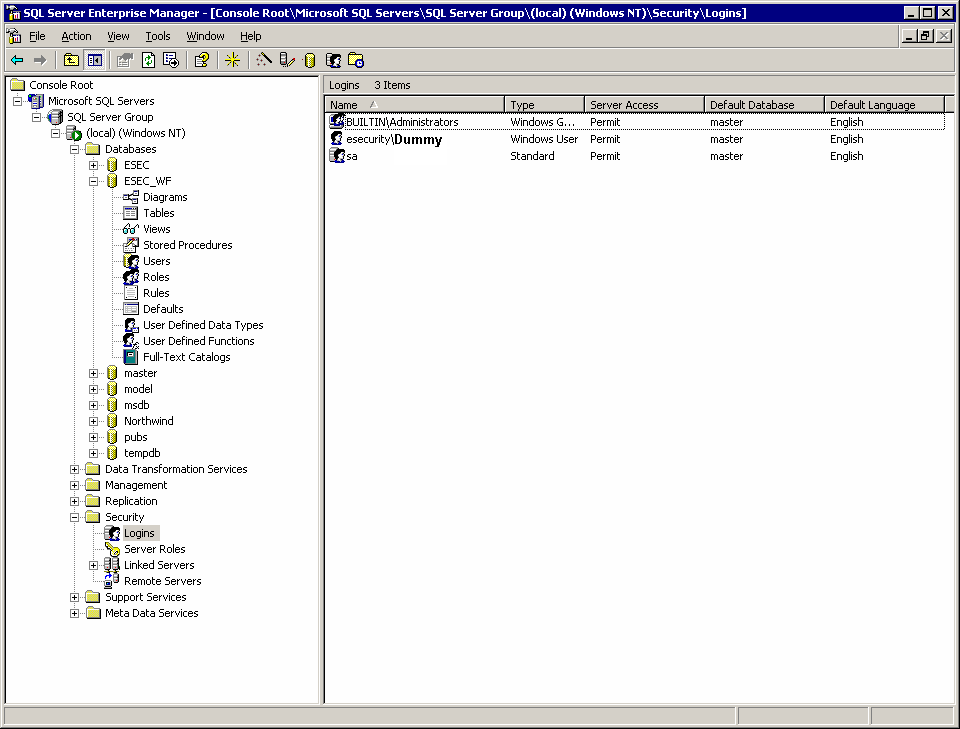
Right click on Logins -> New login…
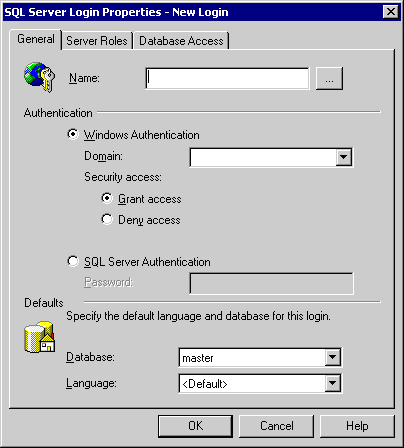
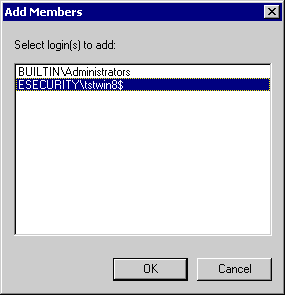
Click on the browse button by Name, the following window will pop up
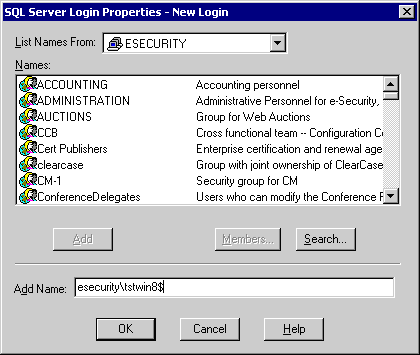
in Add Name entry type in esecurity\tstwin8$, Click on OK
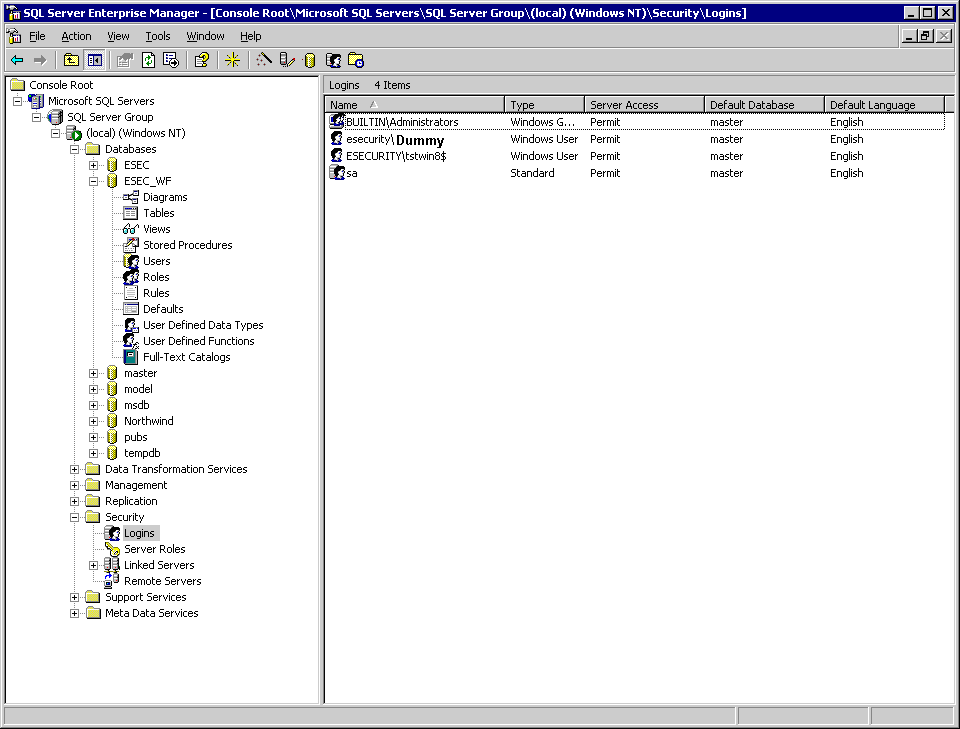
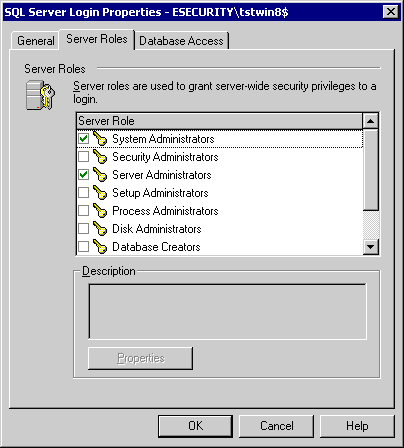
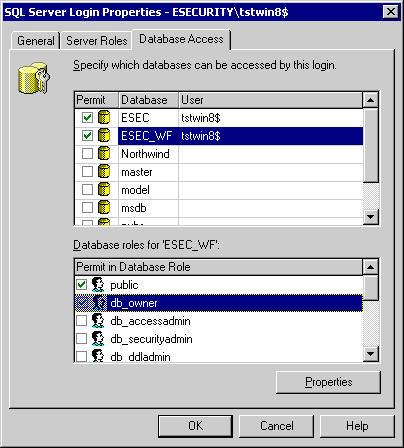
Right click on Properties on ESECURITY\tstwin8$ to change Server Roles and Database Access. Select System Administrators and Server Administrators as Server Roles. Select access to ESEC as public and db_owner. Select access to ESEC_WF as public and db_owner.
Note: These settings have proven to be working. However, permission levels for ESECURITY\tstwin8$ can be fine tuned to more restrictive level. Due to time limitation, no further work has been done to fine tune this.
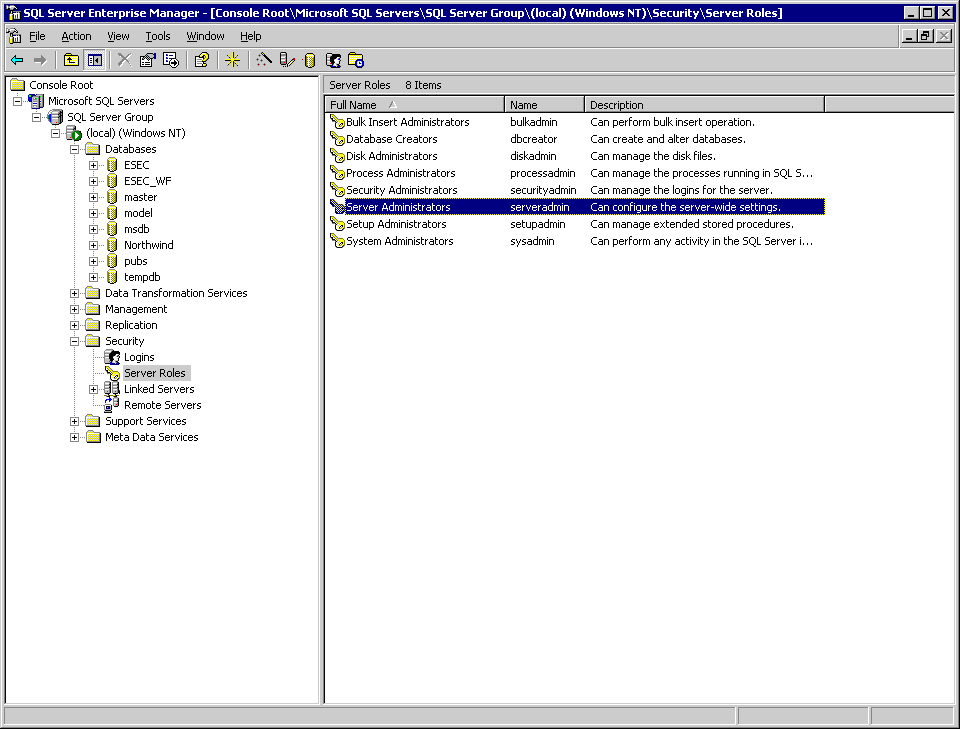
Now we add esecurity\tstwin8 to the appropriate server roles.
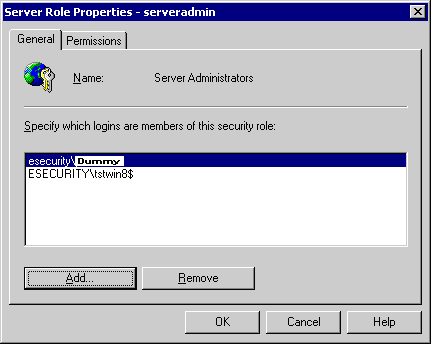
Server Roles -> Server Administrator
Right click -> Properties
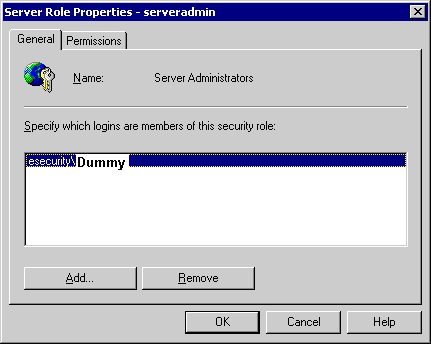
Click on Add
Click on OK, ESECURITY\tstwin8$ is added
Setup from eSecurity Service side:
Now we change the logon account for eSecurity service on esecurity\tstwin8 to NT AUTHORITY\NetworkService.
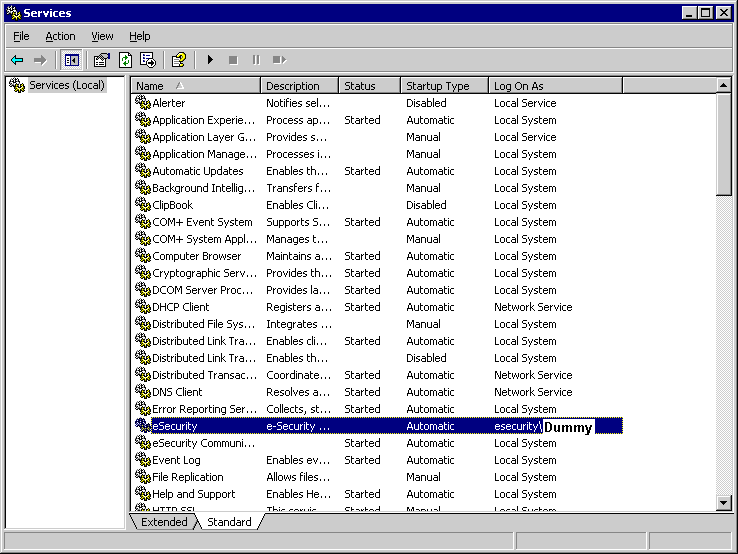
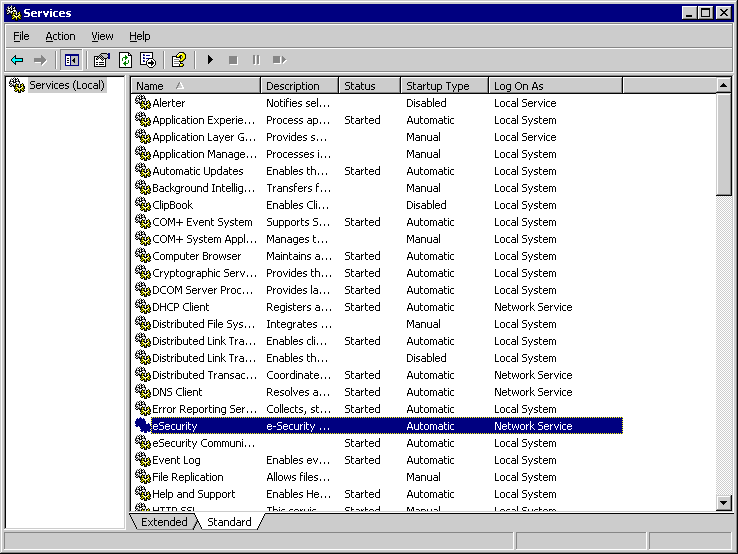
Start -> Programs ->Administrative Tools -> Services
Stop eSecurity Service. Then right click on properties-> Log On tab
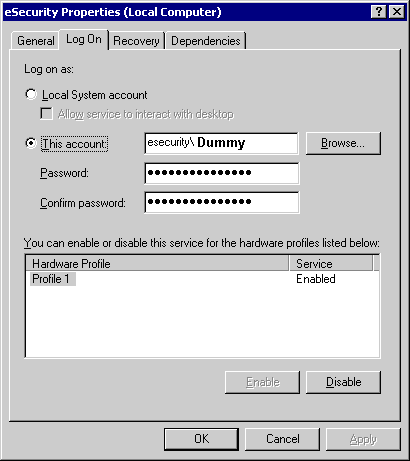
Click on This account and type in NT AUTHORITY\NetworkService, and clear Password and Confirm password entries.
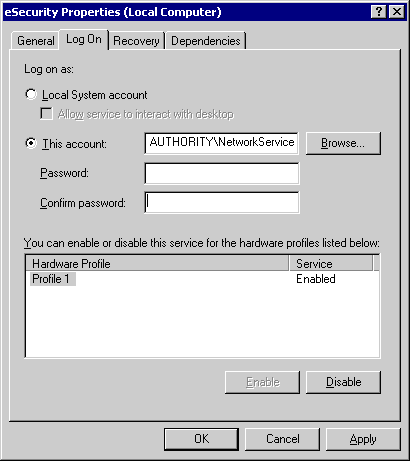
Click ok. Now the log on account for eSecurity Service has been changed to NT AUTHORITY\NetworkService.
In order for the eSecurity Service to start successfully, NT AUTHORITY\NetworkService account should have write permission to %ESEC_HOME%. According to Microsoft documentation –
The NetworkService account has the following privileges:
- SE_AUDIT_NAME
- SE_CHANGE_NOTIFY_NAME
- SE_UNDOCK_NAME
- Any privileges assigned to users and authenticated users
We need to grant Users group write access to %ESEC_HOME%
User Window Explore, navigate to point to ESEC_HOME folder.
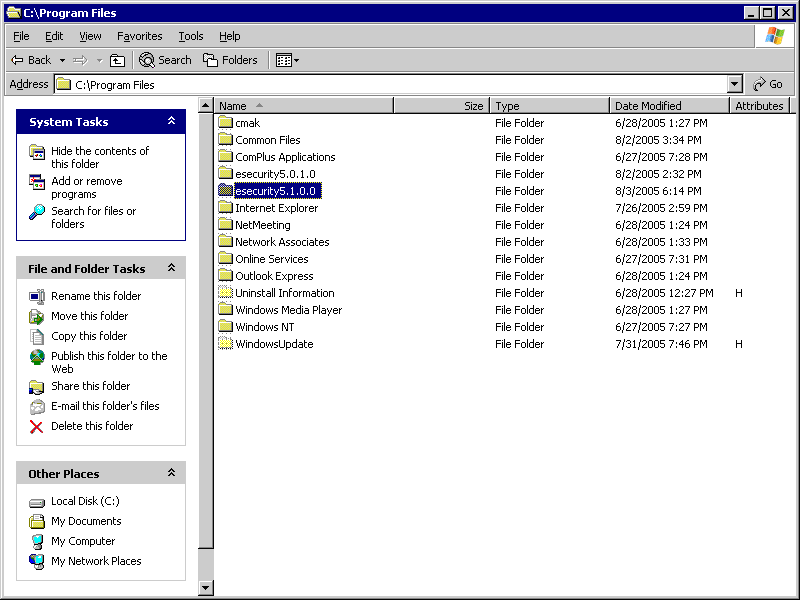
Right click on Properties->Security tab.
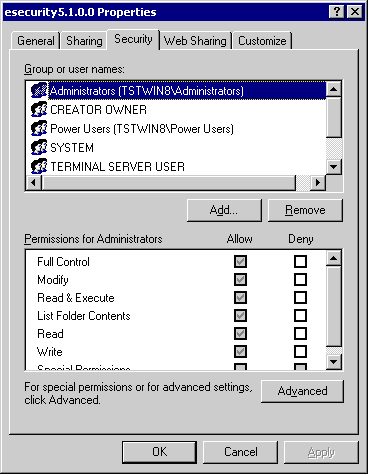
Highlight Users group. Grant Read&Execute, List Folder Contents, Read, Write Permission.
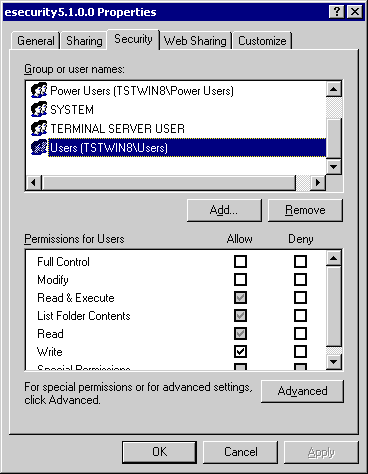
Click on OK.
Now start eSecurity service.
Click OK