4.1 Installation
This section explains how to install the driver separately from the Identity Manager installation, when the driver has been released outside of an Identity Manager release. The installation can for example, extend schema, install additional iManager plug-ins, and install the configuration files for the driver.
The installation process installs the driver shim on the server where Identity Manager is installed or on a server where you will use Remote Loader to run the driver. It also installs the driver information and policies on the iManager server.
If Identity Manager and iManager are on the same system, you only need to run the install program once. If they are on different systems, you need to run the installation multiple times.
-
Download the Identity Manager driver for JMS. You can get this driver from http://download.novell.com/index.jsp
-
Unzip the download package in a location of your choice on the server.
-
Run the installation program for your platform:
- On Windows*: Double-click jmsinstall.exe to run the installation program
- On NetWare®: Enter java -jar sys:/path jmsinstall.jar (IMPORTANT: the slash is required)
- On Linux: Run jmsinstall_linux.bin
- On Solaris*: Run jmsinstall_solaris.bin
- On AIX*: Run jmsinstall_aix.bin
-
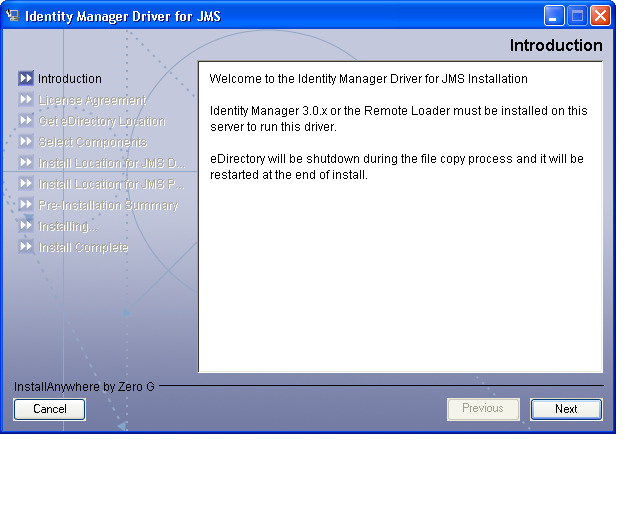
Review the Introduction page, then click .
-
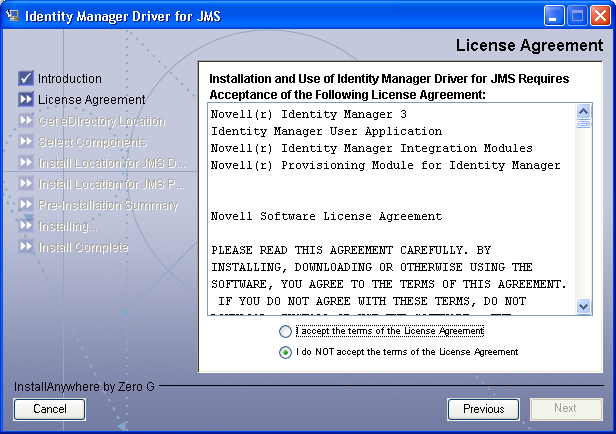
On the License Agreement page, review the agreement. If you accept, select and click .
-
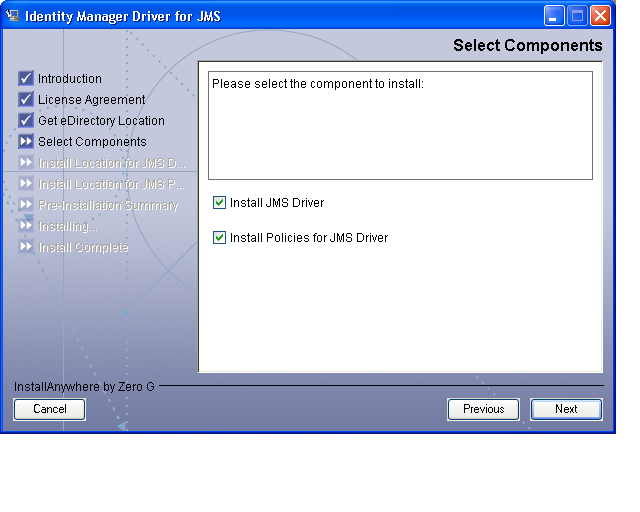
On the Install Components page, select the items you want to install, then click .
-
Install JMS Driver: Select this item to install the driver on the same server as Identity Manager.
-
Install Policies for JMS Driver: Select this item to install the driver policy files on the iManager system.
-
-
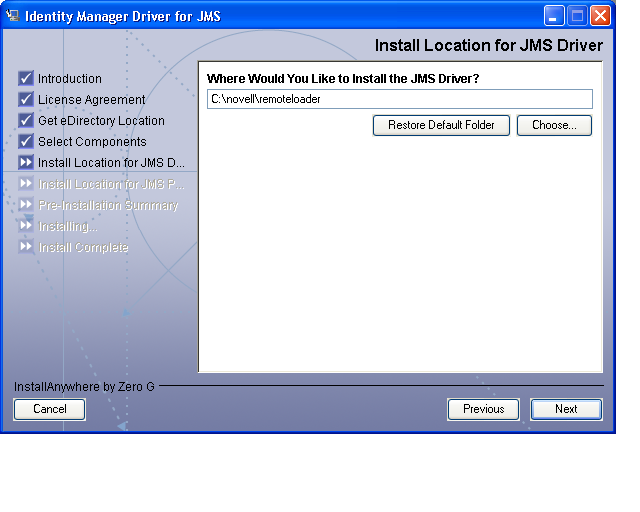
Select the location where you want to install the files, then click .
-
(Conditional) If you are installing to the Identity Manager server, you might see the Schema Extension page. Specify the administrator username, in LDAP format (for example: ). Specify the administrator password, then click .
This login information is necessary so that the installation can update the schema for your eDirectory tree.
After this step, there might be a delay as the installation is prepared, and a message is displayed.
-
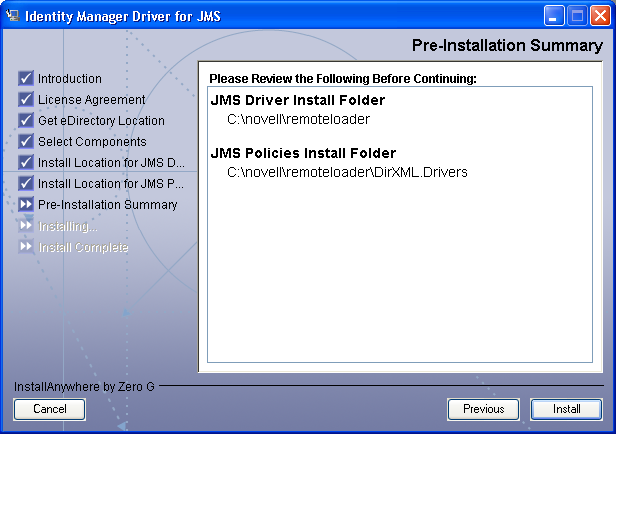
On the page, review the information. Click .
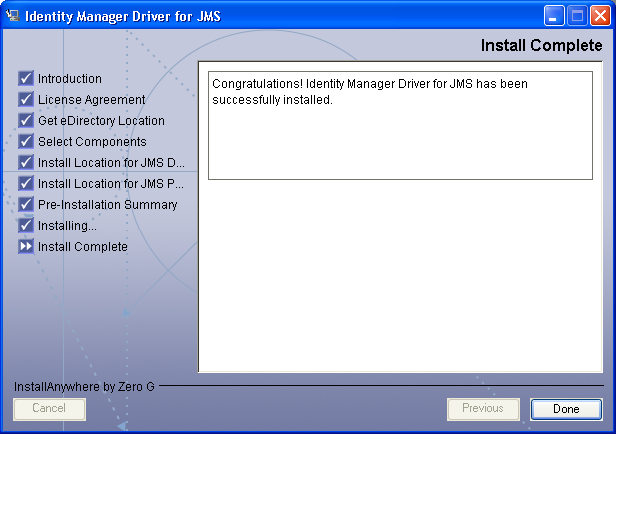
A message is displayed indicating that the installation is being completed.
-
On the page, review the summary, then click .
-
Continue with Section 5.0, Configuring the Driver.