
The JMS Administration Console is a tool which enables users to administer a live (remote) JMS server. The JMS Administration Console specifically enables administrators to manage the destinations (queues and topics) hosted by any accessible Novell exteNd Messaging Platform JMS server. Also, the administrators can manage security for these destinations by setting permissions for users and groups.
The Administration Console is a J2EE Web Archive application with an html front-end. The application takes advantage of the Apache Struts model-view-controller framework, and uses custom tag libraries. As a consequence, the Administration Console can be deployed and run on any J2EE application server. This enables users to remotely administer a running messaging server via a browser.
The functionality provided enables users to:
Connect to a remote messaging server
Create, delete and edit queues
Create, delete and edit topics
Create, delete and set passwords for users
Create and delete groups, and add users to groups
Create and delete Access Control Lists (ACL). Also, associate principals (users & groups) with an ACL with specific permissions)
The Administration Console is packaged as a Web Application Archive (WAR) file,
which can be deployed into any J2EE Application Server. Below is a brief
installation guide for common application servers. Please consult your
Application Server documentation for more information about deploying WAR
files. The WAR file for the console application is located in the
console directory.
Perform the following steps to install the WAR file on Novell exteNd Application Server:
Start the application server.
Add a new webbase (database) to the local application server.
From a DOS prompt, change directory to the directory containing the
Console WAR file. Then, run SilverCmd to deploy the
application WAR file (mp-jms-console.war) to the Application
Server webbase using the provided exteNd Application Server specific deployment plan
(jms_console_war_deploy_plan.xml). For example:
SilverCmd DeployWAR localhost:80 silvermaster51 mp-jms-console.war -f jms_console_war_deploy_plan.xml -o -v 1
Run a browser against the URL of the Console WAR application. For example: http://localhost:80/console
Please note that the supplied deployment plans are for Novell exteNd Application Server. You may need to modify the deployment plans for other version of the server.
Perform the following steps to install the WAR file on Tomcat:
Copy the Console WAR file (mp-jms-console.war) to the Tomcat
webapps directory.
Start or re-start Tomcat (e.g. using the startup.bat or
startup.sh script provided in the Tomcat bin
directory).
Run a browser against the URL of the Console WAR application. For example: http://localhost:8080/mp-jms-console
Note: On Tomcat you need to place the mp-jms.jar
file in the CLASSPATH available to Tomcat. You also need to
place mp-orb.jar into the CLASSPATH,
unless the ORB is installed as a Java 2 Extension.
This section describes the administrative tasks that can be performed with the console in detail. It is easier to follow the descriptions here if you first install and launch the console in a browser.
If you have installed the console on the Novell exteNd Application Server, you can typically launch the console by hitting the http://localhost/console URL. The console launches in a separate browser windows and queries you for host/port and username/password information. You can connect to any JMS server reachable on the network, i.e. the server does not have to run on the local machine.
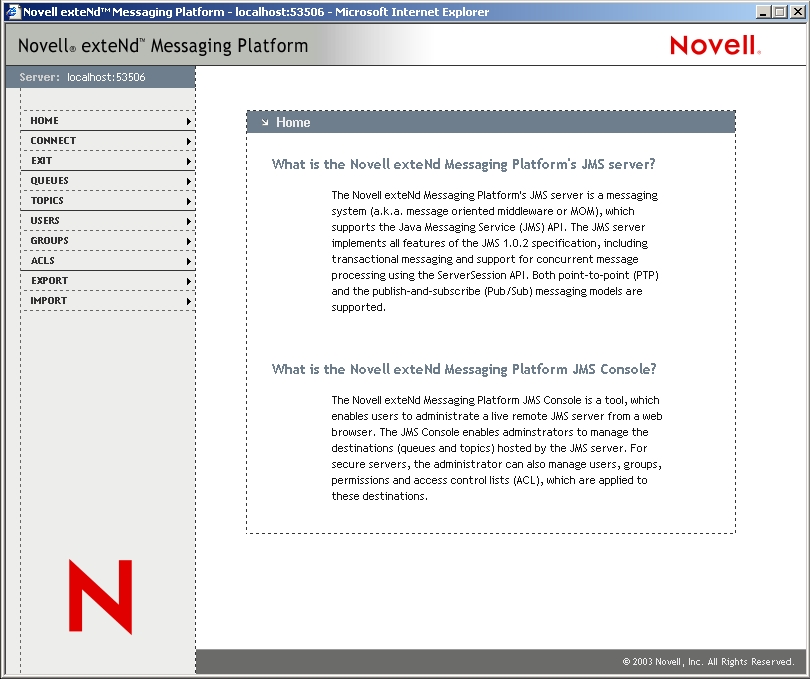
Once you have successfully logged in, the status in the top of the menu bar changes
from Disconnected to display the server you have connected to, e.g.
localhost:53506. Also, the console's home window is displayed. This
window provides some basic information about the JMS server and the console in particular,
as shown below:
The console can be used to edit, manage and delete queues and topics. To display all
queues or topics on the server, click the QUEUES or TOPICS menu
item, respectively. If you click on an existing queue or topic, the window will be
populated with information about said queue/topic. The screenshot below shows the
information for the built-in queue0.
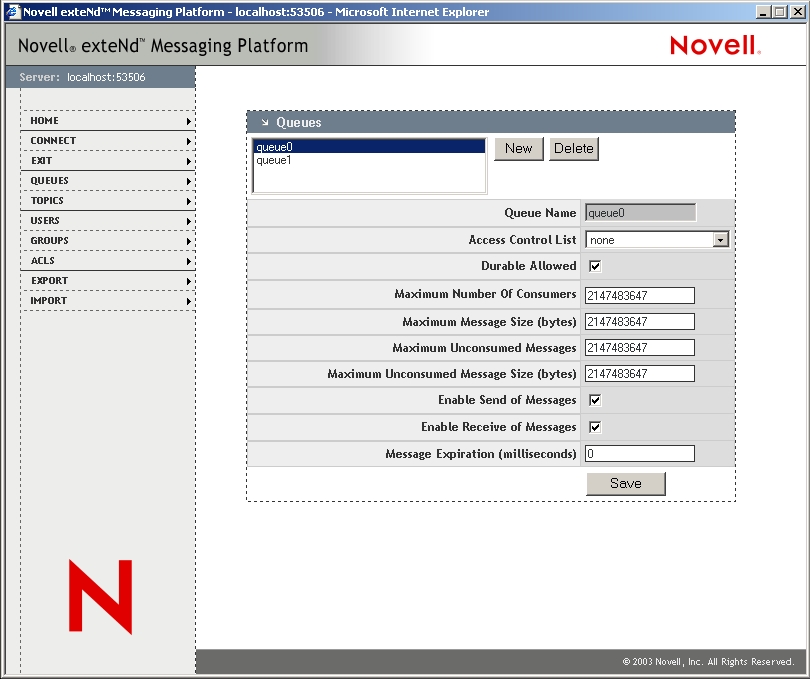
If you click New a form like the one shown above but with empty fields
is displayed. After you have filled in the information for the queue or topic, you must
click Save to store the destination permanently on the server. Selecting a
queue or topic and clicking Delete will delete the queue or topic in question.
The console can be used to edit, manage and delete users. To display all users on the
server, click the USERS menu item. Selecting a particular user will display
a screen that allows you to modify the user's password, as shown below:
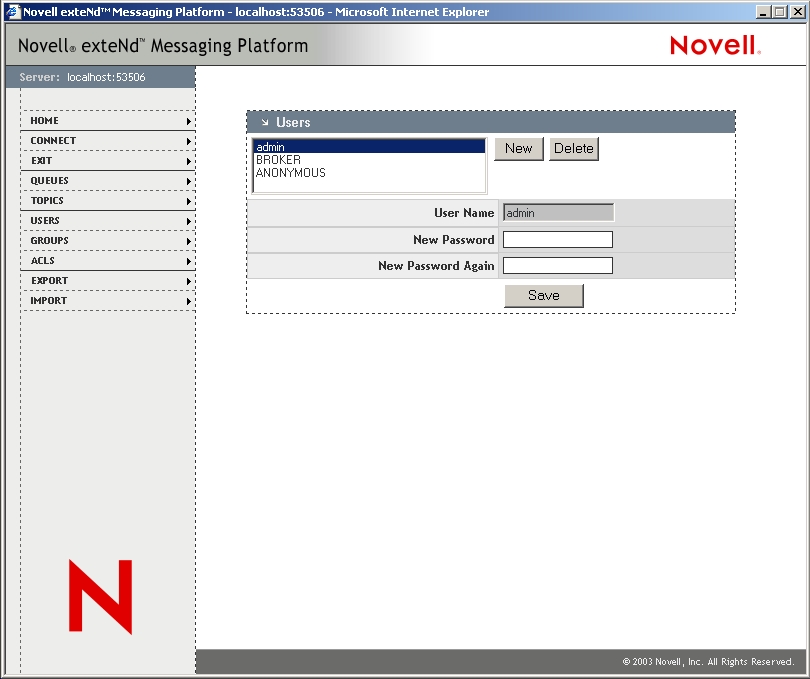
If you click New a form like the one shown above but with empty fields
is displayed. After you have filled in the information for the user, you must
click Save to store the user permanently on the server. Selecting a
user and clicking Delete will delete the user in question.
The console can be used to edit, manage and delete groups. To display all groups on the
server, click the GROUPS menu item. Selecting a particular group will display
a screen that allows you to modify the group membership, as shown below. To the right is
a list of all users on the server, which are not members of the group.

If you click New a form like the one shown above but with empty fields
is displayed. After you have filled in the information for the group, you must
click Save to store the group permanently on the server. Selecting a
group and clicking Delete will delete the group in question.
The console can be used to edit, manage and delete ACLs. To display all ACLs on the
server, click the ACLS menu item. Selecting a particular ACL will display
a screen that allows you to modify the ACL members and their rights, as shown below. To
the right is a list of all users and groups on the server, which are not members of the ACL.
When you select an ACL member in the right hand side box, you must assign Consume,
Produce, and/or Manage rights.
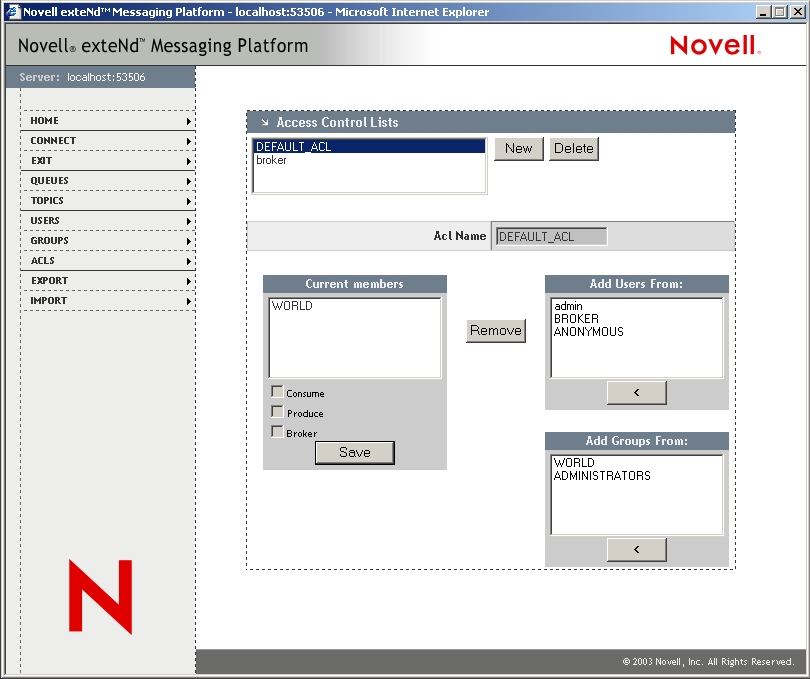
If you click New a form like the one shown above but with empty fields
is displayed. After you have filled in the information for the ACL, you must
click Save to store the ACL permanently on the server. Selecting an
ACL and clicking Delete will delete the ACL in question.
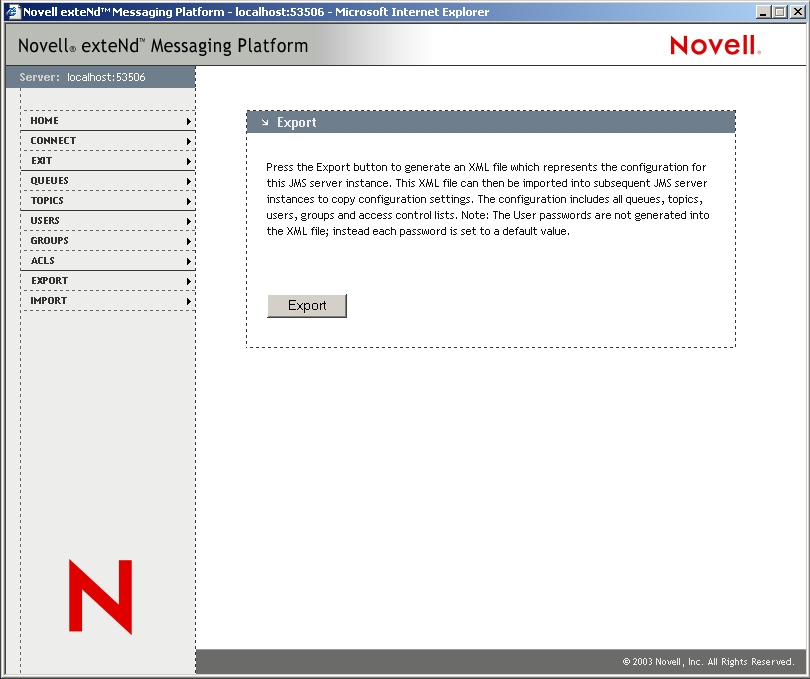
The console allows you to export the JMS server's configuration in an XML file.
The export window is displayed when you click the EXPORT menu item. Please
note that passwords are not exported for security reasons. If you wish to subsequently
import an XML configuration file, you must edit the file manually and provide the
appropriate passwords.
The console allows you to import a server configuration from an XML file.
The import window is displayed when you click the IMPORT menu item.

To disconnect from the JMS server, simply click the EXIT menu item.
Copyright © 2003, 2004 Novell, Inc. All rights reserved. Copyright © 2001, 2002, 2003 SilverStream Software, LLC. All rights reserved.