2.1 Installing the Data Owner Client
The Data Owner Client can be installed on any platform where .NET 4.6.2 can run.
-
On the Windows server or workstation where you will run the Data Owner Client, copy to a directory the FileDynamics_6.5.0.iso.
-
Mount the FileDynamics_6.5.0.iso file.
-
At the root of theFileDynamics_6.5.0.iso image, double-click FileDynamics-DataOwnerClient-6.5-xx.exe.
-
Agree to the licensing terms and conditions and click .
-
When notified that the setup was successful, click .
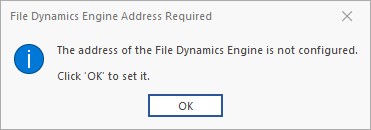
The following notification appears:
-
Click .
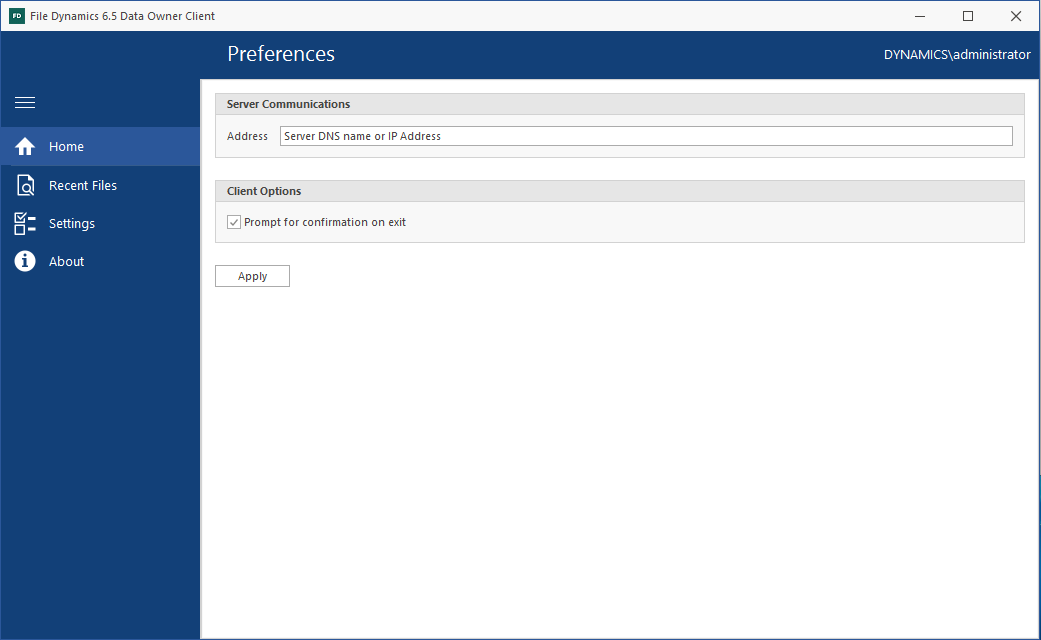
The following dialog box appears:
-
In the field, specify the DNS name or IP address of the server hosting the File Dynamics Engine.
The following interface appears, indicating that the Data Owner Client is configured.
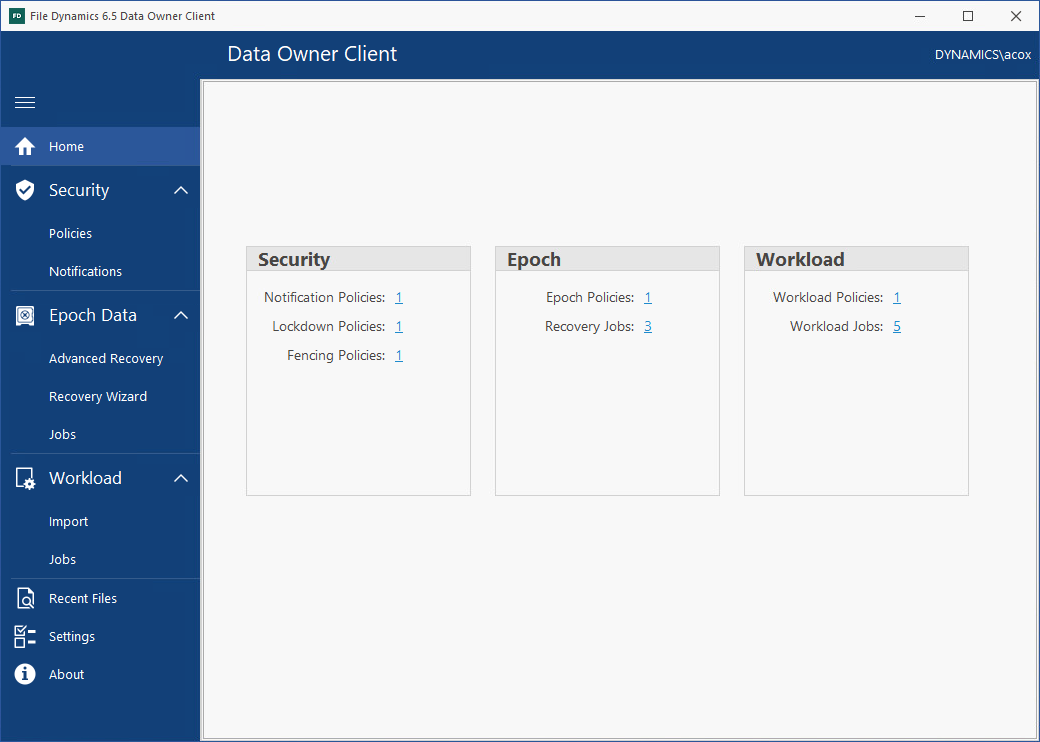
In the example above, Amanda Cox was specified previously as a Data Owner for Security, Epoch, and Workload policies, and each policy has been run at least once (resulting in a stored scan). If a user has not yet been specified for as a Data Owner in a policy, or has, but the policies have not yet been run, the right pane will be empty.
The numbers associated with each listed policy specify the number of policies of that type of which the logged in user is a Data Owner. For example, Amanda Cox is the Data Owner of one Security Notification policy. Clicking a number brings up details about the policies.
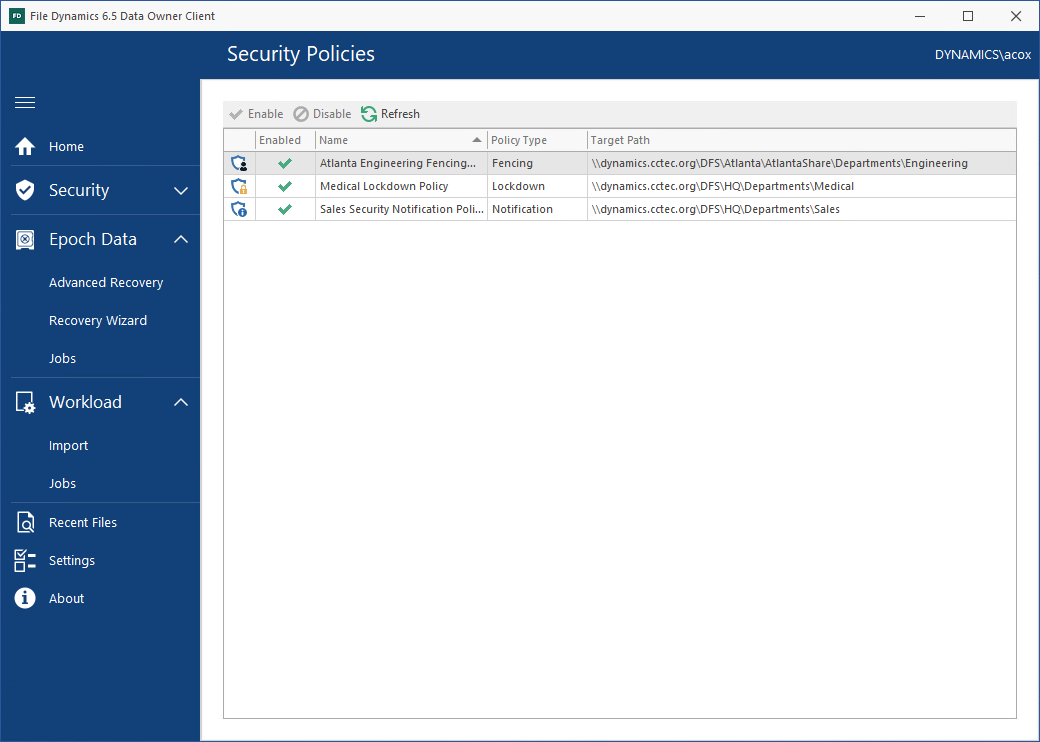
In the example above, Amanda Cox can view the Security policies for which she is a Data Owner.
The numbers associated with jobs specify the number of jobs that have been run. Clicking the number brings up details of all of the jobs.
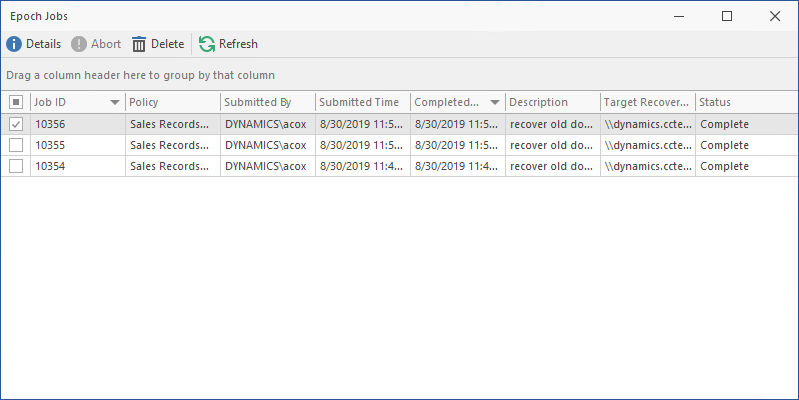
In the example above, each of the saved jobs are listed. You can get additional details about a job by double-clicking a listing from the job list.