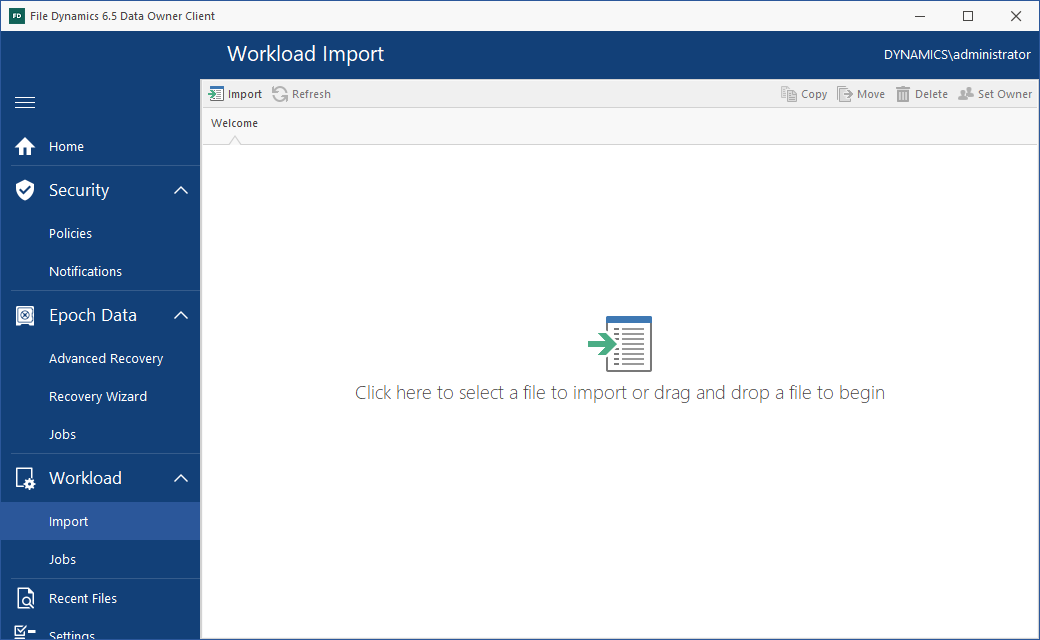
5.1 Importing Files
-
Click > .
-
Do one of the following:
-
On the Import page, drag the file you want to import.
-
Click the Import page, browse and then select the file you want to import.
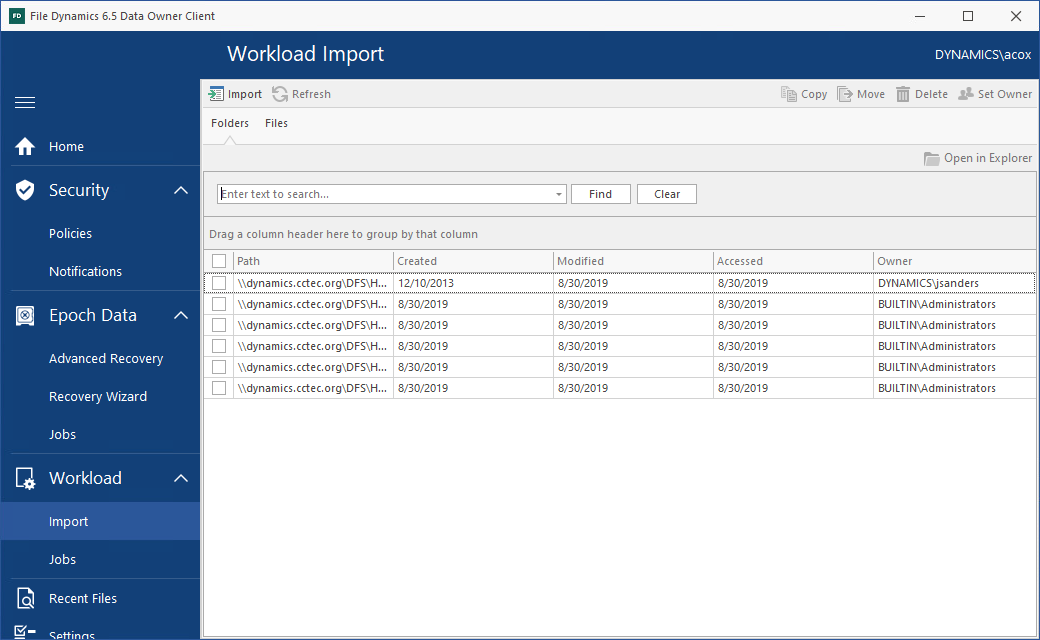
The Import dialog box appears with the contents of the imported file.
-
-
Select each of the entries you want by clicking its corresponding check box and select whether to , , , or .
Procedures for each of these options follow.
5.1.1 Copy
This option copies the files specified in each of the entries you select. The option simply duplicates the files and places the duplicate versions in a location where the Data Owner has been granted access via a Workload policy.
-
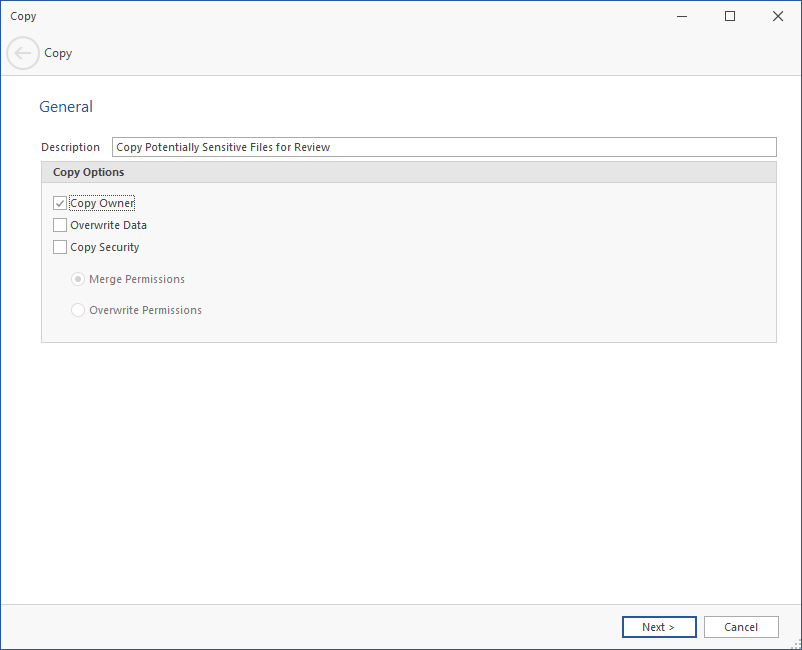
In the field, specify the purpose of the copy operation and click .
-
In the region, specify any of the applicable options.
Copy Owner: Selecting this check box maintains the ownership information of the copied files. If this is not selected, the fdproxyrights group becomes the owner.
Overwrite Data: When there is a naming conflict between files, this option allows you to overwrite the existing file with the one being copied.
Copy Security: Selecting this check box maintains the security settings for the copied files. If this is not selected, the copied files inherit the security of the network file system location to where they are copied.
-
Merge Permissions: Merges permissions from the source to the target if the target contains permissions that are not present in the source. This applies to all folders and files in the source folder structure.
-
Overwrite Permissions: Overwrites permissions in the target with those found in the source. This applies to all folders and files in the target folder structure.
-
-
Click .
-
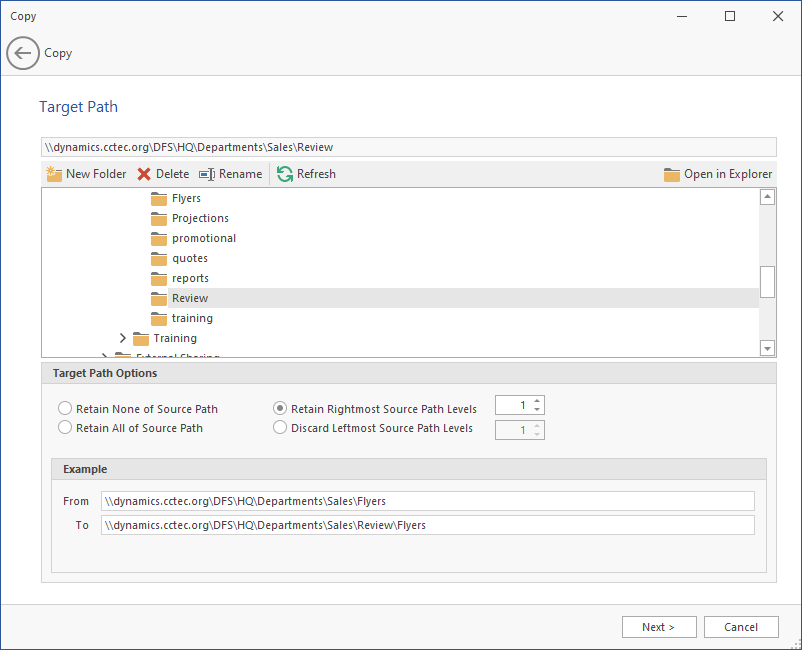
In the upper pane, browse to specify the location where the files will be copied.
-
In the region, select one of the following:
-
Retain None of Source Path: Copies files to the specified location without creating any subdirectories to store the copied files.
For example, if you were copying files from the following location:
\\dynamics.cctec.org\DFS\HQ\HQSHARE\Finance\Data
to
\\dynamics.cctec.org\DFS\HQ\HQSHARE\Finance\Data\Gnance
The copied files would be located in the Gnance folder where other files might be located.
-
Retain Rightmost Source Path Levels: This option copies the files to a location according to the number of levels you specify.
For example, if you were copying files from the following location:
\\dynamics.cctec.org\DFS\HQ\HQSHARE\Finance\Data
to
\\dynamics.cctec.org\DFS\HQ\HQSHARE\Finance\Data\Gnance
and you select and specify ,
the files would be copied to a new folder one level deeper in the path. The name of the new folder comes from the folder name one level higher in the current file path. So the files would be copied to:
\\dynamics.cctec.org\DFS\HQ\HQSHARE\Finance\Data\Gnance\Data
-
Retain All of Source Path: This option copies the files to a subdirectory in the specified folder using a duplicate path where the files are stored.
For example, if you were copying files from the following location:
\\dynamics.cctec.org\DFS\HQ\HQSHARE\Finance\Data
to
\\dynamics.cctec.org\DFS\HQ\HQSHARE\Finance\Data\Gnance
the files would be copied to:
\\dynamics.cctec.org\DFS\HQ\HQSHARE\Finance\Data\Gnance\dynamics.cctec.org\DFS\HQ\HQSHARE\Finance\Data\
-
Discard Leftmost Source Path Levels: This option copies files to a subdirectory in the specified folder, based on the path where the files are stored, and the specified levels in the leftmost portion of the file path that you discard.
For example, if you were copying files from the following location:
\\dynamics.cctec.org\DFS\HQ\HQSHARE\Finance\Data
to
\\dynamics.cctec.org\DFS\HQ\HQSHARE\Finance\Data\Gnance
and you select and specify ,
the files would be copied to:
\\dynamics.cctec.org\DFS\HQ\HQSHARE\Finance\Data\Gnance\HQ\HQSHARE\Finance\Data\
The fields in the region will specify where files will be copied according to the options you select.
-
-
Click .
-
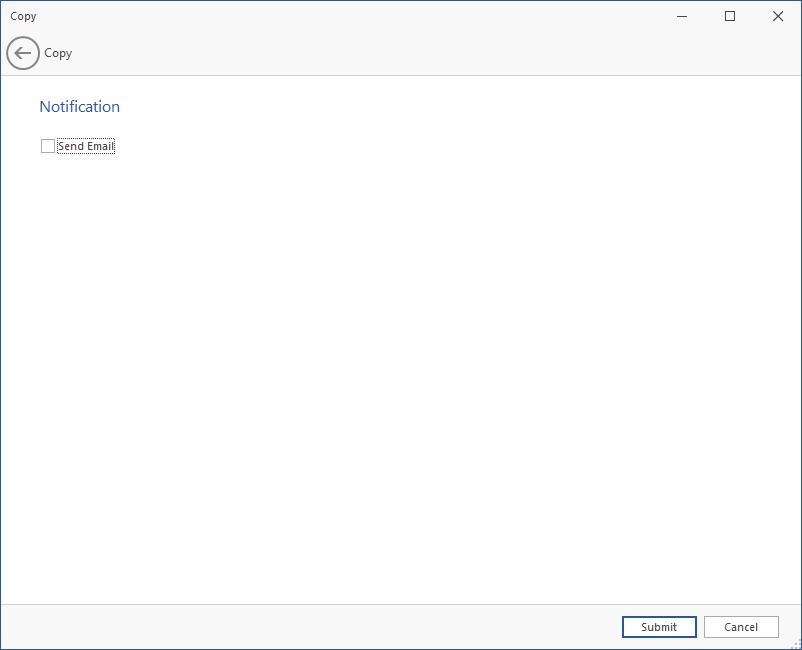
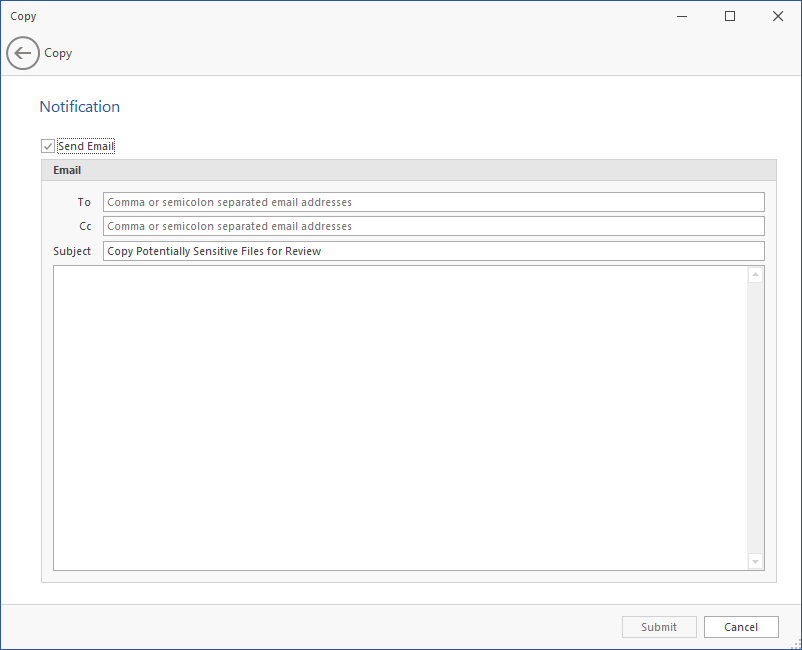
(Optional) If you want an email notification sent to someone once the files have been copied, specify the recipients and the email message in the fields provided.
-
Click .
5.1.2 Move
This option moves files specified in each of the entries you select to a new a location where the Data Owner has been granted access via a Workload policy.
-
In the field, specify the purpose of the move operation and click .
-
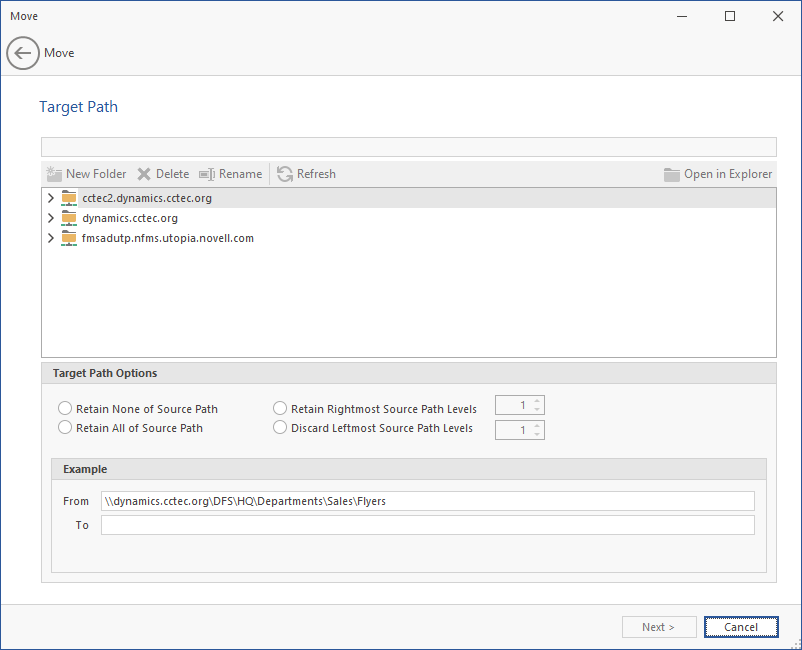
In the upper pane, browse to specify the location where the files will be moved.
-
In the region, select one of the following:
-
Retain None of Source Path: Moves files to the specified location without creating any subdirectories to store the moved files.
For example, if you were moving files from the following location:
\\dynamics.cctec.org\DFS\HQ\HQSHARE\Finance\Data
to
\\dynamics.cctec.org\DFS\HQ\HQSHARE\Finance\Data\Gnance
The moved files would be located in the Gnance folder where other files might be located.
-
Retain Rightmost Source Path Levels: This option moves the files to a location according to the number of levels you specify.
For example, if you were moving files from the following location:
\\dynamics.cctec.org\DFS\HQ\HQSHARE\Finance\Data
to
\\dynamics.cctec.org\DFS\HQ\HQSHARE\Finance\Data\Gnance
and you select and specify ,
the files would be moved to a new folder one level deeper in the path. The name of the new folder comes from the folder name one level higher in the current file path. So the files would be moved to:
\\dynamics.cctec.org\DFS\HQ\HQSHARE\Finance\Data\Gnance\Data
-
Retain All of Source Path: This option moves the files to a subdirectory in the specified folder using a duplicate path where the files are stored.
For example, if you were moving files from the following location:
\\dynamics.cctec.org\DFS\HQ\HQSHARE\Finance\Data
to
\\dynamics.cctec.org\DFS\HQ\HQSHARE\Finance\Data\Gnance
the files would be moved to:
\\dynamics.cctec.org\DFS\HQ\HQSHARE\Finance\Data\Gnance\dynamics.cctec.org\DFS\HQ\HQSHARE\Finance\Data\
-
Discard Leftmost Source Path Levels: This option moves files to a subdirectory in the specified folder, based on the path where the files are stored, and the specified levels in the leftmost portion of the file path that you discard.
For example, if you were moving files from the following location:
\\dynamics.cctec.org\DFS\HQ\HQSHARE\Finance\Data
to
\\dynamics.cctec.org\DFS\HQ\HQSHARE\Finance\Data\Gnance
and you select and specify ,
the files would be moved to:
\\dynamics.cctec.org\DFS\HQ\HQSHARE\Finance\Data\Gnance\HQ\HQSHARE\Finance\Data\
The fields in the region will specify where files will be moved according to the options you select.
-
-
Click .
-
(Optional) If you want an email notification sent to someone once the files have been moved, specify the recipients and the email message in the fields provided.
-
Click .
5.1.4 Set Owner
This option allows the Data Owner to change the ownership of selected folders.
-
In the filed, specify the purpose of the Set Owner operation and click .
-
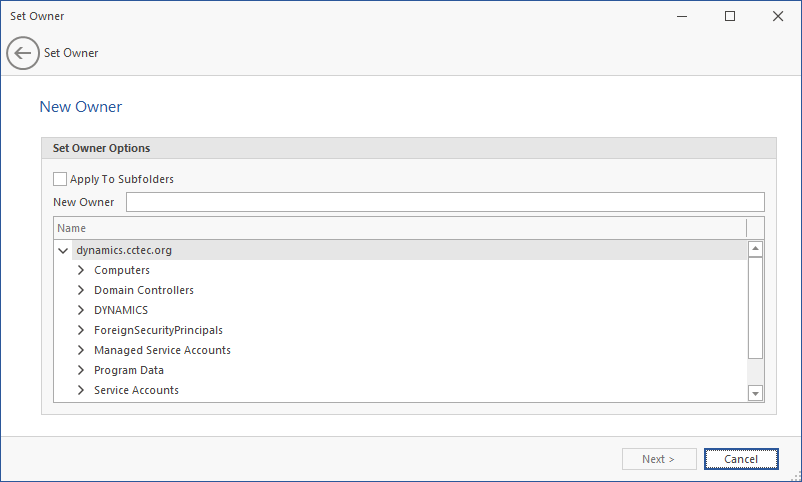
Specify the new owner by either typing the username or locating the User object.
-
Click if you want the user you specify to be the owner of all of the folder’s subfolders.
-
-
Click .
-
(Optional) If you want an email notification sent to someone once the file ownership has been changed, specify the recipients and the email message in the fields provided.
-
Click .