6.11 Installing and Configuring the File System Agents
A File System Agent can be installed on a Windows Server machine that meets the following minimum requirements:
-
Microsoft Windows Server 2019 (Member Server)
-
Microsoft Windows Server 2016 (Member Server)
-
Microsoft Windows Server 2012 R2 (Member Server)
-
Microsoft Windows Server 2012 (Member Server)
-
Microsoft Windows Server 2008 R2 (Member Server)
-
At least 4 GB RAM
-
For quota management, Microsoft File System Resource Manager (FSRM) must be installed
Other notable information about File System Agents:
-
A File System Agent runs as a native NT service that is configured to start by using the Local System account
-
The default File System Agent port is 3011
-
A firewall inbound rule for the File System Agent is created during the installation
-
On the Windows server that will host the File System Agent, copy to a directory the FileDynamics_6.5.0.iso.
-
Mount the FileDynamics_6.5.0.iso file.
-
At the root of the FileDynamics_6.5.0.iso image, double-click FileDynamics-FileSystemAgent-6.5-xx.exe.
-
When you are asked if you want to run this file, click .
-
Agree to the licensing terms and conditions and click .
-
When notified that the setup was successful, click .
-
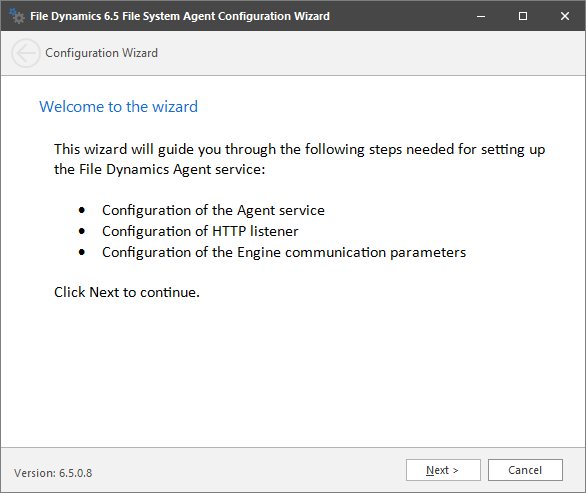
From the wizard page, read the overview of the setup steps and click .
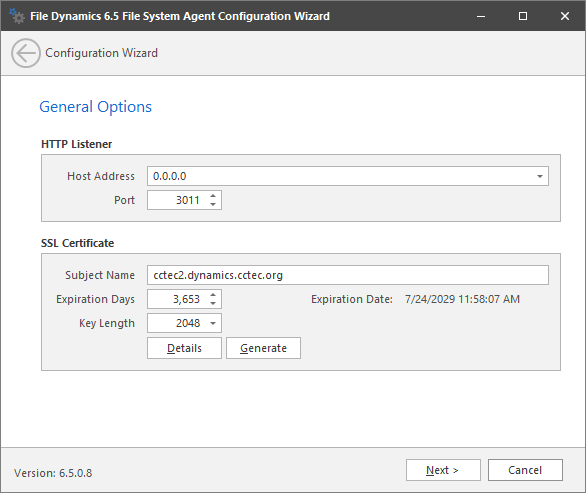
This page lets you confirm or change basic File System Agent configuration settings.
HTTP Listener: Communication parameters for the File System Agent.
Host Address: To listen to all addresses, leave the setting at 0.0.0.0. To limit listening to a specific address, enter the address here.
Port: The default port is 3011.
SSL Certificate: Details for an SSL certificate that will be generated.
Subject Name: The name of the certificate that will be generated. The server name is listed by default.
Expiration Days: The life span of the security certificate, which is set at 10 years by default.
Key Length: The SSL certificate encryption setting, which is set at 2048 by default.
Details: Click the button to view the certificate data.
Generate: If you modify any of the settings in the SSL Certificate region, click this button to generate a new certificate.
-
Edit any needed parameters settings and click .
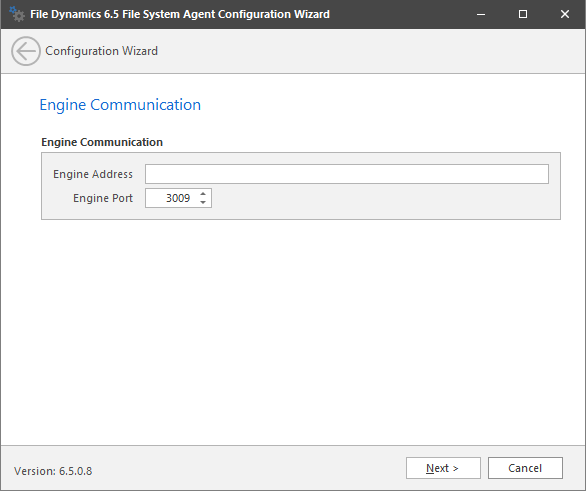
This page lets you set parameters for the File System Agent to communicate with the Engine.
Engine Address: Specify the DNS name or IP address to the server hosting the Engine here.
Engine SSL Port: Specify the SSL port for the Engine here.
-
Enter the Engine connection settings and click .

-
(Conditional) If you chose a name that was not the default name for the File Dynamics Proxy Rights group, enter the name in the Proxy Rights Group field.
-
Click .

-
Set the network profiles according to your organization’s security policies and click .
-
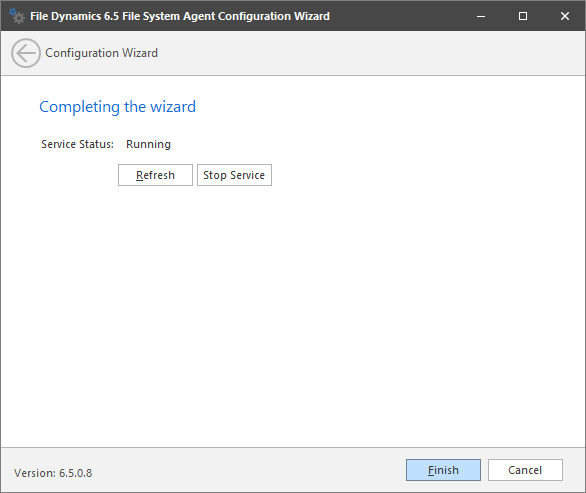
Click .
The File System Agent is now installed, configured, and running. You must still authorize it using the Admin Client. For procedures, see Section 6.15, Authorizing the Agents.