6.12 Installing and Configuring the Phoenix Agents
Phoenix Agents execute the jobs necessary for Epoch Data Protection policies that are managed by the Engine as well as performing scans for Security Notification policies. If you are deploying Epoch Data Protection, a Phoenix Agent must be either deployed on or associated to (via proxy assignment) each server or NAS device where protected High-Value Targets are located on the network.
A Phoenix Agent can be installed on a Windows Server machine that meets the following minimum requirements:
-
Microsoft Windows Server 2019 (Member Server)
-
Microsoft Windows Server 2016 (Member Server)
-
Microsoft Windows Server 2012 R2 (Member Server)
-
Microsoft Windows Server 2012 (Member Server)
-
Microsoft Windows Server 2008 R2 (Member Server)
-
At least 4 GB RAM
Other notable information about Phoenix Agents:
-
A Phoenix Agent runs as a native NT service that is configured to start by using the Local System account
-
The default Phoenix Agent port is 3013
-
A firewall inbound rule for the Phoenix Agent is created during the installation
-
On the Windows server that will host the Phoenix Agent, copy to a directory the FileDynamics_6.5.0.iso.
-
Mount the FileDynamics_6.5.0.iso file.
-
At the root of the FileDynamics_6.5.0.iso image, double-click FileDynamics-PhoenixAgent-6.5-xx.exe
-
When you are asked if you want to run this file, click .
-
Agree to the licensing terms and conditions and click .
-
When notified that the setup was successful, click .
-
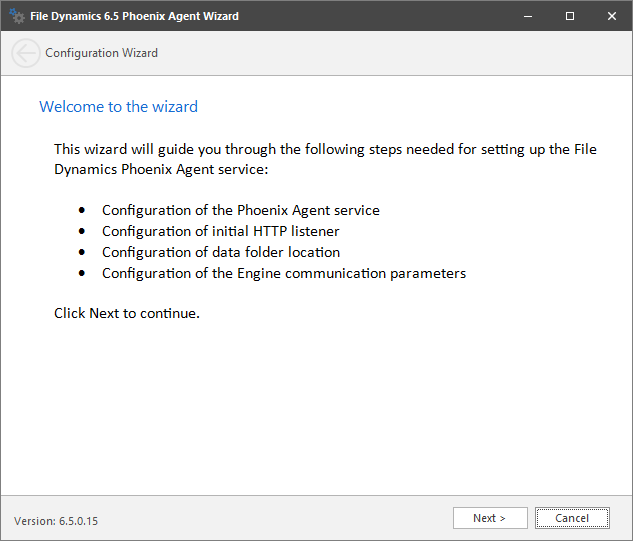
From the wizard page, read the overview of the setup steps and click .
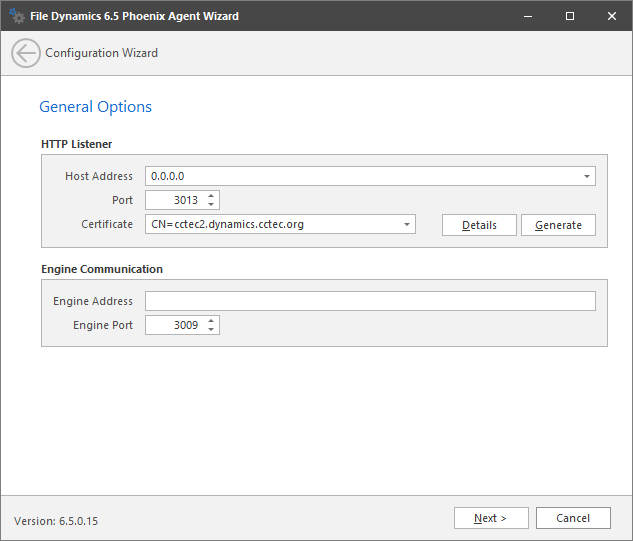
This page lets you confirm or change basic Phoenix Agent configuration settings.
HTTP Listener: Communication parameters for the Phoenix Agent.
Host Address: To listen to all addresses, leave the setting at 0.0.0.0. To limit listening to a specific address, enter the address here.
Port: The default port is 3013.
Certificate: Details for an SSL certificate that will be generated.
Details: Click the button to view the certificate data.
Generate: If you modify any of the settings in the region, click this button to generate a new certificate.
Engine Communication: Communication information for the Engine host.
Engine Address: Specify the DNS name or IP address to the server hosting the Engine here.
Engine Port: Specify the SSL port for the Engine here.
-
Enter the parameter settings and click .
-
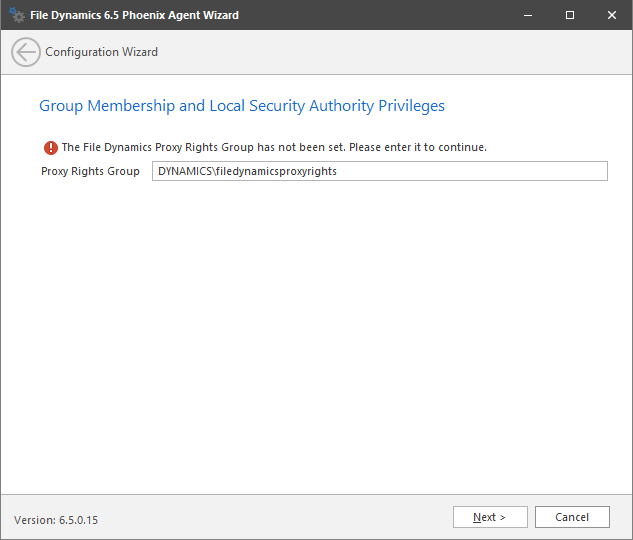
(Conditional) If you chose a name that was not the default name for the File Dynamics Proxy Rights group, enter the name in the field.
-
Click .
-
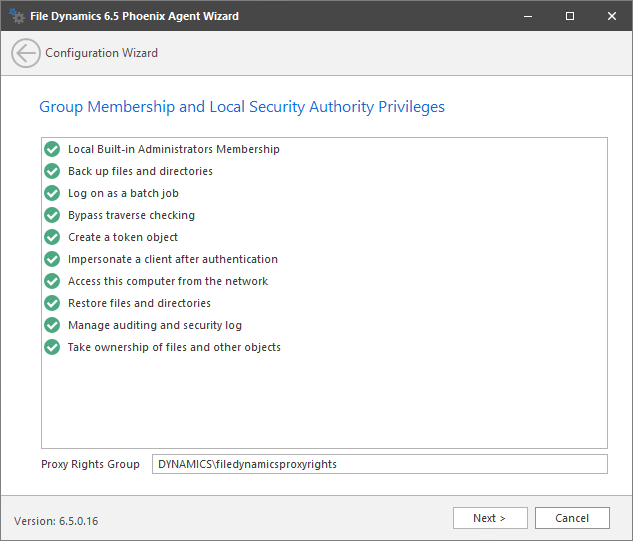
(Conditional) If permissions for the proxyrightsgroup have already been established (such as when you upgrading an Agent), the following page will appear:
-
(Conditional) Review the privileges and click .
-
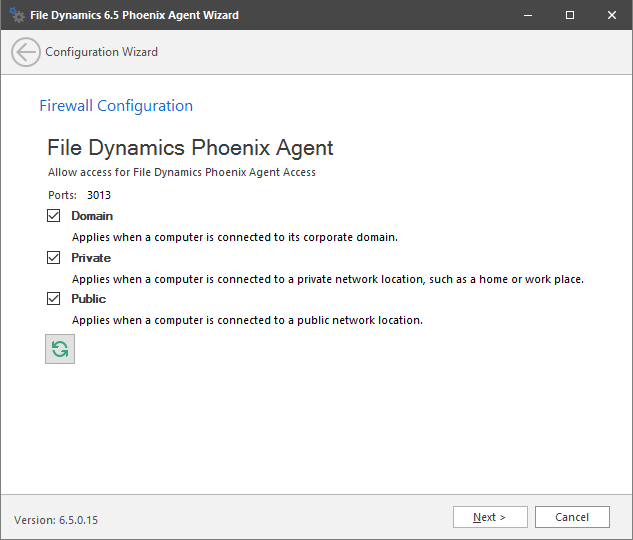
Set the network profiles according to your organization’s security policies and click .
The wizard indicates that the Phoenix Agent service is running.
-
Click .