8.2 Using the Report Designer Interface
This tool allows you to design reports locally from a Windows workstation, while offering significantly more reporting design capabilities to those of the browser-based administrative interface.
NOTE:You must be a member of the nfradmins group to design reports using Report Designer. The name nfradmins is the default name (which you can change) of the Novell File Reporter administrators group created during the installation of the NFR Engine.
-
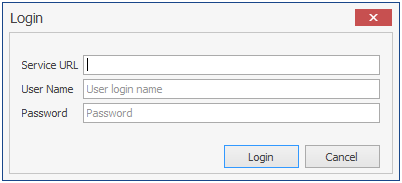
Launch the Novell File Reporter Report Designer application.
-
Enter the login credentials and click .
-
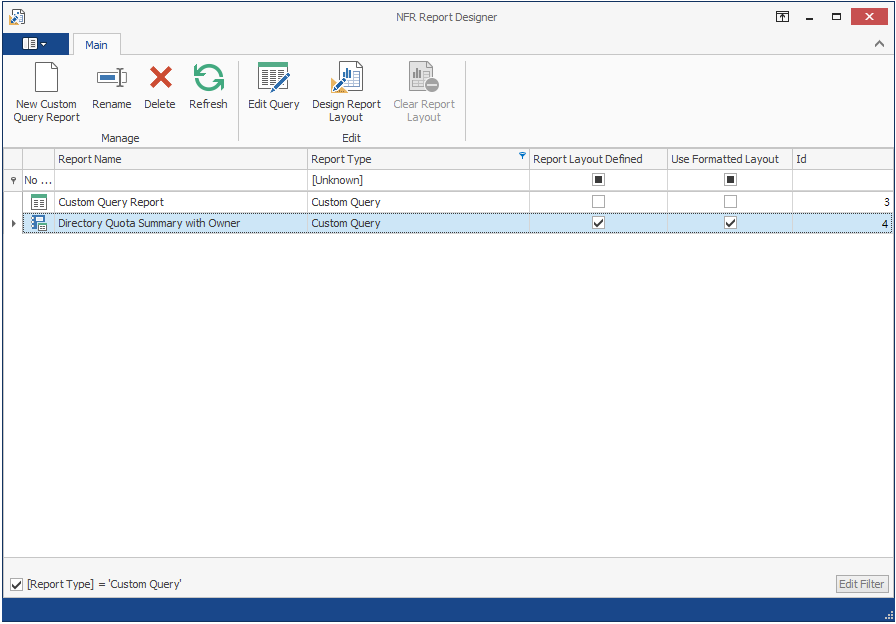
Familiarize yourself with the Report Designer interface.
All Custom Query Reports are listed. Those that have not been designed using the Report Designed Layout interface are displayed with the green-bannered text icon, while those designed using the Report Designer have the blue notebook icon.
All of the options on the toolbar are available by selecting a report and right-clicking.
New Custom Query Report: Click to create a new Custom Query Report by launching the Query Editor.
Rename: Click to rename a selected Custom Query Report.
Delete: Click to delete a selected Custom Query Report.
Edit Query: Click to edit the SQL commands pertaining to a selected Custom Query Report through the Report Designer’s Query Editor.
Design Report Layout: Launches the Report Designer Layout interface. For more information on the Report Designer Layout interface, see Section 8.4, Designing a Custom Query Report.
Clear Report Layout: Click to clear custom design settings created using the Report Designer Layout interface. This is a nonreversible procedure.
[Report Type]: By default, this check box is selected so that it displays only Custom Query Reports, which are the only reports that can be designed using the Design Editor. You can deselect the check box to view all of your reports.