9.2 Using the Pivot Table
This exercise introduces you to some of the very basic features of the pivot table. Through familiarizing yourself with the basic features, you will become proficient enough in the interface to utilize even more advanced features.
-
Launch the DataAnalytics.exe application.
-
Click either or .
-
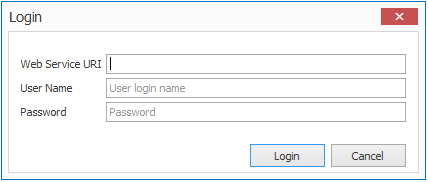
Complete the fields in the Login dialog box, then click .
The field should specify the URL used to access the Novell File Reporter web application.
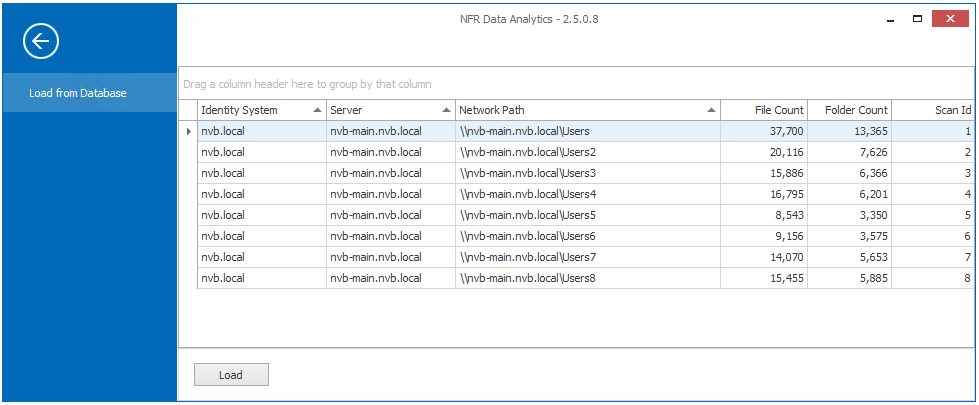
All of the File System scans appear in a list.
-
Double-click one of the listed scans.
-
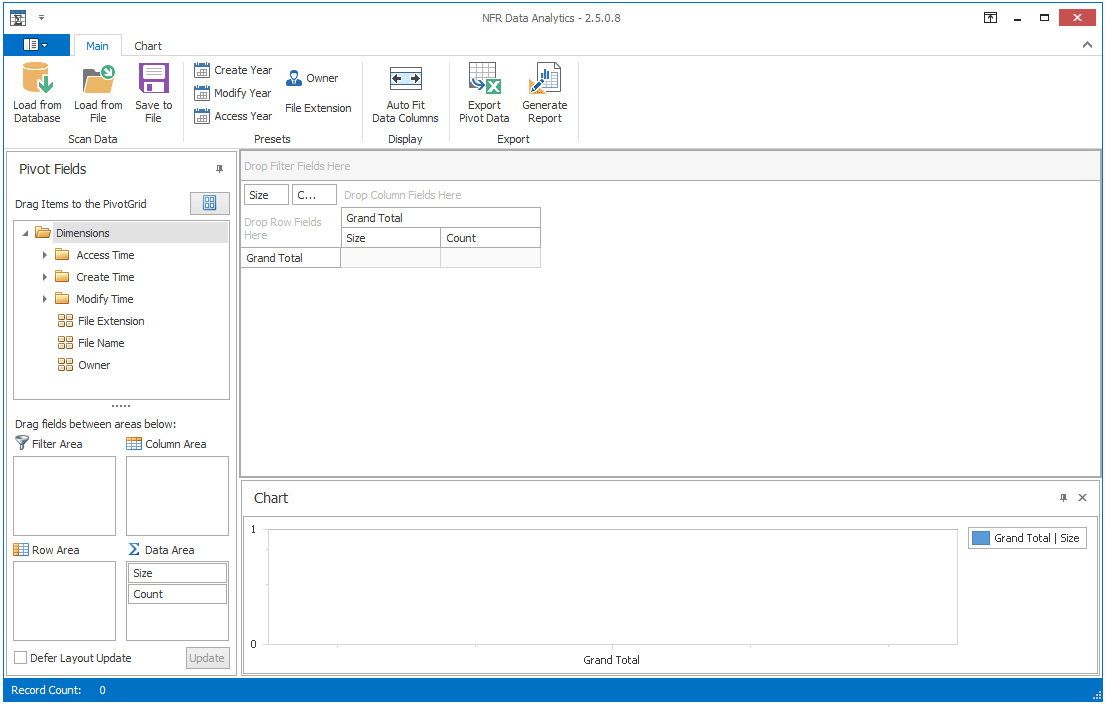
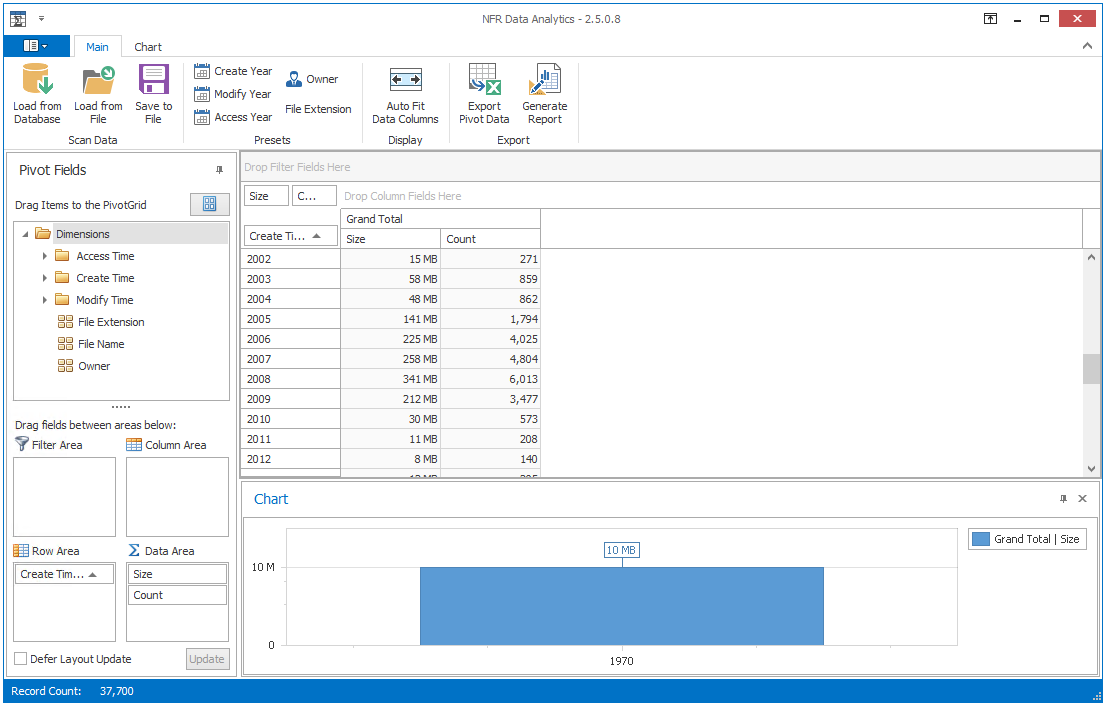
For this exercise, click from the toolbar.
Observe the creation of the pivot table.
-
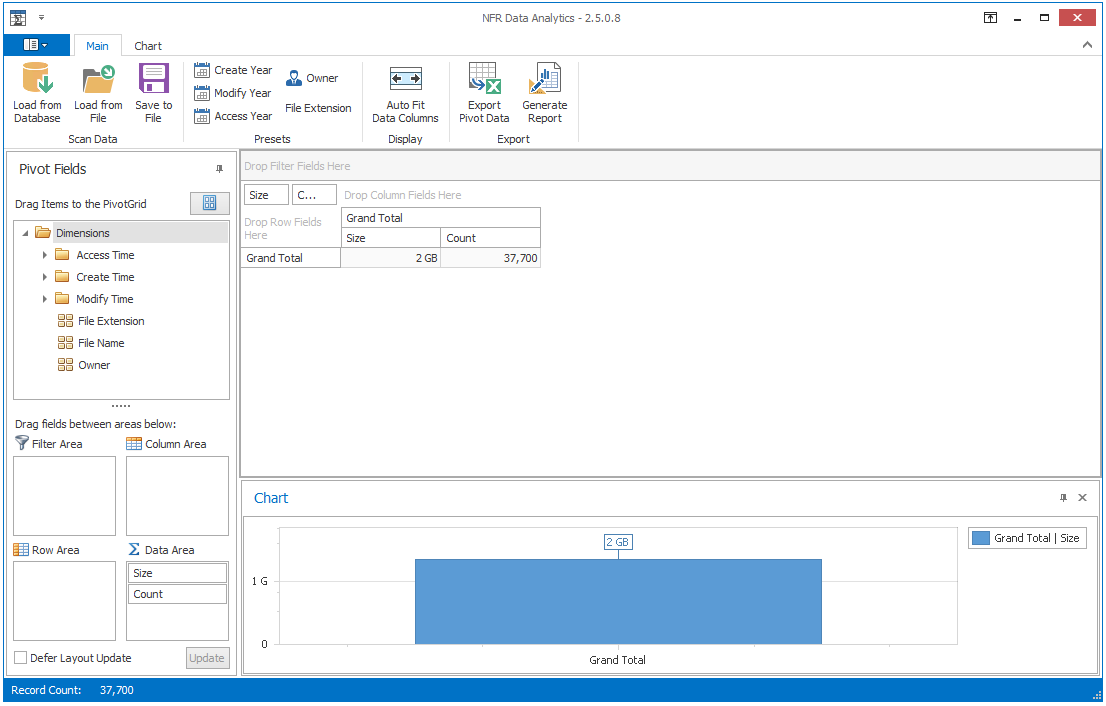
From the region, drag to the right of the column.
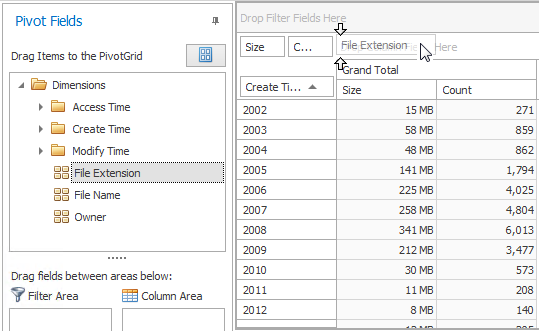
Observe the updated appearance of the pivot table.

-
In the pivot table, double-click one of the cells.

-
Expand the column to see the paths of all listed files.
-
Close the Scan Data Details report.
-
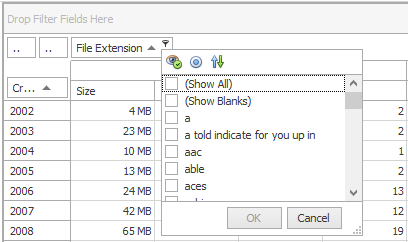
In the pivot table, from the tab that you added, click the associated filter icon; then from the drop-down menu, deselect .
-
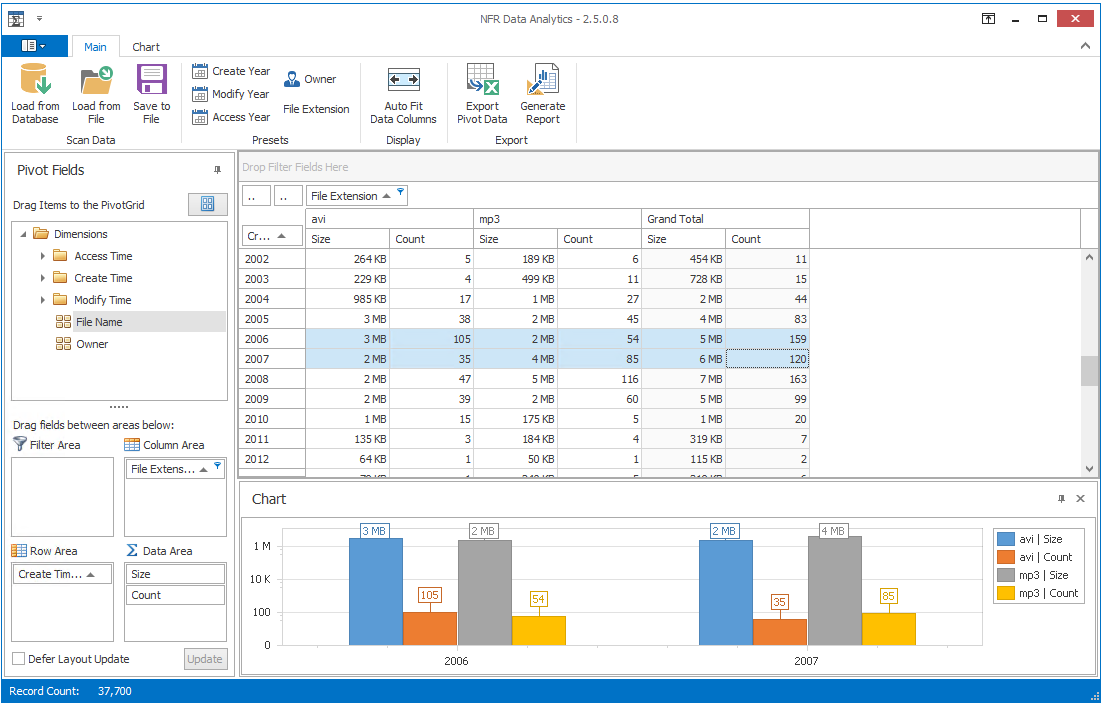
From the same drop-down menu, select two or three common media file types such as mp3, mov, and so forth; then click .
Observe the updated pivot table.
-
In the pivot table, highlight two rows and observe the change in the region.
-
Click the tab and the middle arrow to expand the chart options.
-
Click the option.
-
Click the tab.
-
Click , then view the report.
-
Close the report.
-
Click to save the data locally.
saves only the data. In other words, the data from the scan. After it is saved locally, you can load the data into a pivot table later.