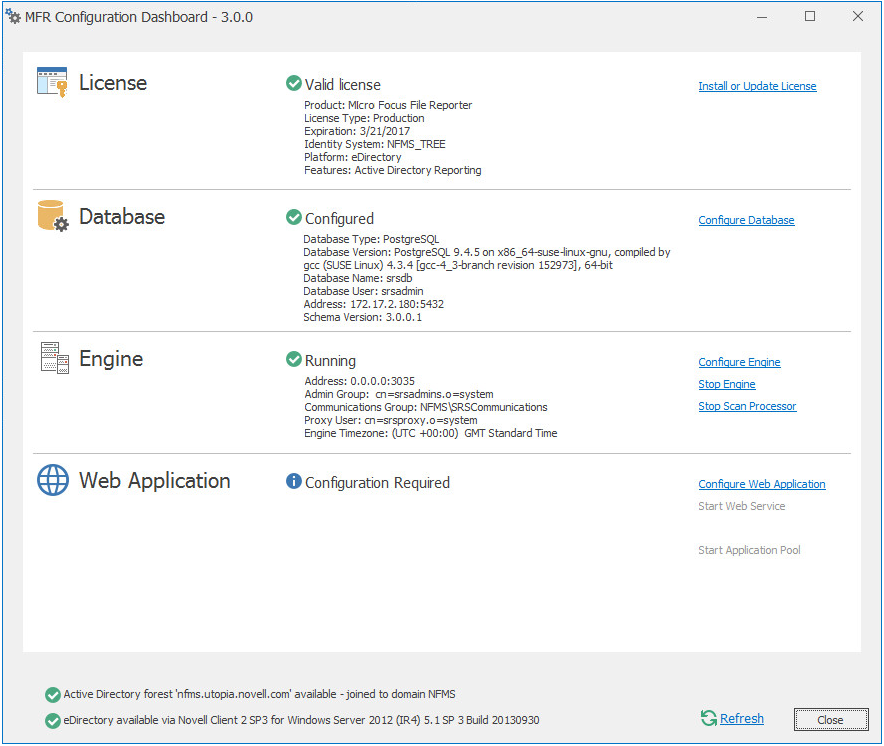
7.6 Configuring the Engine
-
Click .
-
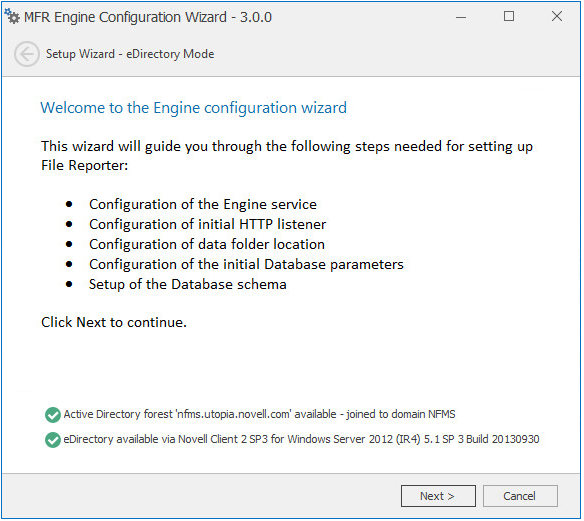
From the wizard page, read the overview of what will be configured and click .
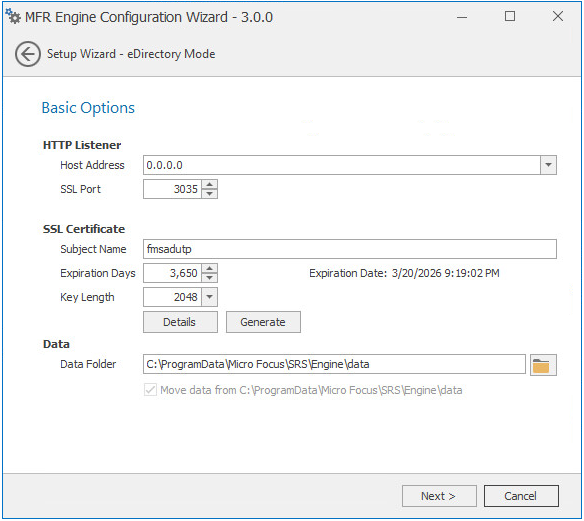
This page lets you confirm or change basic Engine configuration settings.
HTTP Listener: Communication parameters for the Engine.
Host Address: Unless you want the Engine to only listen on a certain IP address, leave this setting as it is.
SSL Port: Unless there is a port conflict, leave the setting at 3035.
SSL Certificate: Details for the SSL certificate that will be generated.
Subject Name: The name of the certificate that will be generated. The server name is listed by default.
Expiration Days: The life span of the security certificate, which is set at 10 years by default.
Key Length: The SSL certificate encryption setting, which is set at 2048 by default.
Details: Click the button to view the certificate data.
Generate: If you modify any of the settings in the SSL Certificate region, click this button to generate a new certificate.
Data Folder: The default location of the Data folder. The Data folder is used for a variety of tasks, including storing Agent configuration data, serving as a temporary repository for scans, and mail spooling.
Move data from (Enabled only during an upgrade): Having this check box selected indicates that content from the Engine’s data folder for the previous version of File Reporter, will be moved to the path specified in the field and the original path with be removed. If this check box is not selected, it will use whatever path is specified in the field, including the original path.
-
Edit any needed parameters settings and click .
If you have installed the Engine and Web Application on a server that is not in a domain, the following page appears:
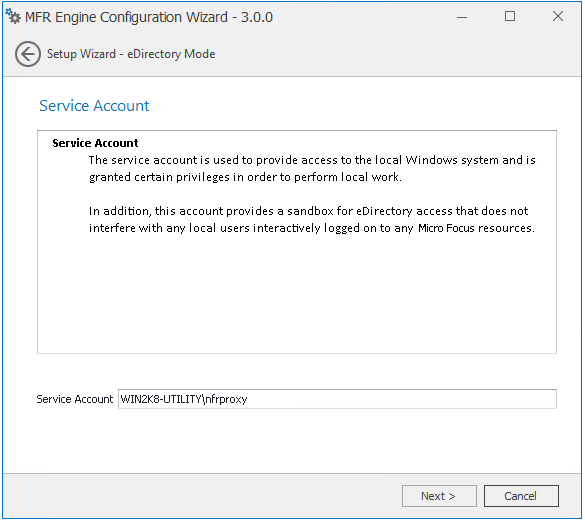
This page lets you establish a local service account.
If, in addition to being logged in to eDirectory as the primary identity system, you are logged into Active Directory, the following page appears:
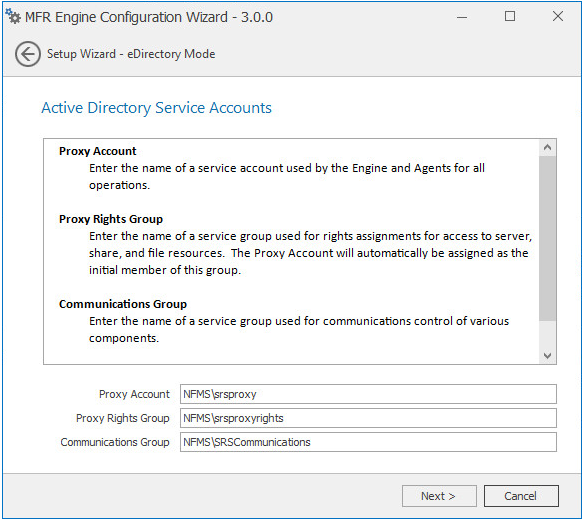
This page lets you establish a name for the proxy account, proxy rights group, and the communications group.
File Reporter uses a proxy account so that Agents can access all of the servers for scanning. A proxy rights group makes it easier to manage the rights of the proxy account. The Scan Processor uses the communications group to secure who can access its service.
The Configuration Wizard establishes default account and group names, which you can modify.
If you are upgrading from a previous version of File Reporter, the and fields will specify the existing proxy account and proxy rights group such as nfrproxy and nfrproxyrights respectively.
-
Click .
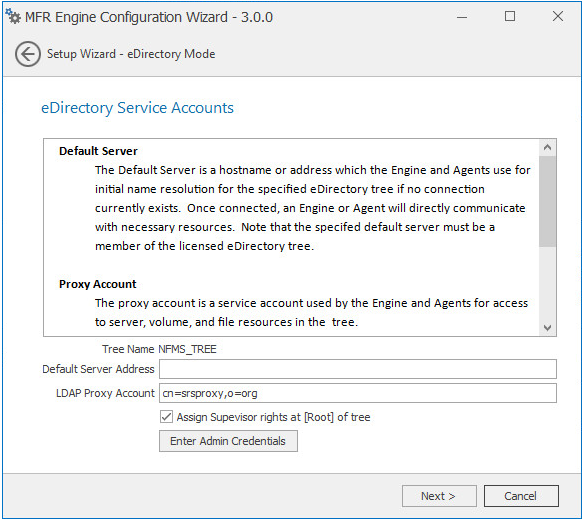
In this page, you create the eDirectory service accounts. These service accounts are needed to access the file system for the files that File Reporter reports on.
Tree Name: Displays the name of the eDirectory tree you are logged in to.
Default Server Address: Specify an IP address or DNS name to any server belonging to the eDirectory tree.
LDAP Proxy Account: Modify the typeful naming to correspond to your organizational structure.
For example, cn=srsproxy,o=system
Assign Supervisor rights at [Root] of tree: By default, the proxy account has Supervisor rights at the [Root] of the directory tree and can therefore report on any network volume. If this option is not selected, File Reporter can only report on volumes where the proxy account is assigned rights.
Enter Admin Credentials: Click this button to access the following dialog box:
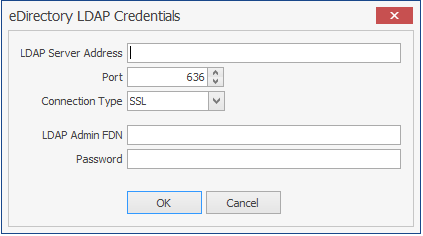
LDAP Server Address: Specify an IP address to any server belonging to the eDirectory tree.
Port: Unless there is a conflict, leave the port setting at 636.
Connection Type: Verify that the setting is .
LDAP Admin FDN: Specify the fully distinguished LDAP name for an administrator.
For example: cn=admin,o=system
Password: Specify the password for the administrator.
-
Specify the default server address, LDAP proxy account, and eDirectory LDAP credentials and click .
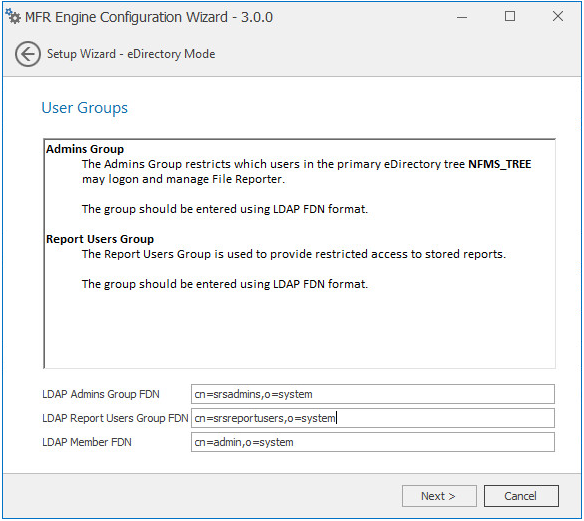
LDAP Admins Group FDN: Based on your organizational structure, modify the path for an admins group that File Reporter will create with LDAP fully distinguished naming.
LDAP Report Users Group FDN: Based on your organizational structure, modify the path for an report users group that File Reporter will create with LDAP fully distinguished naming.
LDAP Member FDN: Specify the LDAP fully distinguished name of an administrator.
-
Complete the fields and click .
-
Click .
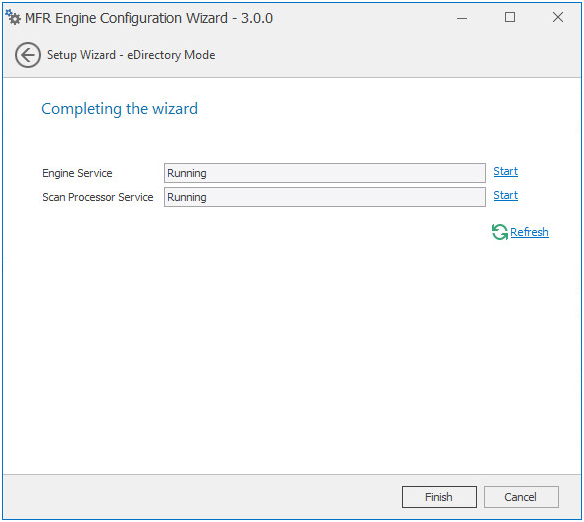
The Engine is now installed, configured, and running.