10.4 Installing and Configuring the Legacy Agent for Windows
-
At the root of the FileReporter_3.6.0.iso image, double-click FileReporter-Agent-3.6.0-x64-xx.exe.
-
Agree to the license terms and conditions and click .
-
When you are notified that the setup was successful, click .
-
From the wizard page, read the overview of what will be installed and configured and click .
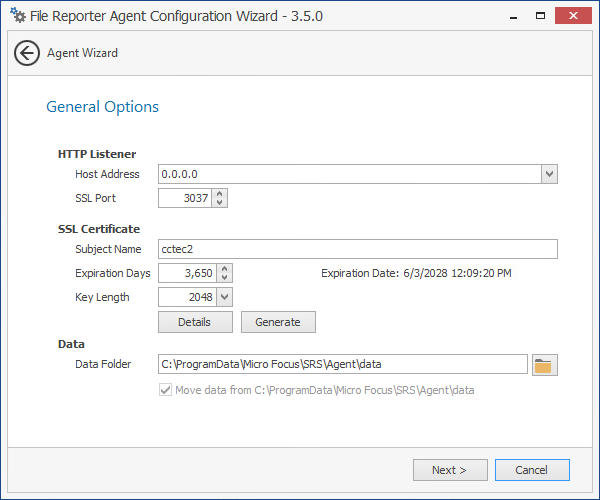
This page lets you confirm or change basic Agent configuration settings.
HTTP Listener: Communication parameters for the Agent.
Host Address: Unless you want the Agent to only listen on a certain IP address, leave this setting as it is.
SSL Port: Unless there is a port conflict, leave the setting at 3037.
SSL Certificate: Details for an SSL certificate that will be generated.
Subject Name: The name of the certificate that will be generated. The server name is listed by default.
Expiration Days: The life span of the security certificate, which is set at 10 years by default.
Key Length: The SSL certificate encryption setting, which is set at 2048 by default.
Details: Click the button to view the certificate data.
Generate: If you modify any of the settings in the SSL Certificate region, click this button to generate a new certificate.
Data Folder: The default location of the Data folder. The Data folder is used for a variety of tasks, including the storage of temporary scan data.
Move data from (Enabled only during an upgrade): Having this check box selected indicates that content from the Agent’s data folder for the previous version of File Reporter, will be moved to the path specified in the field and the original path with be removed. If this check box is not selected, it will use whatever path is specified in the field, including the original path.
-
Edit any needed parameters settings and click .
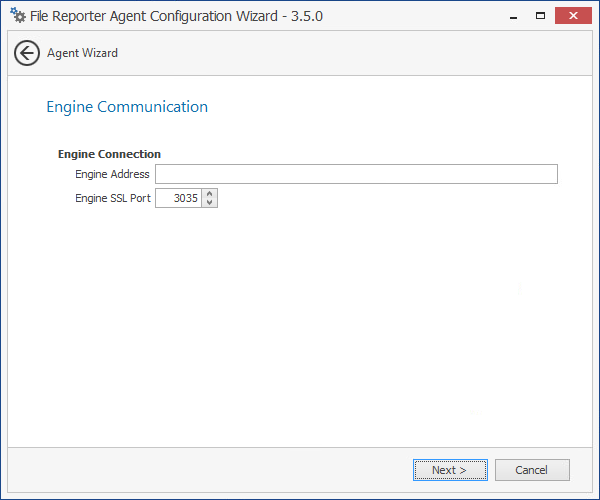
This page lets you set parameters for the Agent to communicate with the Engine.
Engine Address: Specify the DNS name or IP address to the server hosting the Engine here.
Engine SSL Port: Specify the SSL port for the Engine here.
-
Enter the Engine connection settings and click .
-
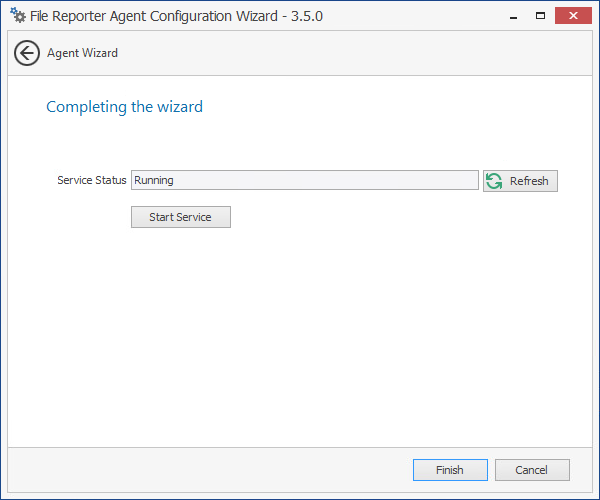
Click .
The Windows Agent is now installed, configured, and running.