6.2 Creating Certificates for RabbitMQ
Certificates are needed to enable TLS for secure messaging between RabbitMQ, ManagerFC, AgentFC, and the Web Application.
-
At the root of the FileReporter_3.6.0.iso image, double-click CertificateGenerator.exe.
-
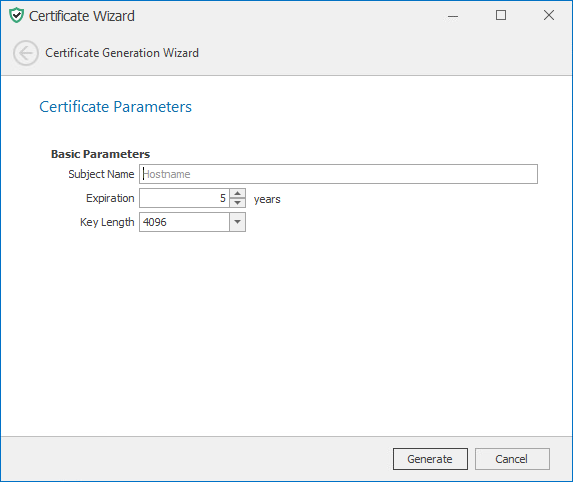
In the field, enter the DNS or IP address for the RabbitMQ service.
-
(Optional) Modify the settings in the other fields.
-
Click .
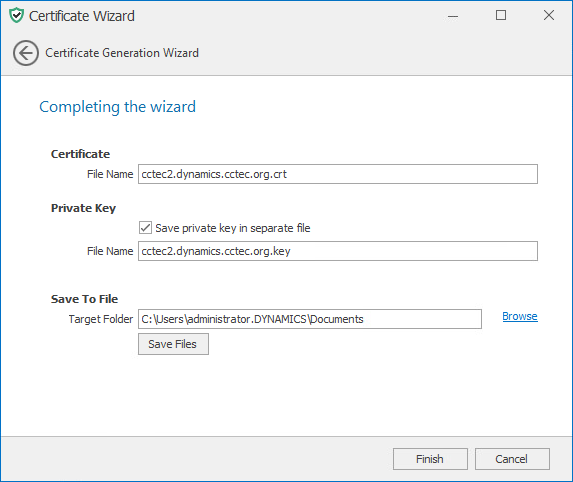
Certificate: Information pertaining to the certificate that is to be generated.
File Name: The default name and path of the certificate to be generated. If you choose, you can modify the name and path.
Private Key: Information and settings pertaining to the private key.
Save private key in separate file: When selected, this option saves the private key as a separate file from the certificate.
For use with RabbitMQ, having a separate key file might be less confusing.
File Name: The default name and path of the private key to be generated. If you choose, you can modify the name and path.
Save To File: Information and the means of saving the certificate and private key.
Target Folder: The default file path for the certificate and if specified, the private key. If you choose, you can modify the path.
Browse: Click to specify a new location for the certificate and if specified, the private key.
-
Make any needed modifications to the settings and click .
If one of the files already exists, you are prompted for overwrite it.
-
When notified that the files have been saved, click .
-
Click .
You will be notified if you have not yet saved your certificate files.
-
From the location where the files were generated, copy them to a folder on the RabbitMQ system.
For example, copy them to the RabbitMQ folder that is created when you extract the rabbitmq.zip file.
-
From the command line, stop the RabbitMQ service by typing: sc stop rabbitmq
-
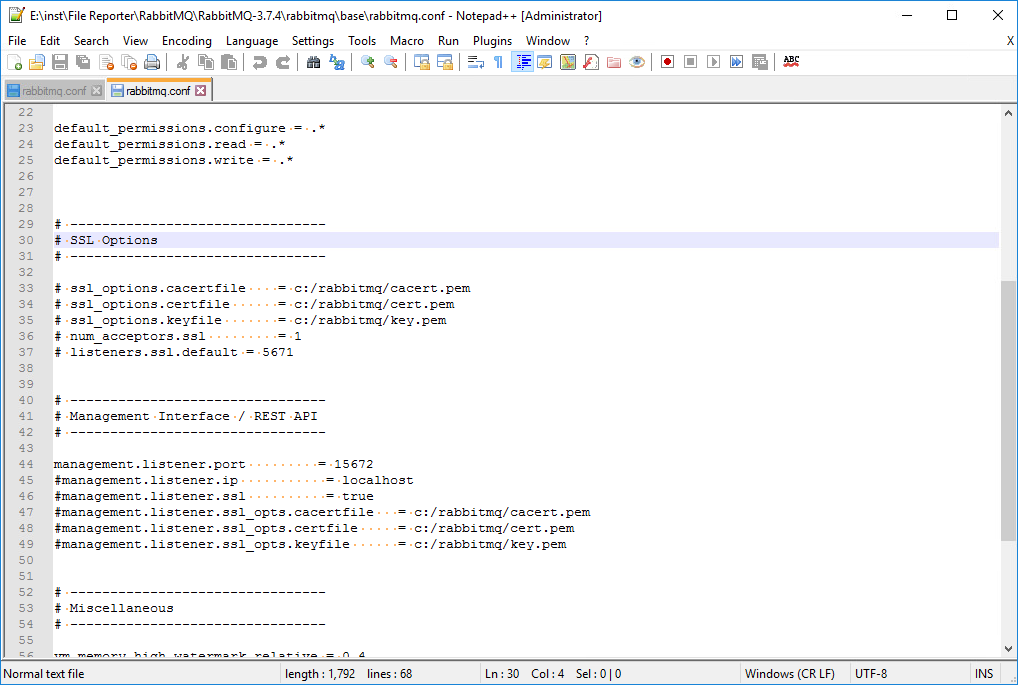
Edit the rabbitmq.conf file located in the rabbitmq\base folder where RabbitMQ was extracted (if using the provided archive).
-
Modify the entries for ssl_options.*
Note that paths are absolute and use forward slashes.
Uncomment the following lines:
- ssl_options.cacertfile
- ssl_options certfile
- ssl_options.keyfile
- num_acceptors.ssl
- listeners.ssl.default
-
Modify the entries for management.* interface.
Note that paths are absolute and use forward slashes.
Uncomment the following lines:
- management.listener.port
- management.listener.ssl
- management.listener.ssl_opts.cacertfile
- management.listener.ssl_opts.certfile
- management.listener.ssl_opts.keyfile
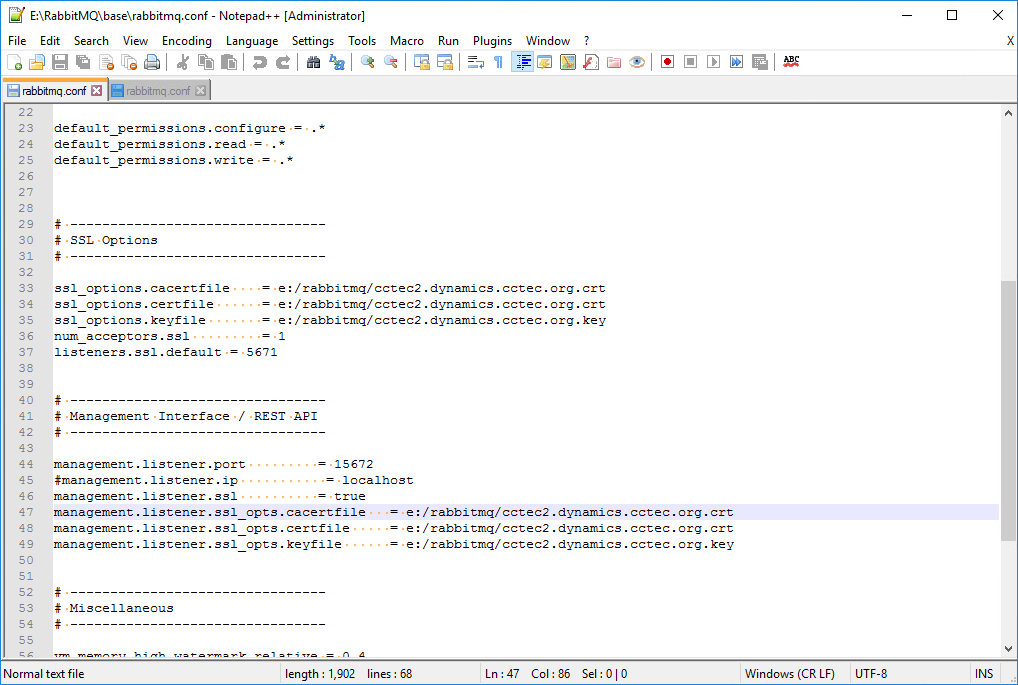
Note that all lines are uncommented except for management.listener.ip.
-
Save any modifications you have made to the configuration file.
-
Close the editor.
-
From the command line, restart the RabbitMQ service by typing: sc start rabbitmq
-
From a Web browser, access the management interface for RabbitMQ by typing: https://rabbitmq.domain_name:15672
This port might need to be opened in the firewall.
-
Verify that the certificate is in use by the Web browser.
-
Proceed with Section 6.3, Installing Rabbit MQ.