13.3 Installing and Configuring AgentFC
-
At the root of the FileReporter_3.6.0.iso image, double-click FileReporter-AgentFC-3.6.x64-xx.exe.
-
Agree to the license terms and conditions and click .
-
When you are notified that the setup was successful, click .
-
From the wizard page, read the overview of what will be installed and configured and click .

The settings in this page let you establish specifications pertaining to the utility that performs text parsing, or the analysis of text in files.
Java Runtime: These fields pertain to setting for the Java runtime that was installed during the installation of AgentFC.
Java Home: Specifies the location of where the Java runtime and related files are installed.
Browse: Allows you to specify a new path. In most cases, you should utilize the default path.
Verify: Click to verify that AgentFC can properly access a valid Java runtime.
Class Path: Displays the location of Java classes and packages as well as Apache Tika for content analysis. Unless directed by a Micro Focus Support representative during a technical support call, you should not make changes to this field.
Start Class: Specifies Apache Tika as a Java Start Class. This field cannot be edited.
JVM Parameters: This field is provided as a means for a Micro Focus Technical Support representative to help a customer tune the performance of the Java Virtual Machine. Any settings in this field should be done through the direction of a Micro Focus Support representative.
Tika Options: These fields are specific to Apache Tika.
Host Address: The AgentFC communicates with Tika via the localhost, or the same computer where the AgentFC is being hosted. You should not adjust this setting.
Port: Unless there is a conflict, leave this setting at 9998.
Enable Tesseract OCR: Tesseract OCR is an open source optical character recognition engine from Google that can be the means of locating patterns and content in graphical images. Enabling this engine is resource intensive and it is therefore disabled by default. If you enable this option, beware of performance ramifications. Furthermore, if you enable this option, it should be enabled on all deployed instances of AgentFC.
Data: Information specific to the data gathered through text parsing.
Data Folder: This field specifies the temporary location where scanned files are processed before being sent to the database.
Browse: Lets you specify a new location for the data folder.
-
Complete the fields and click .
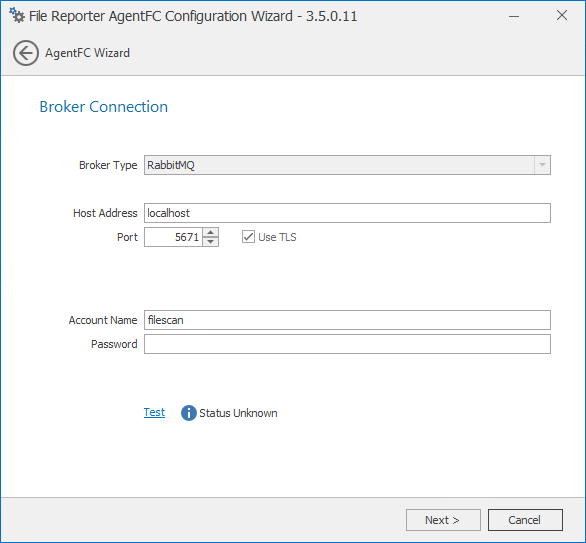
This page lets you establish settings for communication between AgentFC and the RabbitMQ messaging broker.
Broker Type: Displays the RabbitMQ messaging broker.
Host Address: Specify the IP address or DNS name of the server hosting RabbitMQ.
Port: This is the port that the Management API for RabbitMQ is listening on with TLS support enabled, which by default is 5671.
Use TLS: The RabbitMQ messaging broker in File Reporter requires Transport Layer Security (TLS) as the cryptographic communications security protocol.
Account Name: This field displays the default database broker account name used within RabbitMQ. This was created during the configuration of ManagerFC. For more information, see Section 9.2, Installing ManagerFC.
Password: Enter the admin account password that you set up when you configured ManagerFC.
Test: Click to test the connection between AgentFC and RabbitMQ.
-
Complete the fields and click .

This page lets you establish needed privileges for the AgentFC host via the Proxy Rights Group.
-
In the Proxy Rights Group field, enter the name of the Proxy Right Group, which by default is SrsProxyRights.
-
Click .
-
Click .