1.14 Configure Restore Area on Windows
Once a backup has been created, the link to the Restore Area can be made.
1.14.1 Install Samba Server on the GroupWise Disaster Recovery Server
To install Samba Server:
-
Open YaST and click .

-
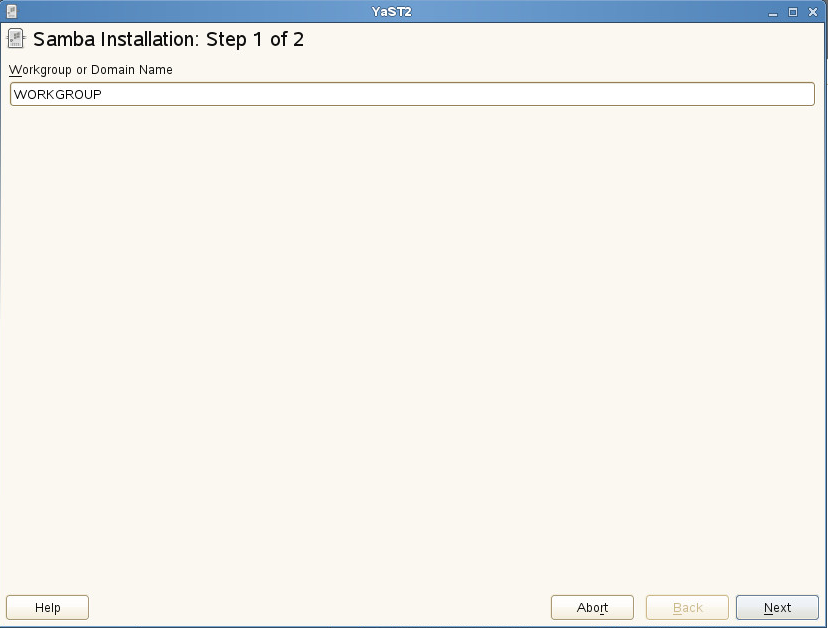
Provide a Workgroup or Domain Name (default WORKGROUP), and click .
-
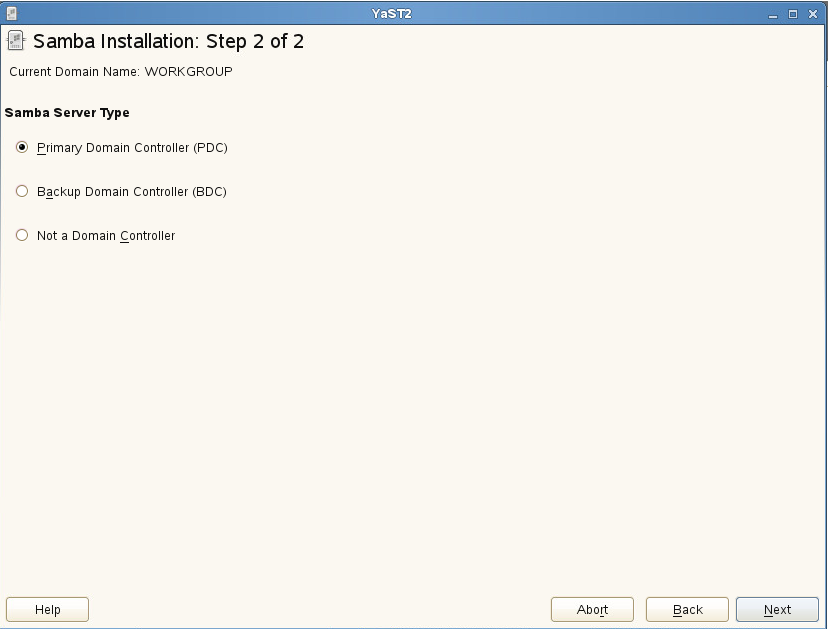
Choose Samba Server Type (default Primary Domain Controller), and click .
-
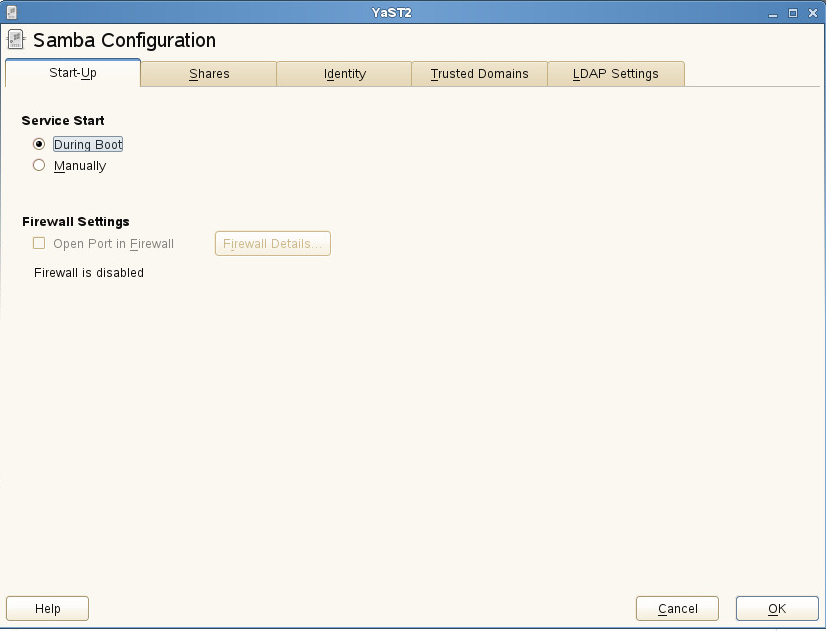
Set Service Start to , and click .
-
Provide an administrator password.

Set Up the Share
To set up the share:
-
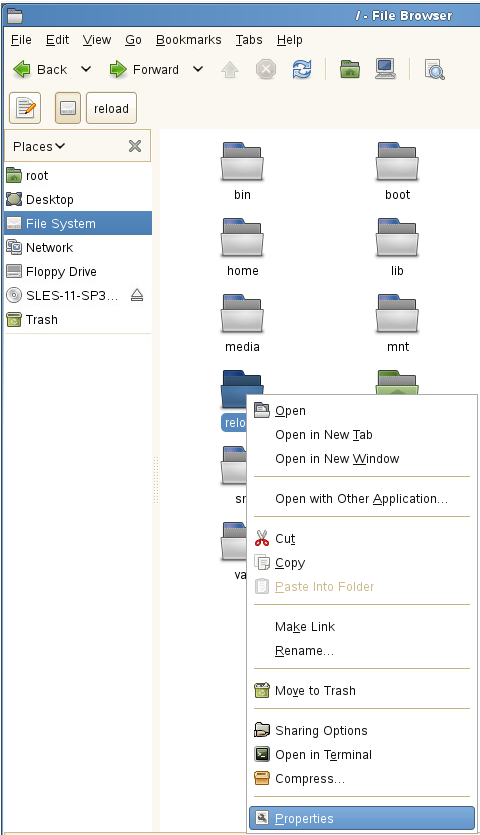
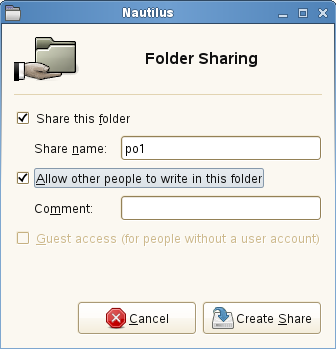
Using the Nautilus File Browser, browse to the parent directory of the profiles. For example, /reload with the sub-directory /reload/po under it.
-
Right-click the parent directory of your profiles, and select .
-
Select the tab, and do the following:
-
Enable , and give it a share name.
-
Enable .
-
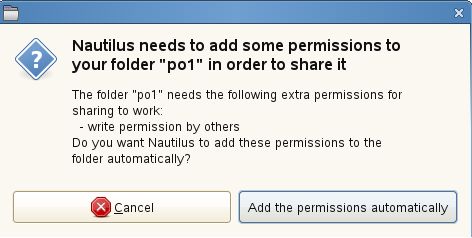
Click .
-
-
When prompted, click .
Configure the SAMBA Connection in GroupWise Administration
The Restore Area needs to be defined and the users given access to it.
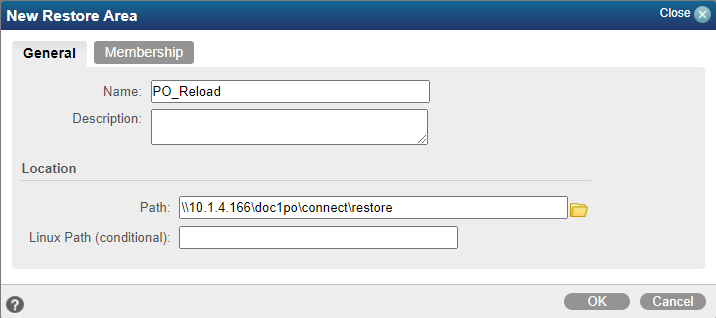
Create Post Office Restore Area, this will need to be done for each Post Office.
To create a Post Office Restore Area:
-
Open the GroupWise Administration console and navigate to > .

-
Click , and enter a name and description.
-
Set the Path to the Samba share, adding \connect\restore
\\<GroupWise Disaster Recovery Server Address>\<Post Office Directory>\connect\restore
For example, \\10.1.1.123\po1\connect\restore
-
Do not complete the Linux path field.
-
Under the tab, click and select .
-
Select a post office from the list, and click .