5.6 Creating Server Only Model Domain Profiles
5.6.1 Domain Profile: Server Only Model
On the GroupWise server, create an NFS mount. Each domain and post office must receive their own mount points.
-
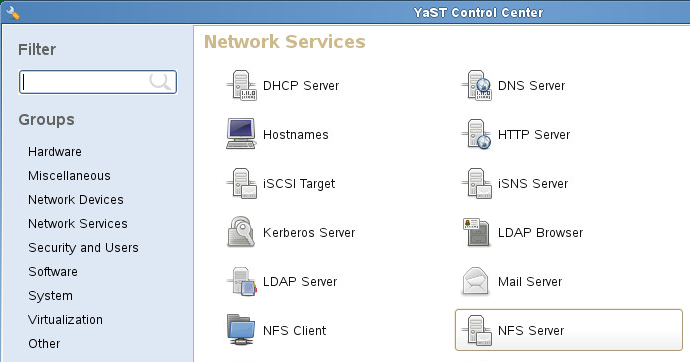
Start YaST2
-
Install NFS Server
-
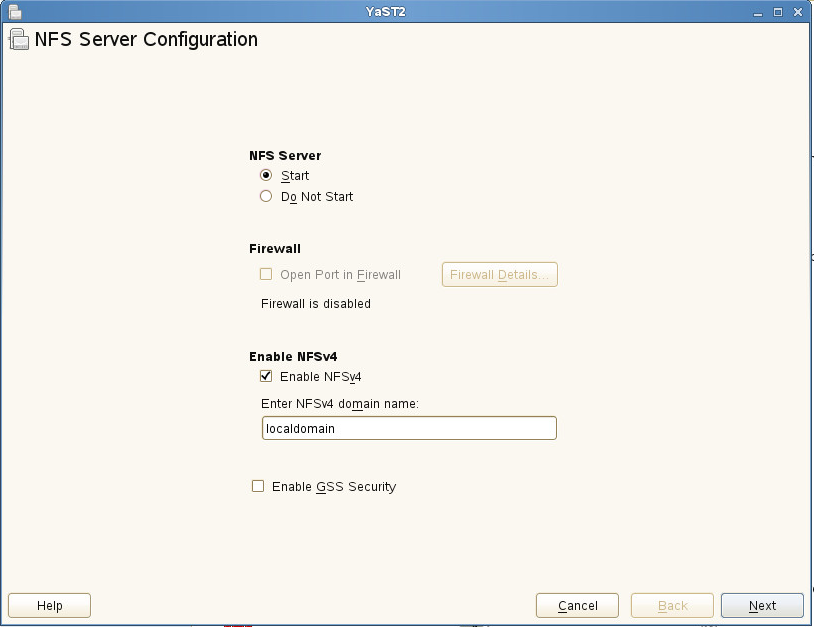
Configure NFS Server:
-
Set NFS Server to start
-
Open the port in the firewall, if applicable.
-
-
Add Directory:
-
Browse to the domain directory. For example /groupwise/domain
-
Set options to: rw,no_root_squash,sync
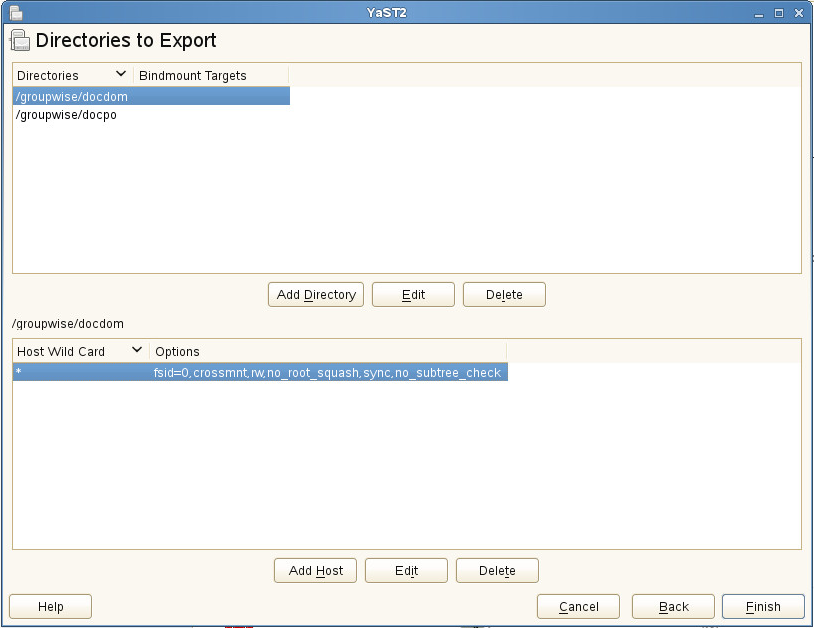
-
-
Press Finish to complete setup.
On the Reload server, create a data directory and a profile
-
Create a directory for the backup data. For example:
mkdir /reload
-
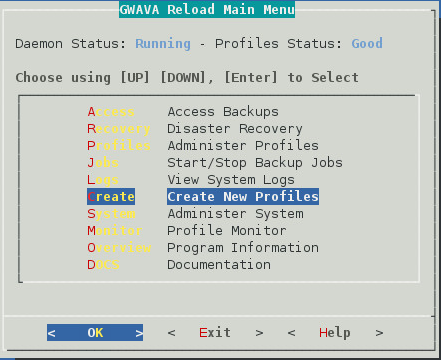
Start the Reload Administration Console by typing on the command line:
reload
-
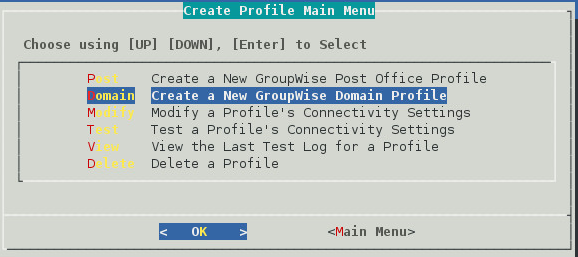
Select "Create (Create Profile)"
-
Select "Domain (Create a New GroupWise Domain Profile)"
-
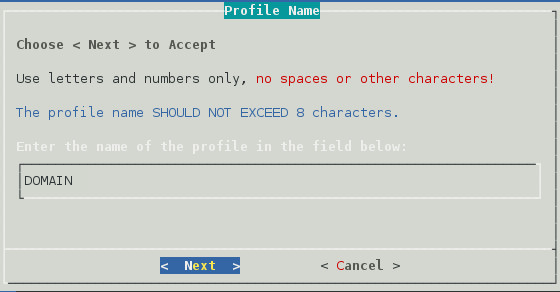
Give the Profile a Name. The profile name should not exceed eight characters. Use letters and numbers only, no spaces or other characters. For example: Domain Be aware, that a profile cannot be renamed, once it has been created. Choose the name wisely. Perhaps you will want to name the profile so that its name is the same as the GroupWise post office or domain that the profile represents. Select the Next button.
-
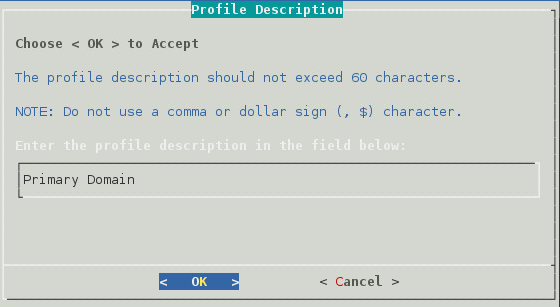
Give the Profile a Description. The profile description should not exceed 60 characters and should not have comma(,), nor dollar sign($) characters. For example: Primary Domain. The description of the profile will be added to the Agent Log when backup jobs are run for the profile. Select the Next button.
-
Enter the path or browse to the local destination directory to store the backup data. For example: /reload. This path can be a location on the Linux server, or an NFS mount to another Linux/Unix server, or to a SAN. The path should always be available; Reload is not configured to mount paths in order to access stored data. Also, the path should be to a location that has a lot of disk space available. Select the Next button.

-
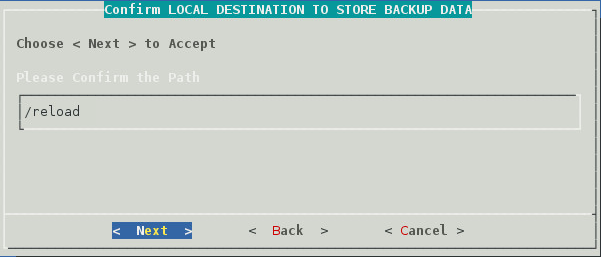
Confirm the path to the local destination directory
-
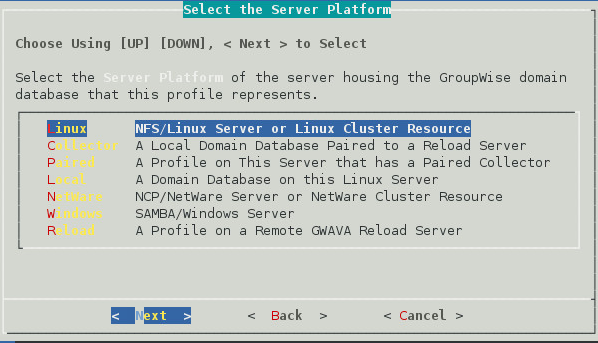
Select the Server Platform: "Linux (NFS/Linux Server or Linux Cluster Resource)"
-
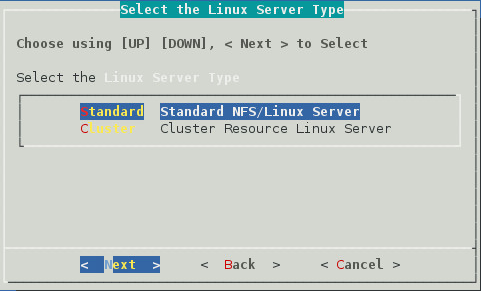
Select Linux Server Type: "Standard (Standard NFS/Linux Server)"
-
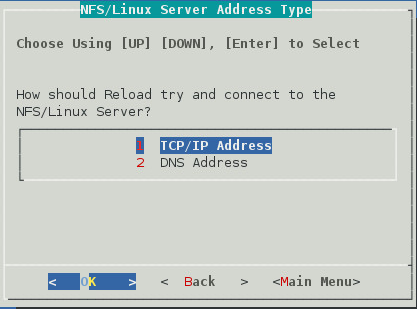
Select NFS/Linux Server Address Type: "1 (TCP/IP Address)" or "2 (DNS Address)"
-
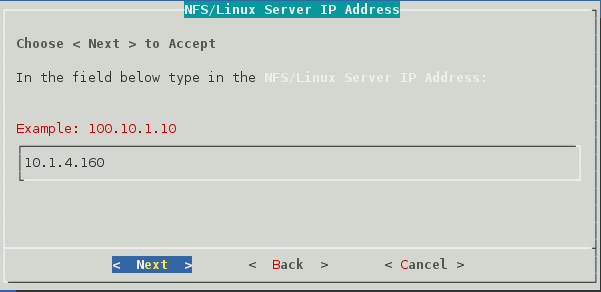
Enter the NFS/Linux Server IP Address or DNS hostname Address
-
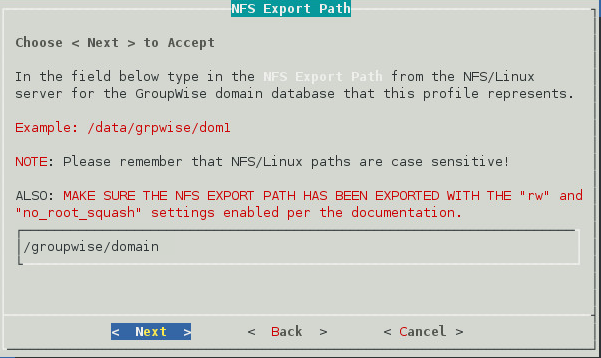
Enter the NFS Export Path on the GroupWise server from above. For example: /groupwise/domain
-
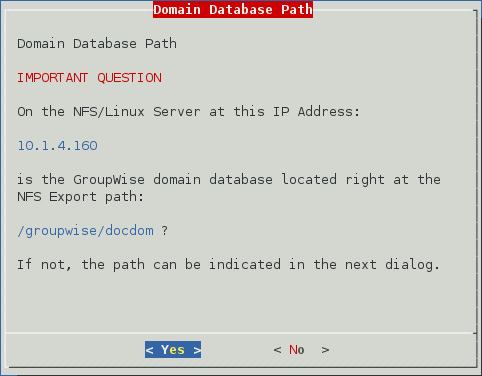
A warning page appears that asks if the IP Address and Export path are correct.
-
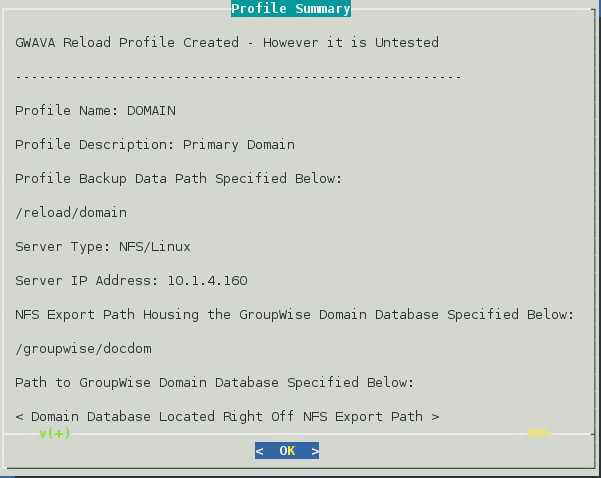
A Profile Summary page appears
-
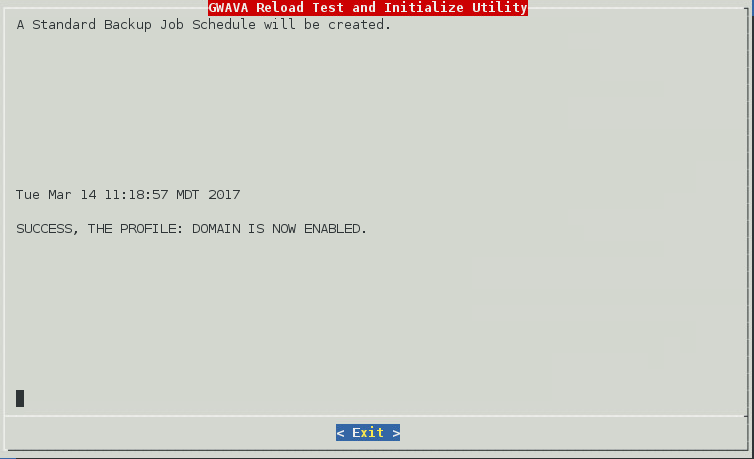
The Test and Initialize page allows you to finalize the profile by selecting Test.
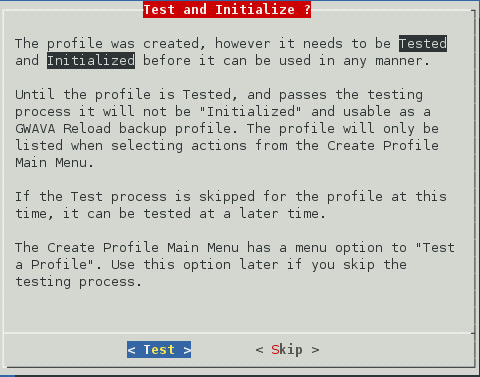
-
If the configuration is incorrect, select Skip and makes your changes.
-
Run the test and it will indicate success or failure.