5.9 Configure Restore Area on Linux
Once a backup has been created the link to the Restore Area can be made.
5.9.1 On the Reload Server, enable NFS Server
-
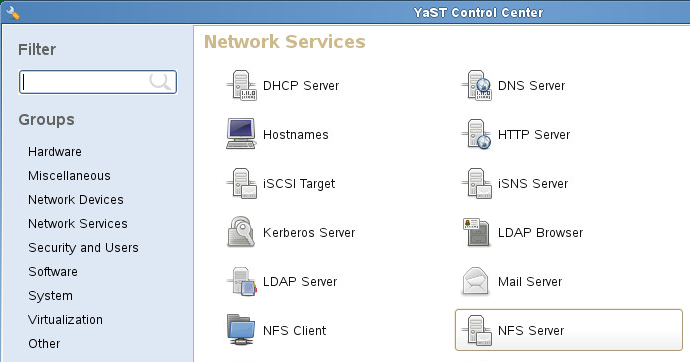
Open YaST2 and select Network Services | NFS Server
-
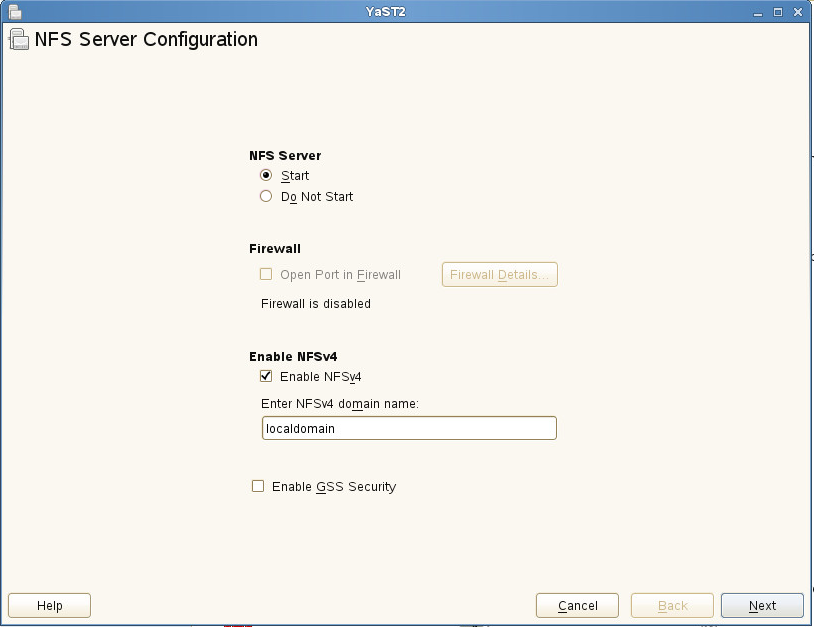
Configure NFS Server:
-
Set NFS Server to start
-
Open the port in the firewall, if applicable.
-
-
Select Add Directory button:
-
Set options: rw,no_root_squash,sync
-
Browse to the post office backup directory. For example: /reload/po
-

5.9.2 On the Linux GroupWise Server
Create a mount point:
-
Open a terminal window
-
Create a local directory for the mount point. Generally, this is placed in the /mnt directory. For example:
mkdir /mnt/restore
Enable NFS Client:
-
Open YaST2 and select Network Services | NFS Client
-
Click on Add
-
Set the NFS Server Hostname to the Reload server IP address or hostname
-
Set the Remote Directory to the backup directory on the Reload server. For example: /reload/po
-
Set the Mount Point to the one created on the GroupWise server
-

5.9.3 In GroupWise Administration
The Restore Area needs to be defined and the users given access to it.
Create Post Office Restore Area, this will need to be done for each Post Office:
-
Browse to GroupWise Administration https://<GroupWise_Server_Address>:9710
-
Open System | Restore Area Management

-
Select New
-
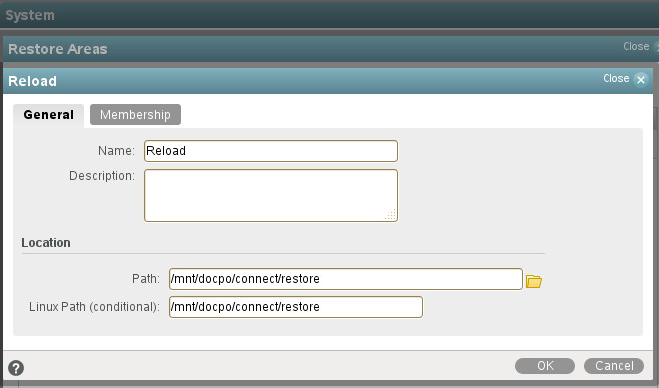
Enter a Name and Description:
-
Set the Path and Linux Path to the mount point adding /connect/restore. For example: /mnt/backup/connect/restore.
-
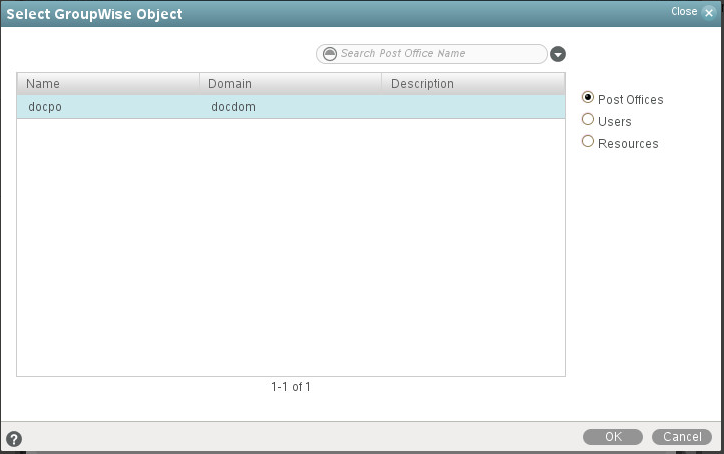
Under the Membership tab, click Add:
-
Select Post Offices
-
Add Post Office
-
Click Ok
-
Click Ok
-
Click Close