4.2 OES 2 Samba Configuration
From the GUI of your choice, select and open YaST from the applications list.

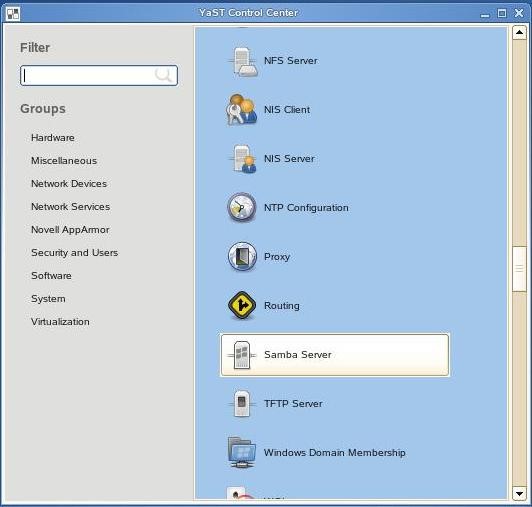
From the YaST Control Center, Select the Network Services category then find and select the Samba Server object.
After the Samba Server Configuration starts, you will be asked for some basic information on your network setup. The first step is to either join an existing windows workgroup or create a new workgroup for your Samba share to broadcast in.

For our purposes, and to keep this share somewhat anonymous, create a new workgroup, named anything you like.
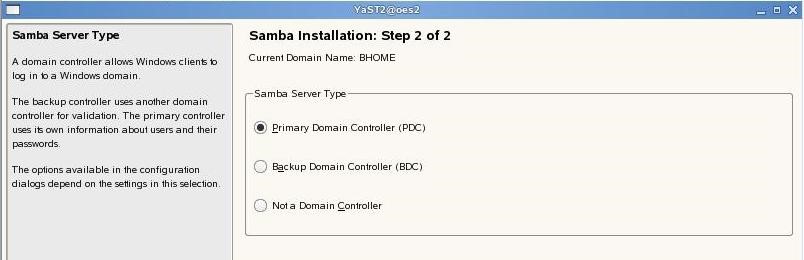
The Samba Server needs to know if it is going to be the Domain Controller for the Workgroup or not. Since we created our own workgroup, select Primary Domain Controller.
Set the Startup to During Boot so that the share will be available when the server is up.

Switch to the Shares tab in the configuration window.
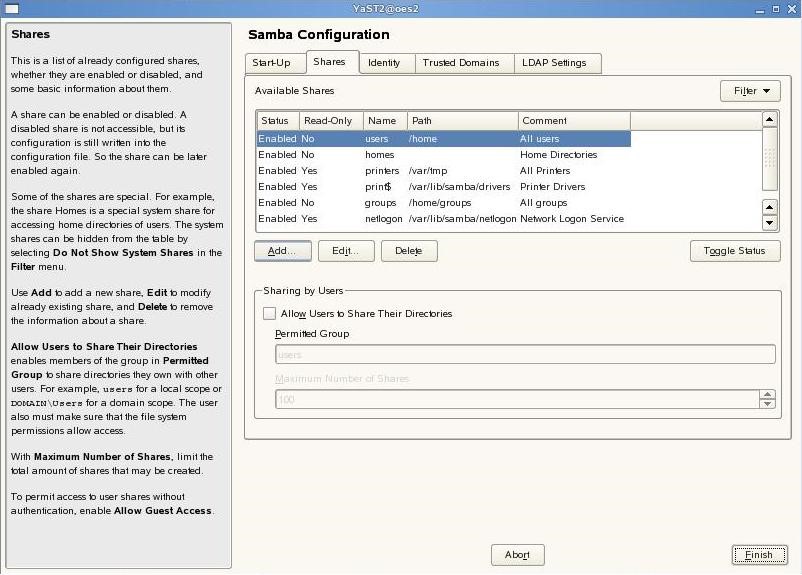
We are not currently sharing the necessary folder to access the domain database.
Select Add.

The Share Name is what will show as the name of the folder in your Windows browser
The share description is what will show in the properties, or mouse-over in a Windows browser
Make sure you have Directory selected in the Share type, and select Inherit ACL’s. Vertigo will need the rights to edit the database, make sure that Read-Only is not selected.
Enter the absolute path, or browse to your domain directory in the Share Path dialog box.
Select Identity

Since we created our own workgroup, we need to enable WINS Server Support.
Select Finish from the bottom right.
You should be asked to specify a Samba root Password.
Enter the root password, verify, and click OK

Allow YaST to finish creating the share and start the Samba Service. This should be done automatically.
Return to your Windows workstation and open an explorer browser.
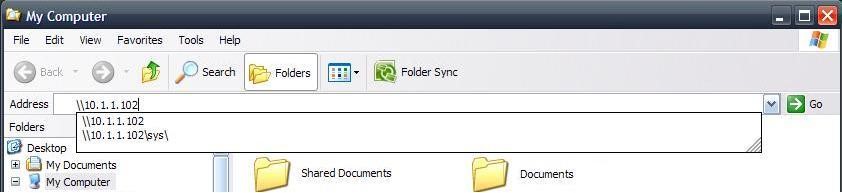
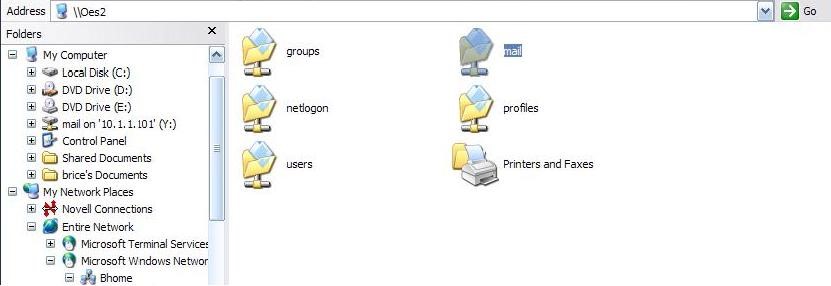
There are two ways to connect to your samba share. The first way, and usually the quickest way, is to enter the ip address of the server with the share in the format //<ip address> or you can also use the hostname, //<hostname>. (ie. //10.1.1.102 or //oes2 )
The second way to connect to the share is to browse to the server through the My Network Places tree.
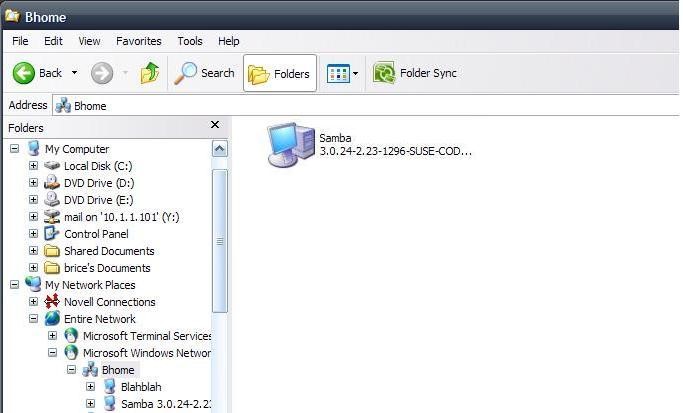
The share should show up like the pictured system above, under the workgroup you created. Open the computer and locate the desired share. In this case, we called the share ‘mail’.
Double-click on the share containing your domain database. You should be required to authenticate to the Samba system.
Enter the user ‘root’ and the samba password you entered earlier.

After authenticating, you should be able to view the domain directory and its contents.

Now you know that your system is working.
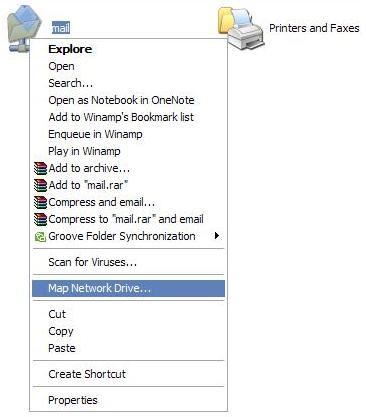
Right-click on the shared directory, in this case, ‘mail’.
Select the Map Network Drive Option.
Assign the desired drive letter to your mapped Samba share to the GroupWise domain database.

Select Finish to complete the setup of the mapped drive.