4.4 Installing Identity Manager on Windows
This procedure covers the installation of the Metadirectory Server, Web Components, and Utilities for Windows.
Before you begin, make sure your system meets the requirements listed in Section 4.2, Identity Manager Components and System Requirements.
-
Download and extract the Identity Manager installation file.
You can download the Identity Manager installation file from Novell's Download site
-
Once extracted, double-click the install.exe file found in the \NT directory.
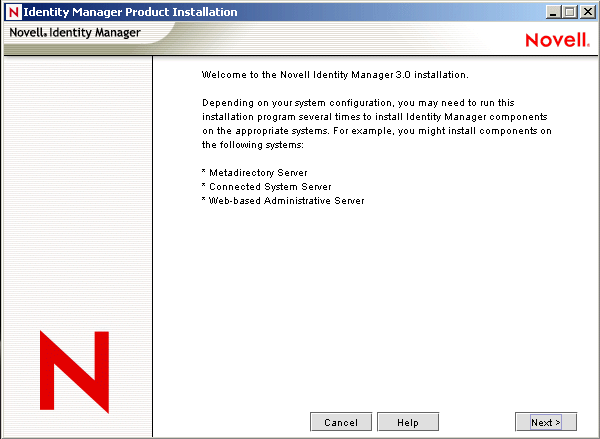
After the files have finished copying, the Identity Manager Product Installation screen appears.
Figure 4-9 The Initial Identity Manager Installation Page
-
Click Next to begin the installation.
-
Read the license agreement, then click I Accept.
-
Review the Overview pages describing the system types, which include the Metadirectory Server, the Web Components, and the Utilities. Then click Next to continue.
This information is also covered in the table under Section 4.2, Identity Manager Components and System Requirements.
-
On the Identity Manager Install page, select the components you want to install:
Figure 4-10 Identity Manager Installation Options
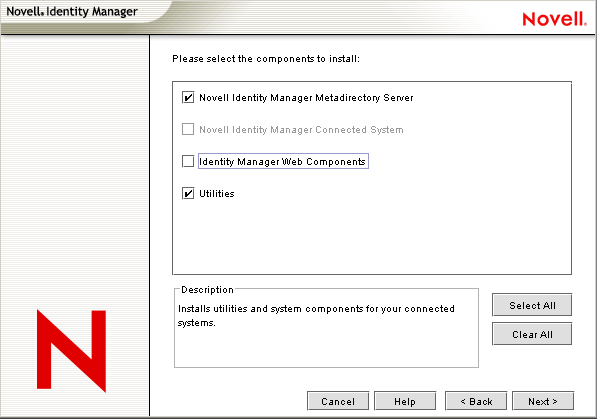
The following options are available:
-
Metadirectory Server: Installs the Metadirectory engine and service drivers. These include Identity Manager Drivers for eDirectory, LDAP, JDBC, GroupWise, Delimited Text, Composer, Remedy, Avaya, SOAP, SIF, and the Novell Audit agent. Selecting this option also extends the eDirectory schema.
Novell eDirectory must be installed before you can install this option. Install the Metadirectory Server component where you want to run the Metadirectory engine for Identity Manager.
-
Connected System: Installs the Remote Loader that allows you to establish a link between the connected system and a server running the Metadirectory engine. For Windows, this option installs the following drivers: Active Directory, Delimited Text, Exchange, GroupWise, JDBC, LDAP, Lotus Notes, NT Domain, PeopleSoft, Composer, Remedy, Avaya, SOAP, SAP, and SIF.
Install the Connected System to allow application connection from an application server to an eDirectory-based server running the Metadirectory engine. This procedure is covered under Section 4.5, Installing the Connected System Option on Windows.
-
Web Components: This option installs driver configurations, iManager plug-ins, and application scripts and utilities.
Novell iManager must be installed before you can install this option.
-
Utilities: Installs additional scripts for the JDBC driver and utilities for other drivers. Most drivers don't have a utility connected to them.
-
-
Click Next.
-
Select the drivers you want to install, then click Next.
Figure 4-11 Selecting Drivers for the Metadirectory Engine.
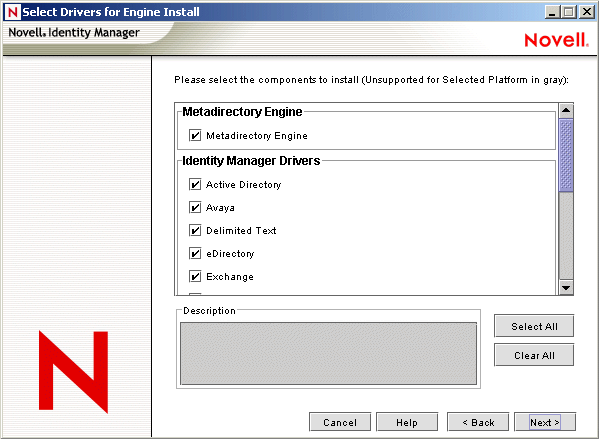
The Select Drivers for Engine Install page shows you which drivers can be installed on a corresponding platform. By default, all available drivers are selected.
We recommend installing all of the driver files, so you won't need to run the installation program later if you want another driver. The driver files are not used until a driver is configured through iManager or through Designer.
-
When you see the informational message reminding you about product activation, click OK.
You need to activate the drivers within 90 days of installation; otherwise, they will shut down.
-
You will also see the Password Synchronization Upgrade Warning! message. Click OK.
This message is for Windows servers running Password Synchronization 1.0. If you want backward compatibility to 1.0, you must add additional policies to the driver configuration files. Without the policies, Password Synchronization 1.0 works for existing accounts, but not for new or renamed accounts
-
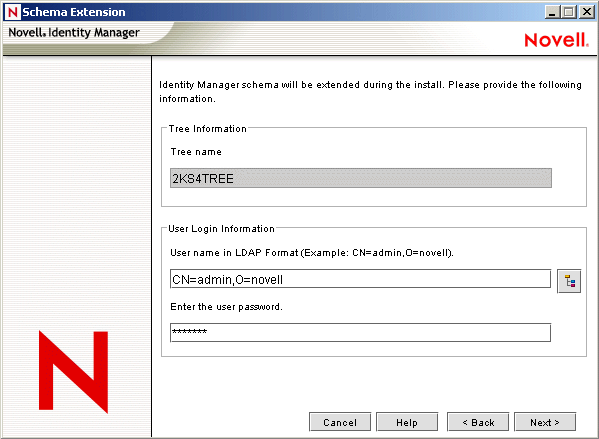
On the Schema Extension page, specify the following:
Figure 4-12 The Schema Extension Page
-
User Name: Specify the username (in LDAP format, such as CN=admin,O=novell) of a user (such as Admin) who has rights to extend the eDirectory schema.
-
User Password: Specify the user's password.
-
-
Click Next. When the user information is validated, you see the first (of three) Components pages:
-
On the first Components page, select the driver configurations and the iManager plug-ins, then click Next.
Figure 4-13 First Components Page
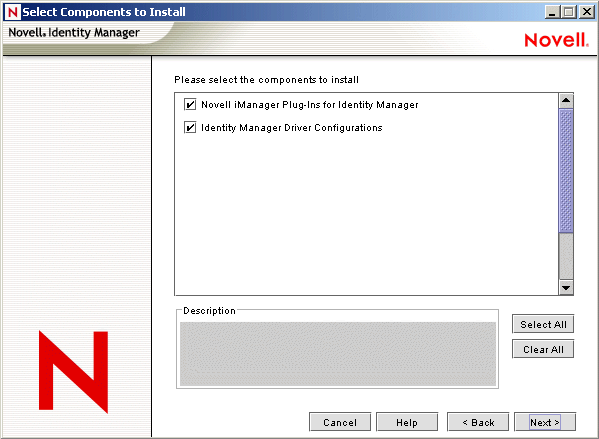
You will see an additional screen that installs the Identity Manager plug-ins for iManager, using the SSL Port 443. Click Next.
-
On the second Components page, click Next.
The Novell Audit System Components for Identity Manager is highlighted if you have the Novell Audit System installed on the server. Otherwise, it is not selected. The Application Components selection installs components for such application systems as JDBC and PeopleSoft.
-
The third Components page installs the utilities. Click Next.
The Windows installation presents you with an additional screen showing the directory where the Application Components are placed. The default is C:\Novell\NDS\DirXMLUtilities. Click Next.
-
On the Select Components to Install page, platform-specific utilities are dimmed if they are available for platforms other than the one you are installing on. For Windows, all components are available, including SQL Scripts for JDBC Driver, PeopleSoft Components, License Auditing Tool, Active Directory Discovery Tool, Lotus Notes Discovery Tool, and SAP Utilities.
-
Read and verify your selections on the Summary page, then click Finish.
Figure 4-14 Summary Screen of the Products and Components
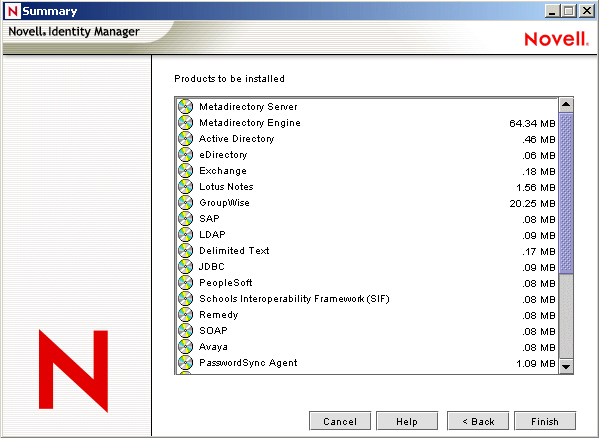
The Novell Identity Manager installation process shuts down eDirectory to extend the schema. The installation process commences installing the selected products and components.
-
After the installation completes and displays the Installation Complete dialog box, click Close. Restart the server to complete the installation of the Metadirectory engine and restart Tomcat.