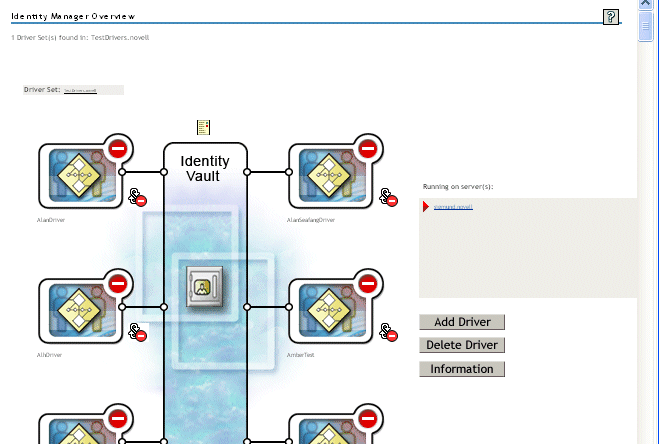
3.1 Creating the User Application Driver in iManager
You must create a separate User Application driver for each Identity Manager Roles Based Provisioning Module, except for Roles Based Provisioning Modules that are members of a cluster. Roles Based Provisioning Modules that are part of the same cluster must share a single User Application driver. For information on running the Roles Based Provisioning Module in a cluster, see the Identity Manager User Application: Administration Guide .
The Roles Based Provisioning Module stores application-specific data in the User Application driver to control and configure the application environment. This includes the application server cluster information and the workflow engine configuration.
IMPORTANT:Configuring a set of non-cluster Roles Based Provisioning Modules to share a single driver creates ambiguity for one or more of the components running inside the Roles Based Provisioning Module. The source of the resulting problems is difficult to detect.
To create a User Application driver and associate it with a driver set:
-
Open iManager 2.6 or later in a Web browser.
-
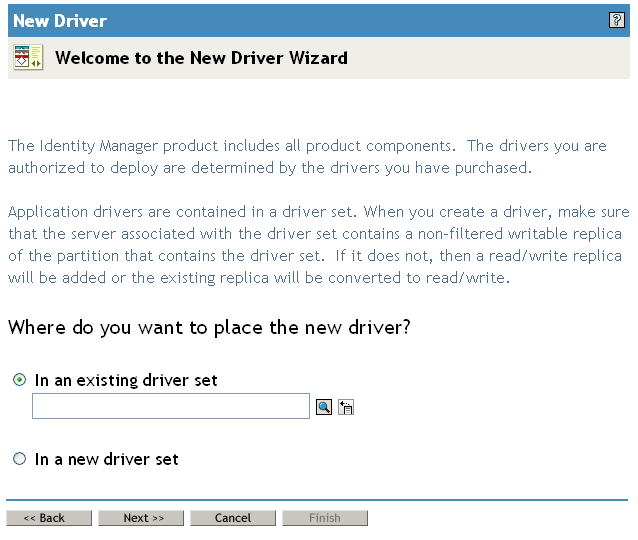
Go to Roles and Tasks > Identity Manager Utilities and select New Driver to launch the Create Driver Wizard.
-
To create the driver in an existing driver set, select , click the object selector icon, select a driver set object, click Next, and continue with Step 4.
or
If you need to create a new driver set (for example, if you are placing the User Application driver on a different server from your other drivers), select , click Next, then define the new driver set properties.
-
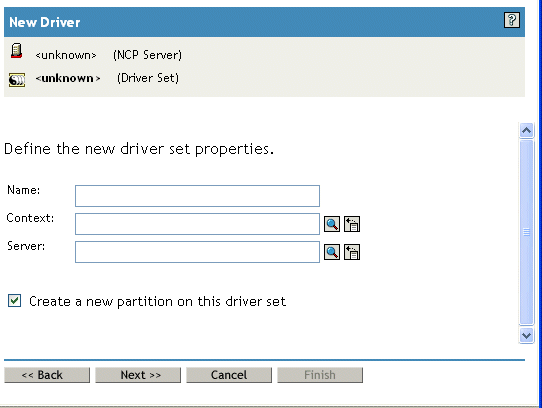
Specify a name, a context, and a server for the new driver set. The context is the eDirectory™ context where the server object is located.
-
Click .
-
-
Click Import a driver configuration from the server (.XML file).
-
Select UserApplication_3_6_0-IDM3_5_1-V1.xml from the drop-down list. This is the User Application Driver configuration file that supports the Roles Based Provisioning Module.
If UserApplication_3_6_0-IDM3_5_1-V1.xml is not in this drop-down list, you did not copy this file to the correct location. Please refer to Section 2.7.4, Copying the User Application Driver Configuration File.
-
Click Next.
-
You are prompted for parameters for your driver. (Scroll to view all.) Make a note of the parameters; you need these when you install the Roles Based Provisioning Module.
-
Click Next.
-
Click Define Security Equivalences to open the Security Equals window. Browse to and select an administrator or other Supervisor object, then click .
This step gives the driver the security permissions it needs. Details about the significance of this step can be found in your Identity Manager documentation.
-
(Optional, but recommended) Click Exclude Administrative Roles.
-
Click Add, select users you want to exclude for driver actions (such as administrative roles), click OK twice, then click Next.
-
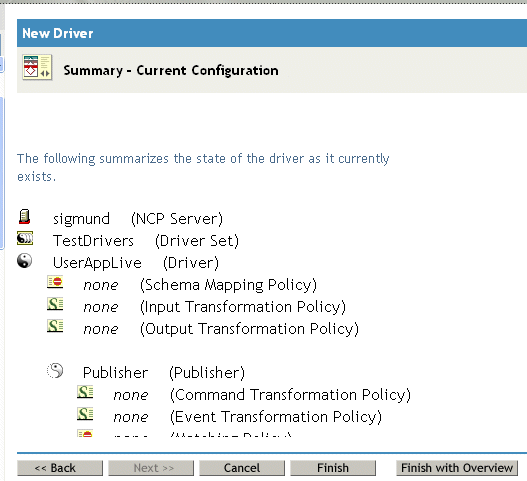
Click to close the Security Equals window, then click to display the summary page.
-
If the information is correct, click Finish or Finish with Overview.
IMPORTANT:The driver is turned off by default. Leave the driver off until the Roles Based Provisioning Module has been installed.