6.3 Configuring the Kanaka Plug-In
Depending on which version of OS X you are running on your Mac, you configure the Kanaka Plug-in with either the Directory Access or the Directory Utility application. The application name and location is different in Tiger, Leopard, Snow Leopard, Lion, and Yosemite. The following table shows the location and name:
Table 6-1 Kanaka Plug-In Configuration
|
Mac OS X Version |
Utility Name |
Location |
|---|---|---|
|
Tiger |
Directory Access |
/Applications/Utilities |
|
Leopard |
Directory Utility |
/Applications/Utilities |
|
Snow Leopard |
Directory Utility |
System Preferences>Accounts>Login Options>Network Account Server>Open Directory Utility |
|
Directory Utility |
System Preferences>Users & Groups>Login Options>Network Account Server>Open Directory Utility |
6.3.1 Configuring the Kanaka Plug-In
-
Launch the Directory Utility.
-
Click .
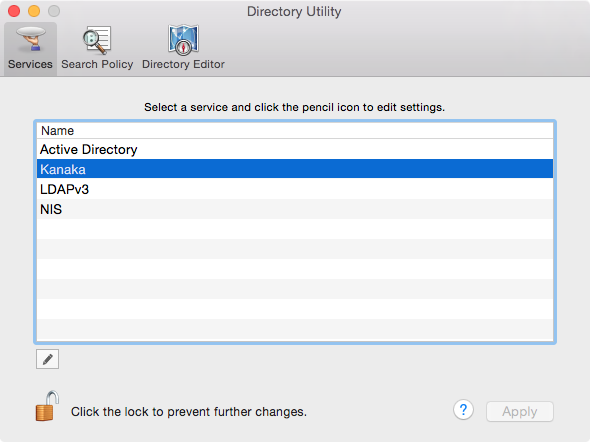
-
Double-click the Kanaka row.
-
Specify the IP addresses of the Kanaka Engine servers.
Novell Kanaka for Mac does not support clusters, but you can install two engines with identical configurations and then add both servers to the Mac’s Directory Utility. The Mac tries to connect to the servers in order. If the first one is down, it connects to the next one.
-
Select .
You can enter as many servers running Novell Kanaka for Mac as you want.

-
Click .
-
Click .
The Kanaka Plug-in is now configured and ready for use.