9.1 Installing a Printer
Before you can install a printer, you need to have the root password and have your printer information ready. Depending on how you connect to the printer, you might need the printer URI, TCP/IP address or host, and the driver for the printer. A number of common printer drivers ship with NLD. If you cannot find a driver for the printer, check the printer manufacturer’s Web site. You can access the Printing Manager through the Control Center or by clicking .
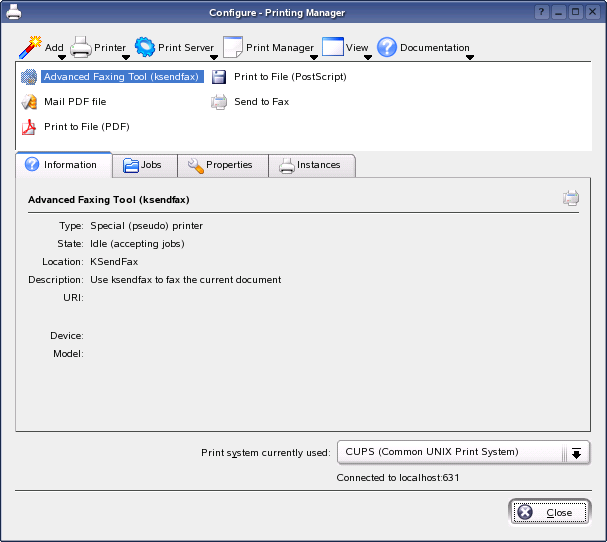
Figure 125 Printing Manager
To install a printer:
-
Click .
The Add Printer Wizard opens.
-
Click .
-
Select the type of connection for this printer:
Local printer:A printer that is attached to your workstations through a parallel, serial, or USB connection.
Remote LPD queue:A printer attached to a different UNIX system that can be accessed over a TCP/IP network (for example, a printer attached to another Linux system on your network).
SMB shared Printer (Windows):A printer attached to a different system that is sharing a printer over a SMB network (for example, a printer attached to a Microsoft Windows machine).
Network Printer (TCP):A printer connected to the network using the TCP protocol
Remote CUPS server (IPP/HTTP):A printer attached to a different Linux system on the same network running CUPS or a printer configured on another operating system to use IPP.
Network printer w/IPP (IPP/HTTP):A printer connected to the network using the IPP/HTTP protocol
Other printer type:If your printer does not fit one of the classes above, choose this option.
Class of printers:To find printers by a specific class, choose this option.
-
Complete the Add Printer Wizard by specifying the printer’s information and selecting a printer driver.
The installed printer appears in the Printers panel. You can now print to the printer from any application.