8.4 Configuring the LVM Cluster Resource Settings
Use the procedure in this section to verify that the LVM volume group cluster resource was created and is online. You can customize the resource policies, monitoring, and preferred nodes settings.
-
Open iManager in a web browser, then log in as a cluster administrator user.
-
In , select > .
-
Select the cluster where you created the volume group cluster resource.
If the cluster you want to manage is not in the list, you can add it. Click , browse to locate and select the Cluster object of the cluster, then click .
-
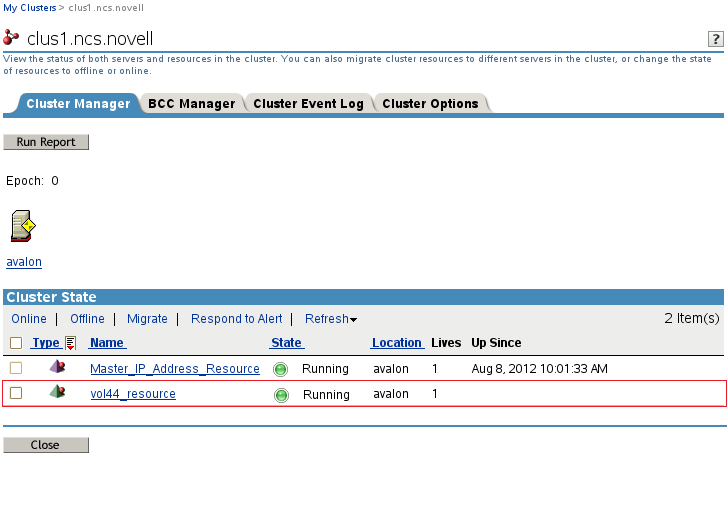
In the list of resources, locate the new resource, such as vol44_resource, and notice the state of the resource. It should be online and running.
-
Click the resource’s name link to open its Properties page.
You can alternatively go to the Cluster Options page, then click the resource’s name link, or select the check box next to the resource and click .
-
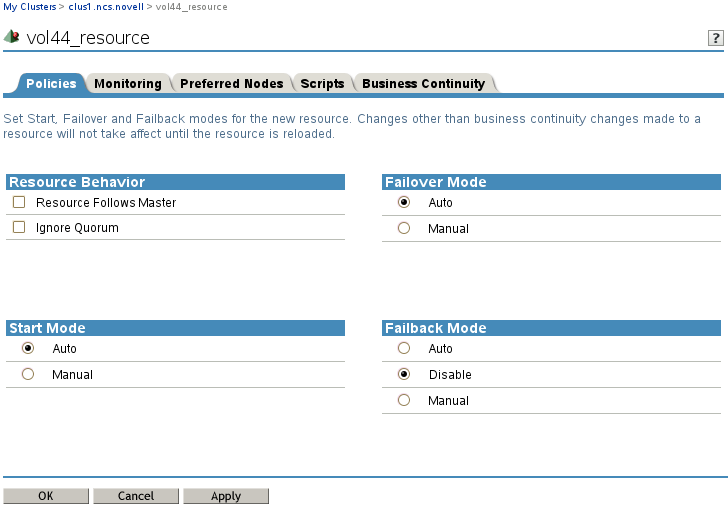
On the Resource Policies page, view and modify the resource’s Policy settings if needed. Click if you make changes.
-
(Optional) Select the check box if you want to ensure that the resource runs only on the master node in the cluster.
If the master node in the cluster fails, the resource fails over to the node that becomes the master.
-
(Optional) Select the check box if you don't want the cluster-wide timeout period and node number limit enforced.
The quorum default values were set when you installed Novell Cluster Services. You can change the quorum default values by accessing the properties page for the Cluster object.
Selecting this box ensures that the resource is launched immediately on any server in the Assigned Nodes list as soon as any server in the list is brought online.
-
By default, the Generic File System resource template sets the Start mode and Failover mode to and the Failback Mode to . You can change the default settings as needed.
-
Start Mode: If the Start mode is set to , the resource automatically loads on a designated server when the cluster is first brought up. If the Start mode is set to , you can manually start the resource on a specific server when you want, instead of having it automatically start when servers in the cluster are brought up.
-
Failover Mode: If the Failover mode is set to , the resource automatically moves to the next server in the Assigned Nodes list if there is a hardware or software failure. If the Failover mode is set to , you can intervene after a failure occurs and before the resource is started on another node.
-
Failback Mode: If the Failback mode is set to , the resource continues running on the node it has failed to. If the Failback mode is set to , the resource automatically moves back to its preferred node when the preferred node is brought back online. Set the Failback mode to to prevent the resource from moving back to its preferred node when that node is brought back online, until you are ready to allow it to happen.
-
-
-
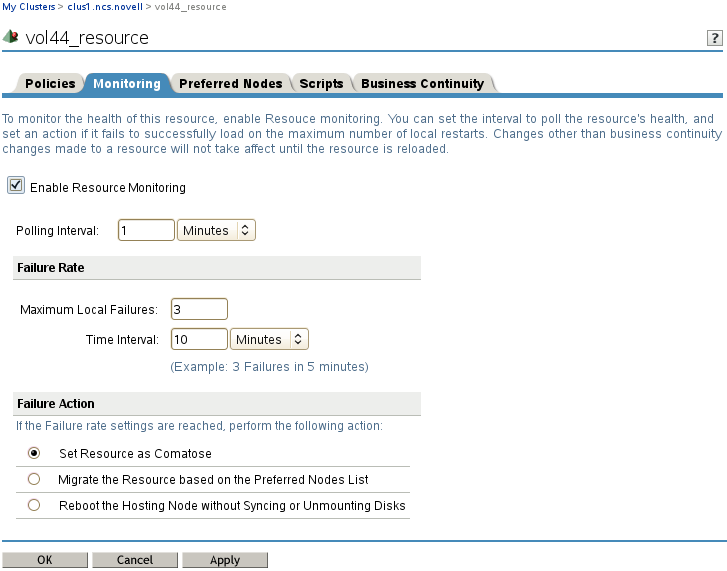
Enable and configure monitoring for the resource, then click .
-
In the Properties page, select the tab.
-
Select the check box to enable resource monitoring for the selected resource.
Resource monitoring is disabled by default.
-
Specify the to control how often you want the resource monitor script for this resource to run.
You can specify the value in minutes or seconds.
-
Specify the number of failures () for the specified amount of time ().
-
Specify the by indicating whether you want the resource to be set to a comatose state, to migrate to another server, or to reboot the hosting node (without synchronizing or unmounting the disks) if a failure action initiates. The reboot option is normally used only for a mission-critical cluster resource that must remain available. .
-
-
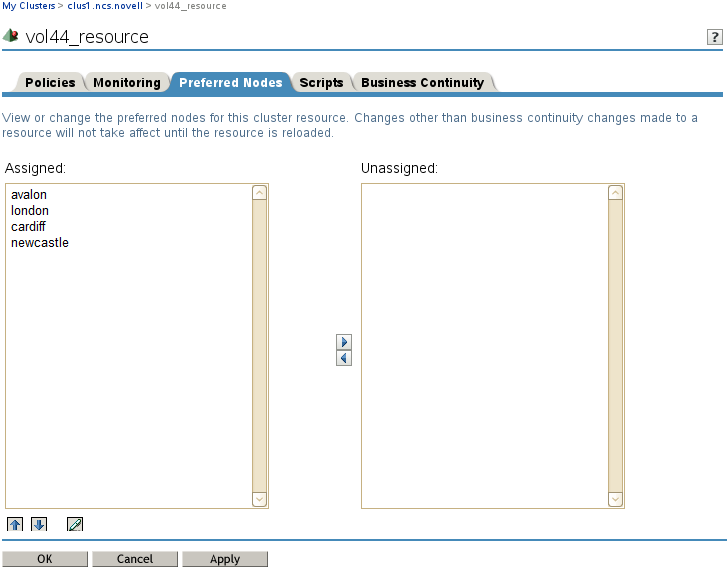
Click the tab, assign preferred nodes for the resource by moving them from the list to the list, then click .
When you configure a volume group cluster resource with NSSMU or with NLVM commands, the node where you create it is automatically assigned as a preferred node for the resource.
When you bring a resource online, it is automatically loaded on the most preferred node in the list. If the node is not available, the other nodes are tried in the order that they appear in the list. You can modify the order of the nodes by clicking the Edit (pen) icon to open the list in a text editor. In the editor, click to close the editor, then click to save your changes.
-
At the bottom of the page, click to close the Properties page and save your changes.
The changes do not take effect until the resource is taken offline and brought online again.
-
Continue with Section 8.5, Viewing or Modifying the LVM Resource Scripts.