3.6 Install Reload for Retain Agent
The Reload for Retain Agent moves the data from one server to another. The agent runs on Linux and can run on the Reload or Retain server. If Retain is on Windows, the agent will need to run on the Reload server.
3.6.1 Installing Reload for Retain Agent on a Linux Retain Server
On the Retain server:
-
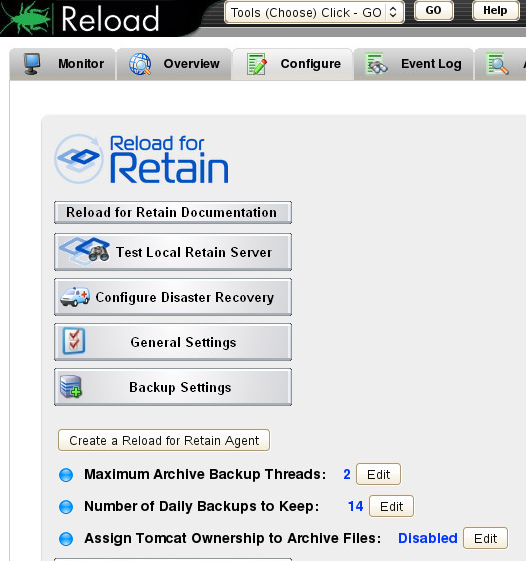
Browse to the Reload Web Console | Configure tab
-
Open Reload for Retain | Backup Setting pane
-
Click "Create a Reload for Retain Agent" button
This will open a new window.
-
Choose the option "Running Directly on the Retain Server"
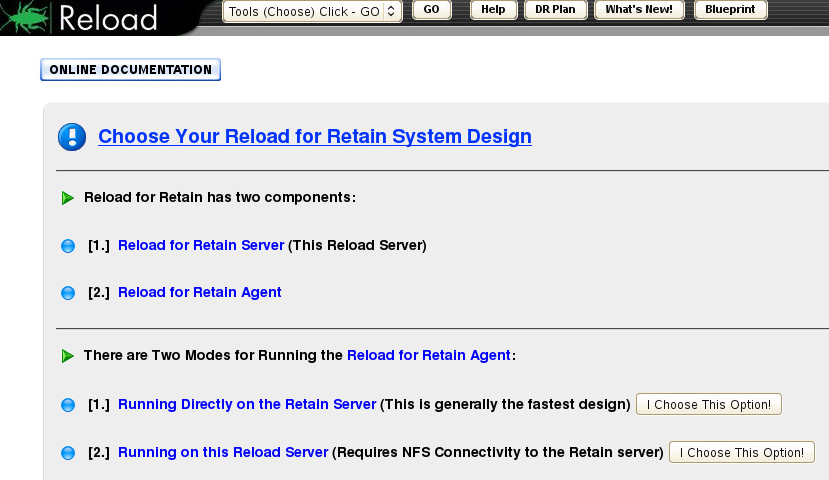
This will open a new window.
-
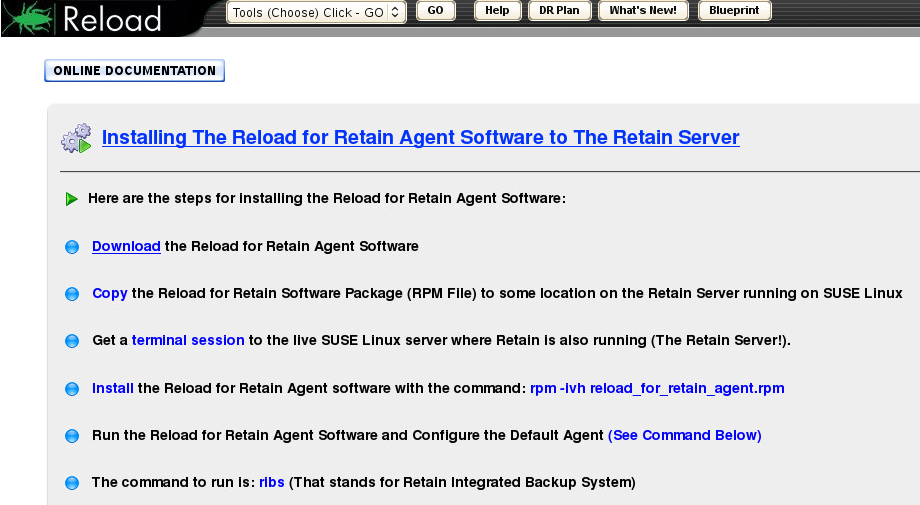
Download the Reload for Retain Agent software to the Retain server. This will be an RPM file
-
Open a terminal window where the file is and run the command:
rpm -ivh reload_for_retain_agent.rpm
-
Run the agent software by running the command:
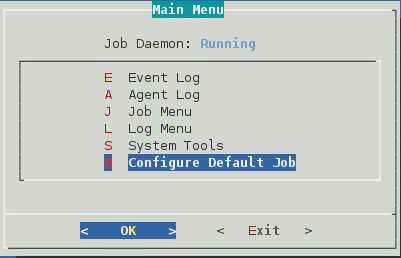
reload
-
Select "Configure Default Job"
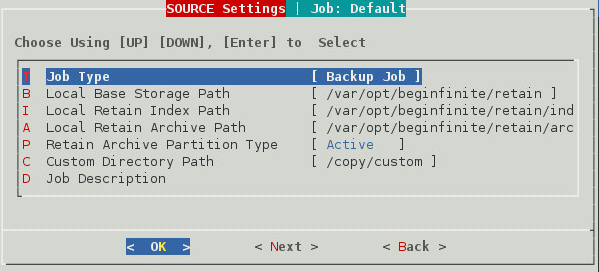
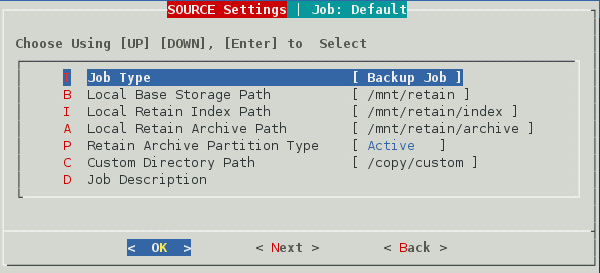
The Source settings fields will be filled in with default settings.
-
Set the "Job Type" to "Backup Job"
-
Set the "Local Base Storage Path" to the storage path on the Retain server
-
Set the "Local Index Path" to the index path on the Retain server
-
Set the "Local Retain Archive Path" to the archive path on the Retain server
-
Click Next
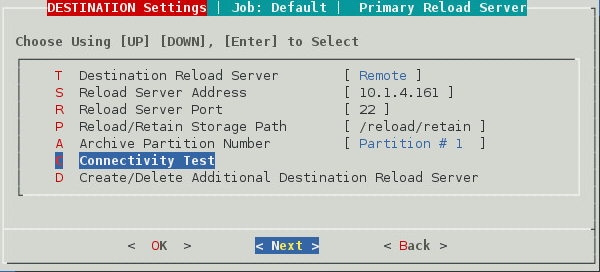
The Destination settings fields will be filled in with default settings.
-
Set the "Destination Reload Server to Remote
-
Enter the Reload Server Address
-
The software will connect to the Reload server
-
-
Press OK
-
Test the connection
-
Press Next
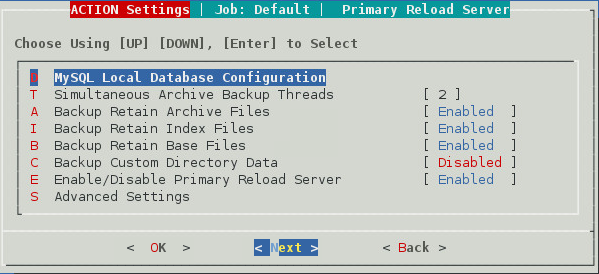
The Action settings window
-
The defaults are usually good
-
Press Next
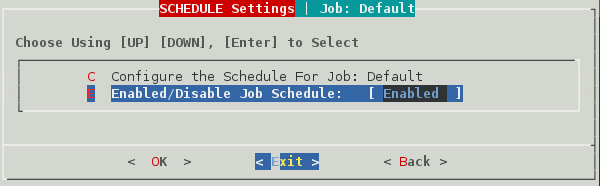
The Schedule settings window
-
Enable the job schedule
-
Press Exit to return to the main menu
Start a job.
3.6.2 Installing Reload for Retain Agent on the Reload Server
On the Windows Retain server:
-
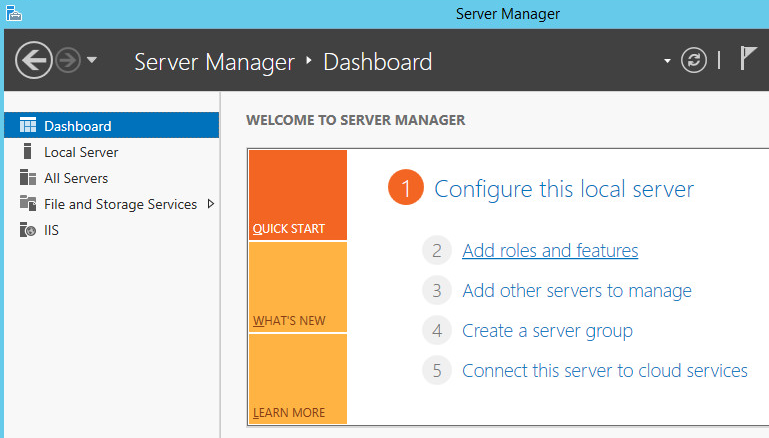
Open Server Manager, if needed.
-
Select "Add roles and features"
-
Add the Server role: "Server for NFS" and add the Features

Once it is installed, browse to the storage area with File Explorer.
-
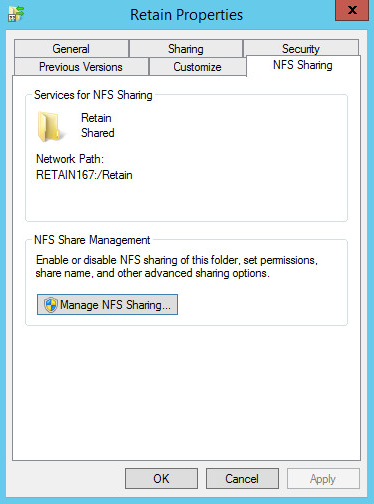
Right-click on the Retain folder and select Properties
-
Select the NFS Sharing tab
-
Click on the Manage NFS Sharing button
-
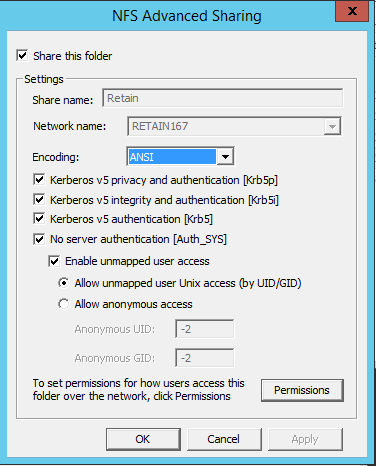
Enable "Share this folder"
-
Click on the "Permissions" button
-
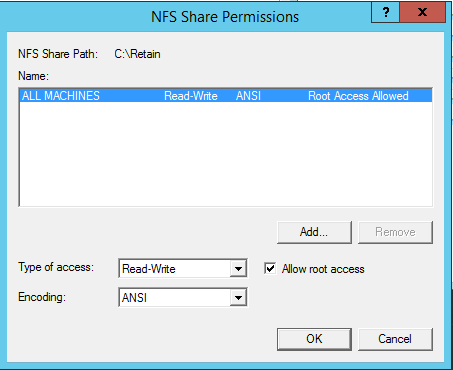
Set "Type of access" to "Read-Write"
-
Enable "Allow root access"
-
On the Reload server: Setup a persistent NFS client mount:
-
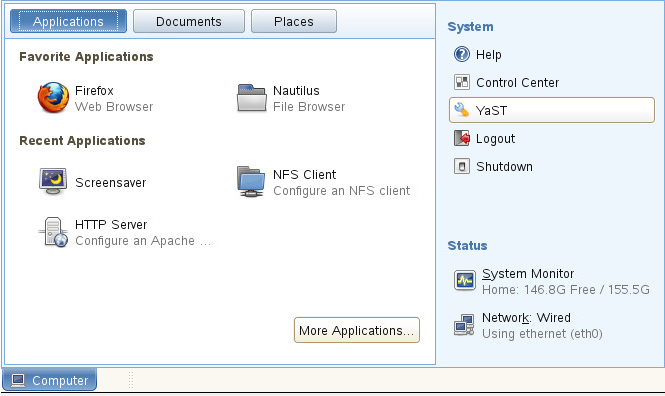
Open YaST
-
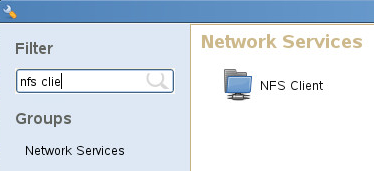
Select Network Services | NFS Client
-
Under NFS Shares, Click "Add"
-
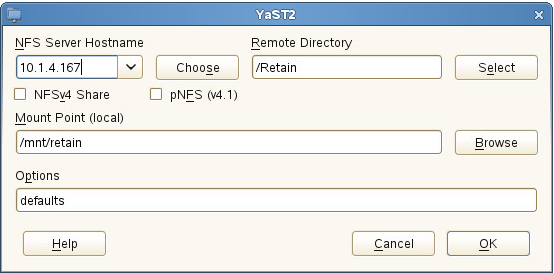
Enter the NFS Server Hostname or IP address
-
Enter the Remote directory with the Select button
-
Enter the Mount Point. For example, /mnt/retain
-
Press OK
-
-
Press OK
Control Mounts of remote disks
In the terminal enter the appropriate command.
To Mount:
mount -a
To Dismount:
umount -l /mnt/retain
3.6.3 Install Agent Software
On the Reload for Retain Server:
Download the Agent software:
-
Browse to the Reload Web Console
-
Select the Configure tab
-
Open the Reload for Retain panel
-
Open the Backup Settings section
-
Press the "Create a Reload for Retain Agent" button, a new window/tab will open
-
Choose the option "Running on this Reload Server".
This will open a new window.
-
This will download the agent software to the Reload server. This will be an RPM file
-
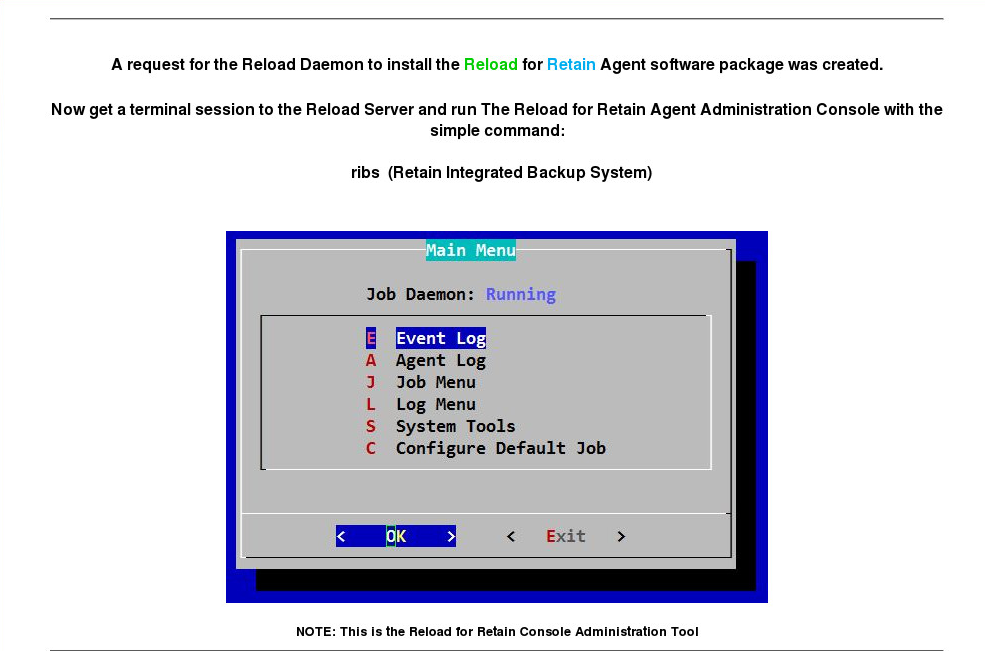
Run the agent software by running the command:
ribs
-
Select "Configure Default Job"
The Source settings fields will be filled in with default settings.
-
Set the "Job Type" to "Backup Job"
-
Set the "Local Base Storage Path" to the mount to the storage path on the Retain server. For example, /mnt/retain
-
Set the "Local Index Path" to the index path on the Retain server
-
Set the "Local Retain Archive Path" to the archive path on the Retain server
-
Click Next
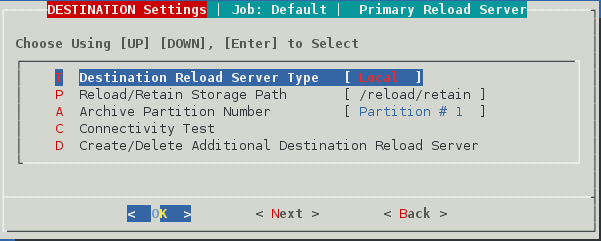
The Destination settings fields will be filled in with default settings.
-
Set the "Destination Reload Server Type" to Local
-
Enter the Reload Server Address
-
Set the Reload/Retain Storage Path where the data will be stored on the Reload server. This must be the same as found in the Reload Web Console | Configure | Reload for Retain | General Settings | Reload/Retain Backup Storage Path. For example, /reload/retain
-
If using Storage Manager on the Retain server and you have more then one partition: Set the "Archive Partition Number"
-
Select "Connectivity Test"
-
Press OK to test the connection
-
Press Next
The Action settings window
-
The defaults are usually good
-
Press Next
The Schedule settings window
-
Enable the job schedule
-
Press Exit to return to the main menu
3.6.4 Configure Mirroring
Mirroring is a job that will have Reload for Retain check for new BLOBS and index files every minute. This is useful when Retain is archiving mobile and other continuous flow data sources.
On the server with the Reload for Retain Agent:
-
Open a terminal window and run: ribs
-
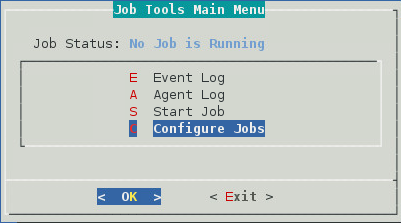
Select Job Menu

Select Configure Jobs
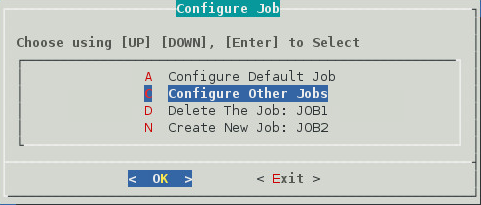
Select Create New Job

Select Configure Other Job
Chose a Profile. Select an existing job to be the basis of the new job

On Source Settings, select Job Type and press OK
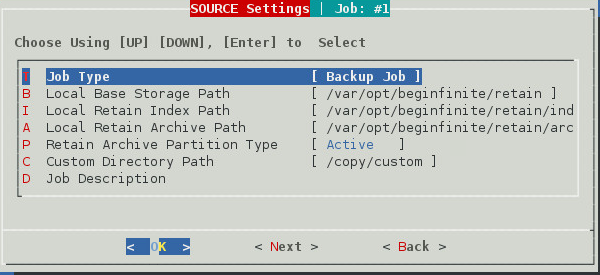
Change the Job Type to Mirroring Agent and press Space to select.
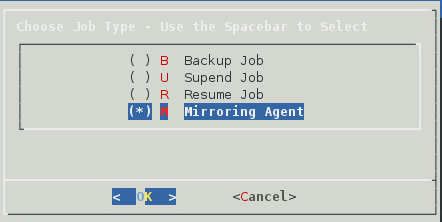
-
Press OK to return to Source Settings. This is populated by the data in the default job.
-
Select Next to leave the Source page
-
Select Next to leave the Destination page
-
Select Next to leave the Action page
-
Enable the job on the Schedule page by pressing OK
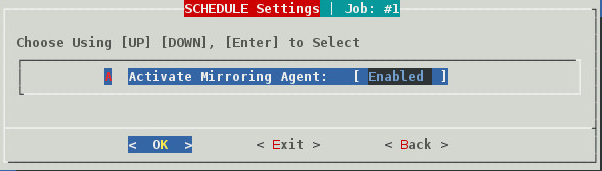
-
Press Exit to return to the Main Menu
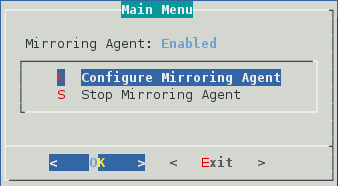
On the Main Menu the option Mirroring Agent will appear.
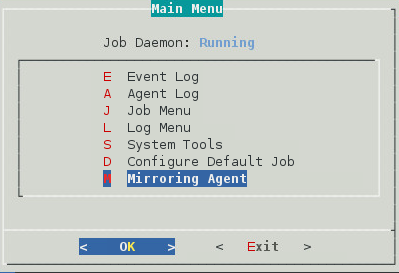
From this menu option the agent can be configured or stopped.
Logging
The Agent log will begin rolling as data is sent.
Configure Mirroring Intervals
Once a mirror job completes replicating the data, the agent will wait 300 seconds before beginning to check every minute again, so data can accrue.
To change the time between mirror jobs:
-
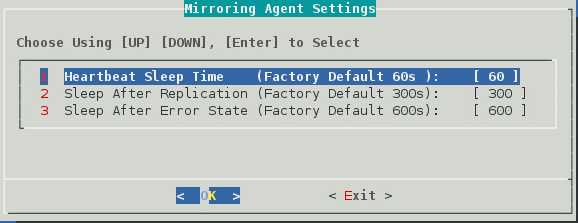
Select Mirroring Agent | Configure Mirroring Agent | Mirroring Agent Settings
-
Heartbeat Sleep Time (Factory Default 60s)
-
Sleep After Replication (Factory Default 300s)
-
Sleep After Error State (Factory Default 600s)
-