5.6 Exchange Prerequisites required for Retain
There are several prerequisites that need to be done in Exchange for Retain to successfully archive the mailbox databases:
-
A mailbox user with ApplicationImpersonation rights
-
Basic Authentication enabled for Autodiscover and EWS on all Client Access Servers
-
A DNS SRV record
-
Set the DNS used by the Retain server to be the same as used by Exchange.
-
Set a Rolling In-Place Hold to retain data until Retain can archive it.
-
If "Configure email forwarding for a mailbox" is in use, enable "Deliver messages to both forwarding address and mailbox", otherwise no messages will be stored in Exchange and Retain will never be able to archive any messages.
5.6.4 Basic Authentication
Retain requires Basic Authentication to be enabled on each CAS Exchange server in the system for Autodiscover and EWS.
In Exchange Admin Center, go to Servers, then go to the Virtual Directories tab.
-
Edit Autodiscover and under Authentication enable Basic authentication if it is not enabled.
-
Edit EWS and under Authentication enable Basic authentication if it is not enabled.
-
Do this for each server in the list.

To check if this worked, run the following PowerShell cmdlets:
For EWS:
Get-WebServicesVirtualDirectory | ft server,basicauthentication
For Autodiscover:
Get-AutoDiscoverVirtualDirectory | ft server,basicauthentication
On Exchange systems prior to 2013 you may need to set basic authentication manually.
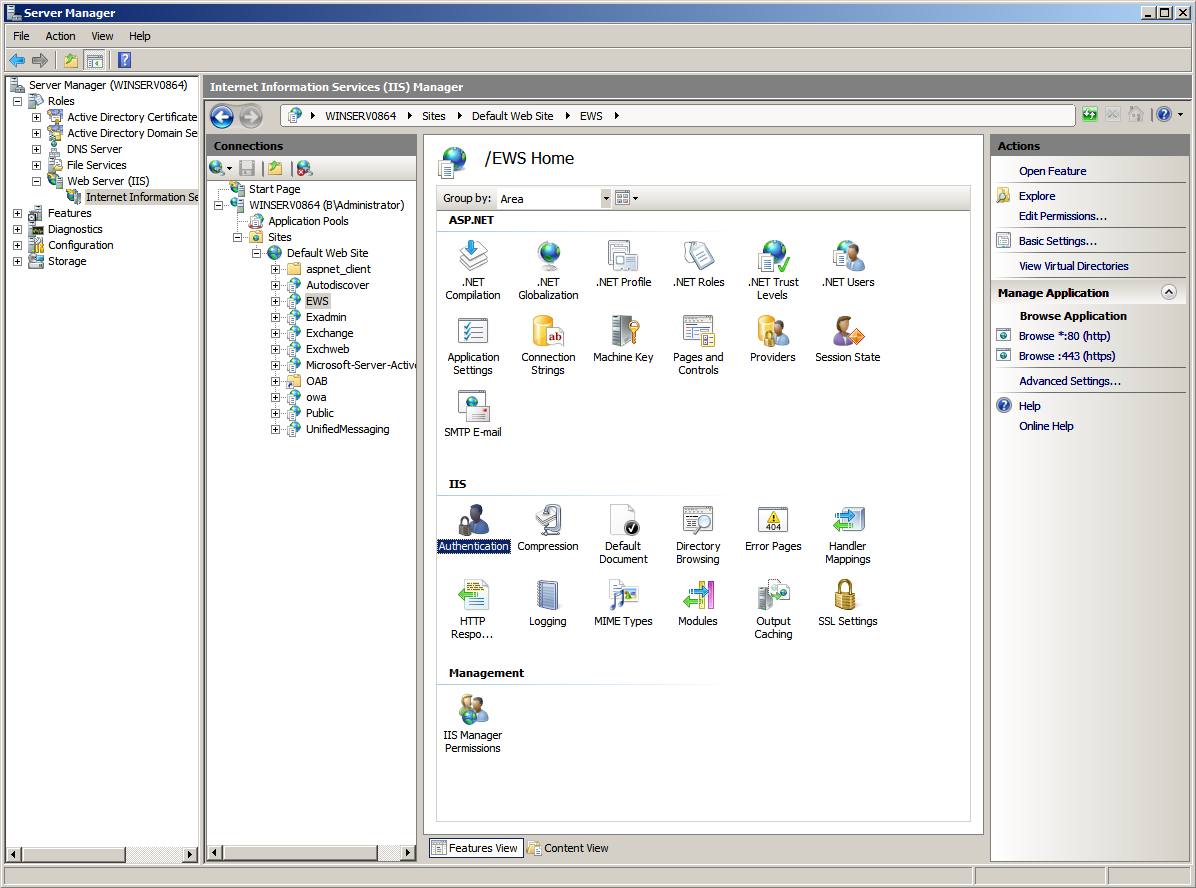
Open “Server Manager” on Exchange server.
-
In left pane, expand “Roles”, expand “Web Server (IIS)”, select “Internet Information Services (IIS) Manager”.
-
A new “Connections” pane opens, expand your Exchange server object, expand “Sites”, expand “Default Web Site (Multiple Protocols)”, select “EWS”.
-
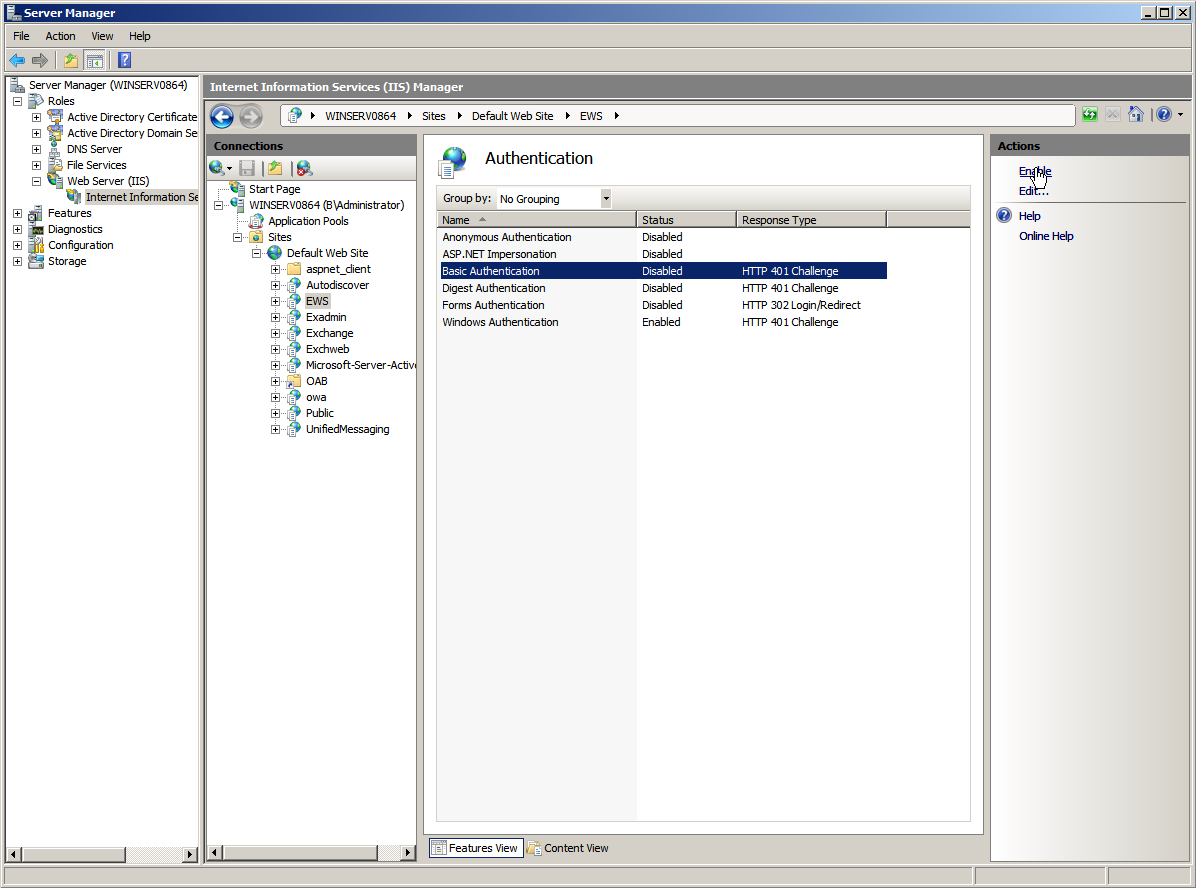
Under heading “IIS”, open “Authentication” icon
-
Select “Basic Authentication”, click “Enable” in right pane.
You can now close “Server Manager”.
DNS SRV Record
Microsoft has an article describing how to set up a DNS SRV record titled "A new feature is available that enables Outlook 2007 to use DNS Service Location (SRV) records to locate the Exchange Autodiscover service".
In general, you will need to:
-
Go to the DNS Manager
-
Expand Forward Lookup Zones
-
Locate and right-click on the external DNS zone and choose Other New Records
-
Click Service Location (SRV) and enter:
Service: _autodiscover
Protocol: _tcp
Port Number: 443
Host: [your mail host, e.g. mail.gwava.net, usually the AD domain forest found in AD Domains and Trusts on the MS AD server]
-
Click OK
The Microsoft autodiscover library in Retain expects a URL along the lines of https://autodiscover.[your domain]/Autodiscover/Autodiscover.xml (e.g., https://autodiscover.xyzcompany.com/Autodiscover/Autodiscover.xml), which can be found in the worker log as it attempts to login by searching for "Discovered endpoint:" or "AutoDiscover".
Server DNS Setting
Retain has best performance when the server's network setting is using the same DNS as the Exchange servers.
If Retain and Exchange must use different DNS, on the DNS that Retain uses, create a Conditional Forwarder that resolves to the Exchange server.
Set Rolling In-Place Hold
To prevent data loss, it is highly recommended that a rolling In-Place or Litigation Hold be set so users are unable to remove items from disk before Retain has a chance to archive them.
In Exchange by default, when a user deletes a message out of Outlook, it is moved to the trash. When they empty the trash, the item is moved to the mostly hidden Recoverable Items folder, where it is kept for 14 day before being removed from disk. The user can then right-click the Trash to recover items, and in that dialog box they can purge the item which will delete it immediately. With a hold in place that item will be moved to a Purged folder that is not user accessible, where it will be kept until the hold is lifted.
In Retain, set Profile/Miscellaneous to Include user's recoverable items.
In Exchange Admin Console, set up a distribution list, for example All_Mailboxes, that contains all mailboxes. It will be best to create a policy to add new users to this distribution list by default.
Place the distribution list under a 90-day hold.
In the Exchange Management Shell:
An In-Place Hold can be set up for all mailboxes for 90 days:
New-MailboxSearch "Retain90DayHold" -ItemHoldPeriod 90 -InPlaceHoldEnabled $true -SourceMailboxes All_Mailboxes
It will take time for the hold to take effect. You can determine how many mailboxes were placed under hold with the script:
((Get-Mailbox).InPlaceHolds).Count