9.7 M+ and Netmail to Retain Migrator
The M+ and Netmail to Retain Migrator allows the migration of M+ and Netmail archives into Retain for easier storage and eDiscovery searching.
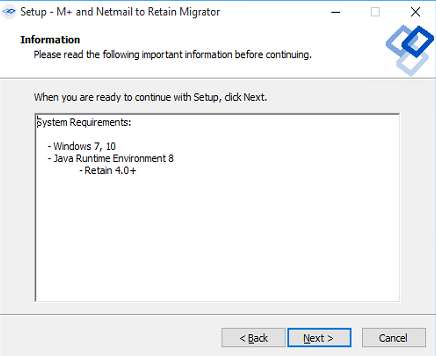
9.7.1 System Requirements
-
Windows 7.x (64-bit), 10
-
Java JRE 8 required
-
4 GB RAM recommended
-
Dual-core processor or better recommended
-
Retain 4.0 or higher
All archives must be local to the Migrator, or located on an active mapped drive. The migrator requires direct file access.
The M+ and Netmail to Retain Migrator is found on the tools page. To access the tools page, select the 'tools' link from the top right of the Retain Server administration page.

9.7.3 Installation
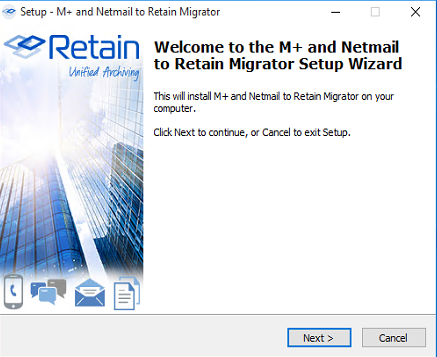
The install is straightforward. Simply execute the installation file and follow the prompts.
If Java 8 is not installed, the installer will prompt you to download it.

Press Yes to be taken to the Java 8 download page, please choose the appropriate version for your system and install it, then press Retry.
The install will welcome you.
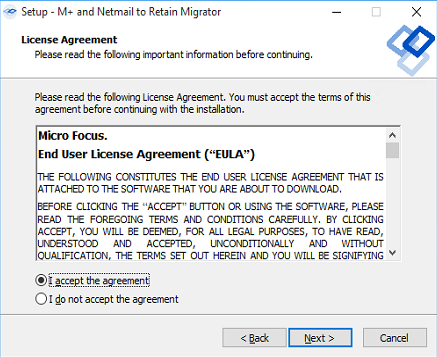
You will need to agree to the license.
The System Requirements will be listed.
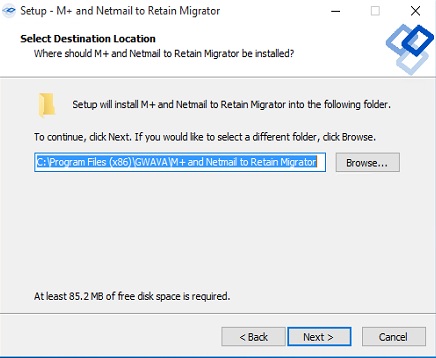
If you desire to change the installation directory, the migrator may be installed to any location on the local machine.
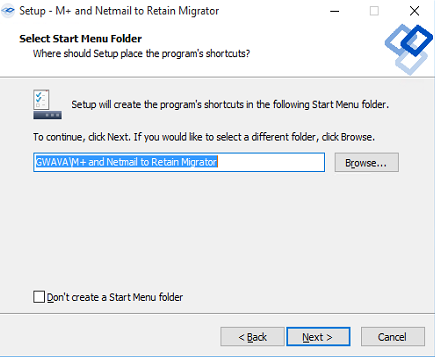
A start menu folder will be created unless specified otherwise. The location may be modified.
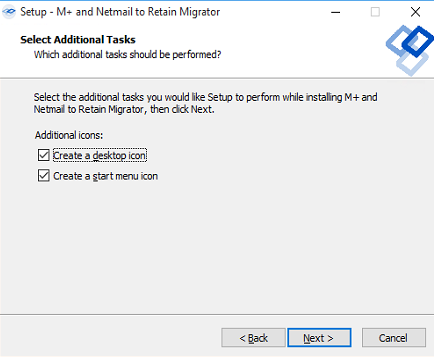
Desktop and start menu shortcuts may be created, or not, as desired. The default is shown.
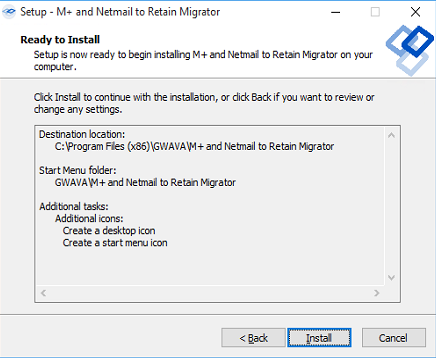
All installation settings are displayed for confirmation. To confirm the settings and begin the install, click ‘Next’. Use the ‘Back’ button to change any settings before continuing.
Once the ‘Next’ button has been selected, the installation will commence.
Once the installation has completed successfully, this window will be displayed. Select ‘Finish’ to exit the installer.
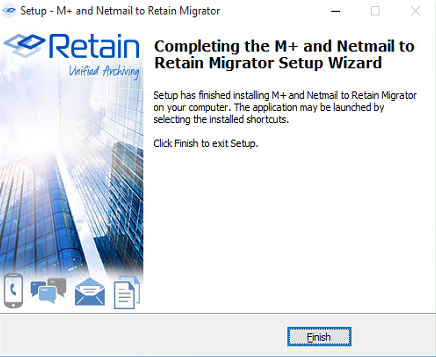
The Migrator is now ready to be run and configured on the local machine.