9.12 Outlook Plugin Silent Install

The Retain Outlook plugin can be deployed across your network with a Windows policy.

9.12.1 Command Line Install

Prerequisites: To install the MSI, two packages must be installed. These packages are included in the bundle which is an EXE, not an MSI. If either of these are missing the install will fail.

  • Microsoft .NET Framework 4 Extended

  • Microsoft Visual Studio 2010 Tools for Office Runtime.

If you open a non-admin command prompt, you will be asked to provide Administrator level credentials to proceed with the install.

The plugin is designed to be installed via command line silently. To do this, open a Command Prompt and run the .msi file and add a /q then enter the settings desired from the following:

RETAINURL: The Retain server URL http://<Retain_Server_Address> no trailing slash. For example: http://retain.company.com. Default http://RetainURL

MAXSYNC: Maximum integer number of items to be synced in every synchronization. Default 50.

MAXSEARCHRESULTS: If using the Retain search feature, the maximum integer number of items that will appear in the results. Default 500.

USERNAME: The username of the user (generally the user’s email address).

MESSAGESYSTEM: The type of messaging system. Values: 0-> Exchange 1-> GroupWise

FILTERTYPE: Filter messages based on the type during the synchronization. It uses bit pattern to store the values: 0-> 0000-> No filter (All types) 1-> 0001-> Mail 2-> 0010-> Appointment 4-> 0100-> Note 8-> 1000-> Task COMBINE THE BIT NUMBERS TO HAVE MULTIPLE VALUES SET 3-> 0011 -> MAIL & APPOINTMENT 6-> 0110-> APPOINTMENT & NOTE 15-> 1111-> ALL FILTERS

ARCHIVEFILEPATH: The path and the file name of the desired local NST file. The path should exist but not the NST file itself.

ISWEBUI: Use the new Retain login within Outlook. Boolean value. Default true.

ISNATIVE: Download Retain files into Outlook, original plugin style. Boolean value. Default true.

HASAUTOSYNC: Enable auto synchronization to Retain. Boolean value. Default true.

SYNCINTERVAL: How often to automatically download new items, in hours. Default 3.

SYNCSTARTUP: Enable Synchronize on startup. Boolean value. Default true.

DAYSAGOARCHIVED: Synchronize messages older than x days ago

CANCHANGESETTINGS: Enable the right for the user to change settings. Boolean value. Default true.

SCOPE: Install just for one or all users on the machine. perUser or perMachine. Default perMachine.

Here is an example of the command line that could be used. Using the /qb option will present a progress prompt, but is not required. Adding the /l* will output a log for troubleshooting.

msiexec /qb /l* plugin.log /i "Retain Outlook plugin_x86.msi" /norestart ARCHIVEFILEPATH="C:\Users\UserName\My Documents\RetainLocalStore.NST" RETAINURL=http://10.1.43.17/ MAXSYNC=200 DAYSAGOARCHIVED=0 DURATION=7 RANGE=2 USERNAME=UserName@company.com MESSAGESYSTEM=0 FILTERTYPE=6

9.12.2 Group Policy Install

You can use an AD Group Policy to install the Outlook Plugin. You may use MS System Center Configuration Manager using this as a template or a third-party program such as Orca to adjust the settings in the MSI file for your organization. Orca is a third-party program that allows you to set parameters within an MSI file.

  1. Download the correct Outlook plugin MSI file that you need for your installation from the Tools menu. Make sure you get the 32bit or 64bit version that corresponds to your version of Outlook, not your operating system. If using Outlook 32-bit on Windows 64-bit, use the 32-bit plugin installer.

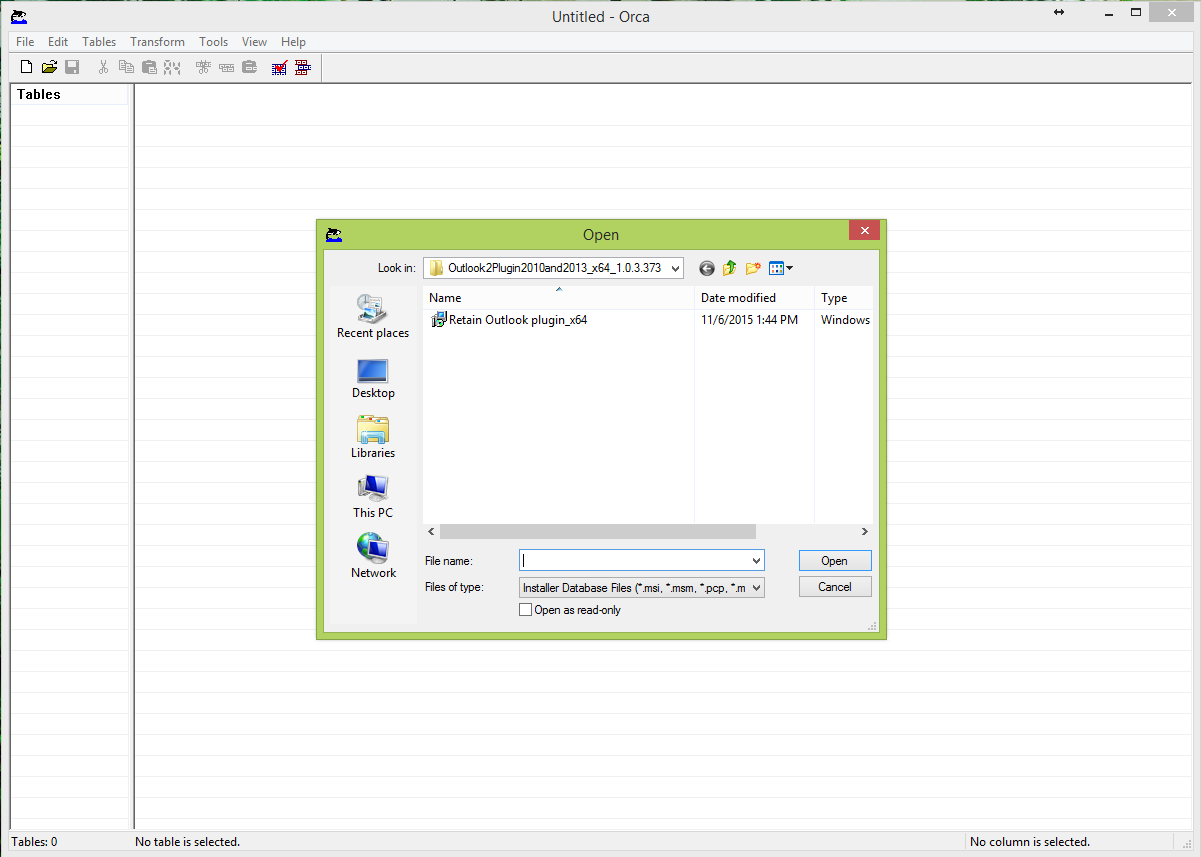
  2. If using Orca, download Orca and install it on the computer where you have your newly downloaded MSI file.

  3. Run Orca and open the MSI file that you wish to make the changes to.

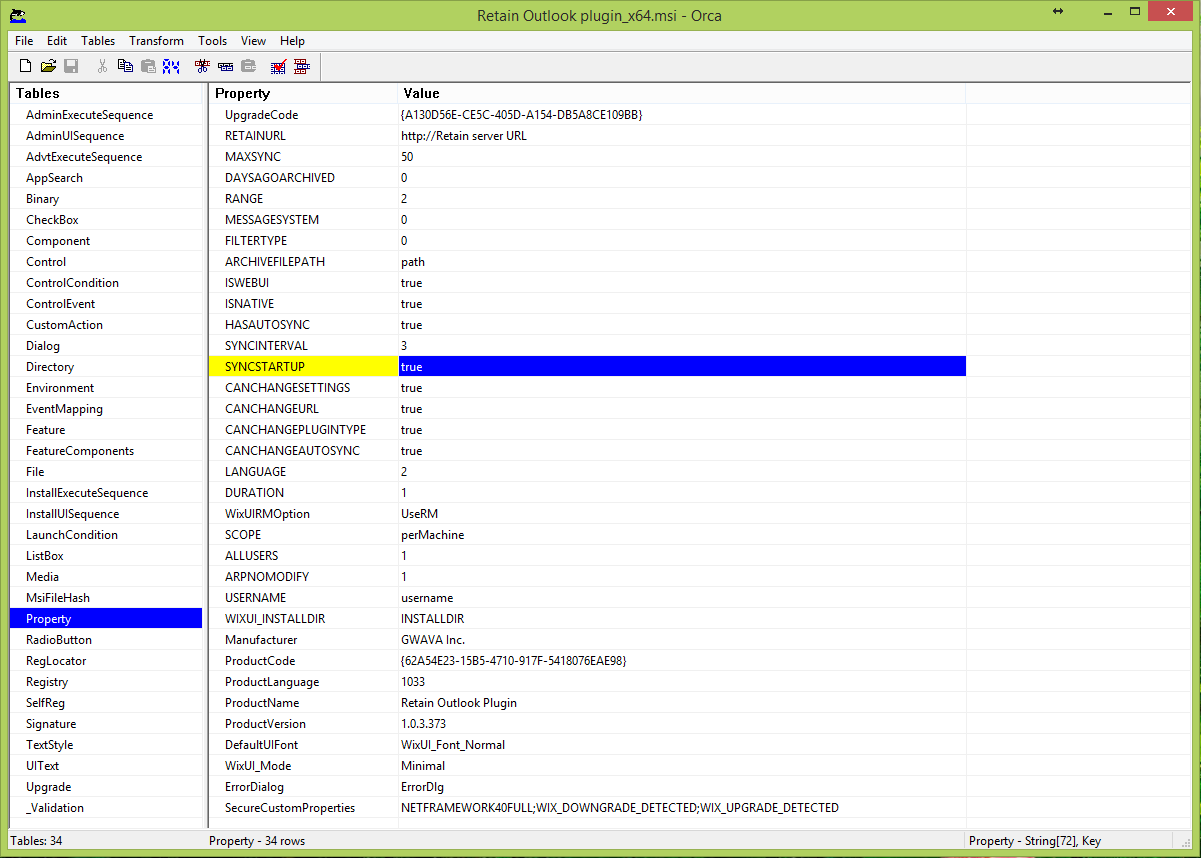
  4. After you open the MSI file you will need to go down to the table called "property" and select this table which will show you all the properties and switches of the MSI file. Here is where you will set your switches to true or false depending on what you would like your final settings to be after the silent install.

  5. After you have made the changes, save the amended file and close Orca. Now you are ready to deploy the MSI file in your group policies across your network.

  6. Make sure that the prerequisites: October 2017 Office and Windows updates, Visual Studio Tools for Office v. 4. and Net 4 or higher are installed on the workstations.

  7. Setup the Group Policy in Active Directory.