2.5 Outlook Web App Plugin
The Outlook Web App plugin utility adds a Retain Archive auto-logon button to user's Outlook Web App window.
NOTE:Outlook Web App was called Outlook Web Access in versions of Microsoft Exchange earlier than Exchange 2010.
The OWA Plugins are found on the tools page. To access the tools page, select the 'tools' link from the top right of the Retain Server administration page.

2.5.2 Installation
To install the plugin, download and run the appropriate plugin installation files on the Outlook Web App server.
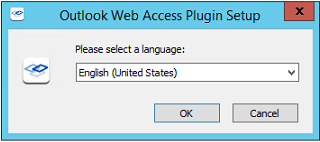
On initialization, the installation allows language selection.
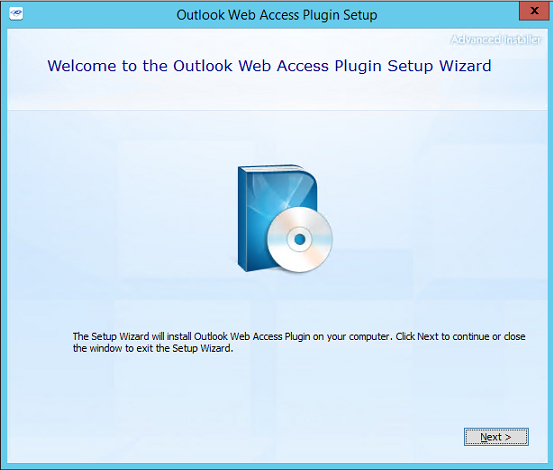
The installation then begins. Select 'Next' to continue.
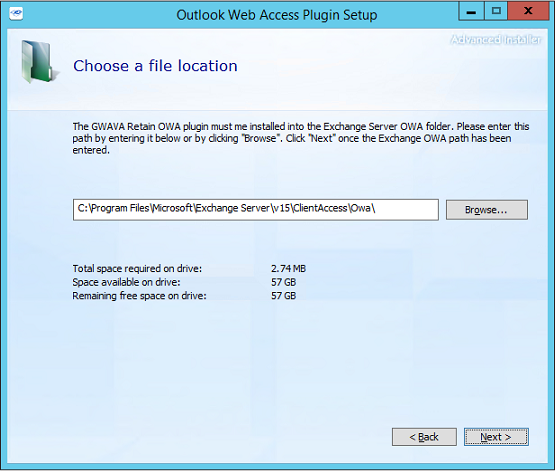
System space requirements and installation path are displayed. The installation path needs to be the location of the OWA folder. Default path for Exchange 2013 is displayed.
C:\Program Files\Microsoft\Exchange Server\v15\ClientAccess\OWA
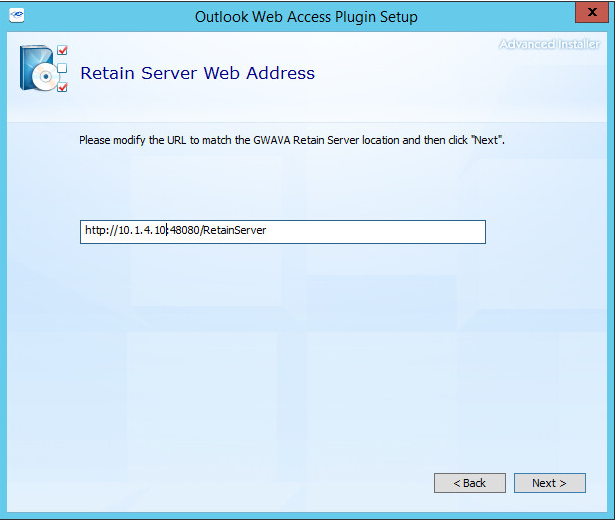
Enter the URL for the Retain Server that has data for the users. This is the address which will be used to access the Retain Server. Ensure that the address functions. This address should include the port used by tomcat, default 48080.
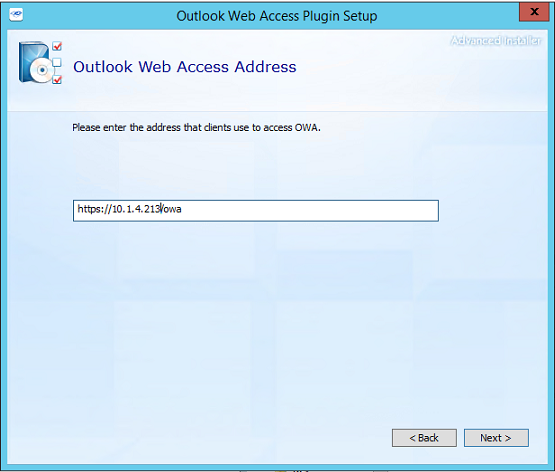
Enter the Outlook Web App client access URL. This address is the connection used by clients to access the Outlook Web App, usually this is an Exchange server. (This step is not included in or required by the 2007/2010 version install)
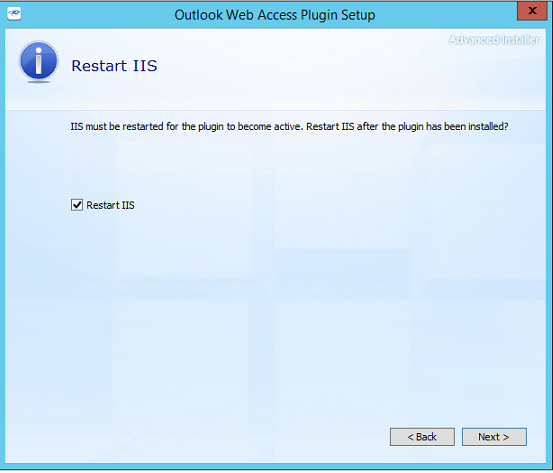
IIS must be restarted to load the plugin into Outlook Web App. The installation has the ability to automatically restart IIS to complete the installation. If checked, IIS will be restarted as part of the install.
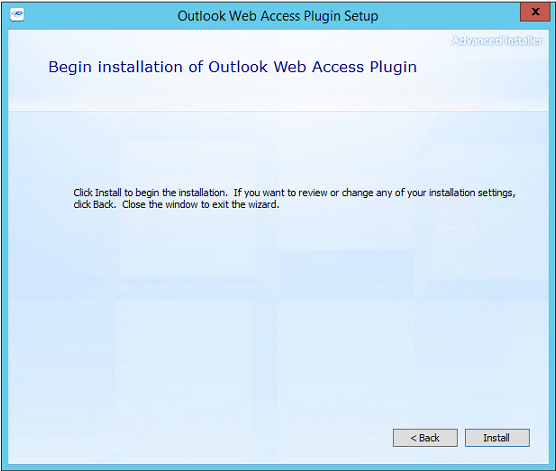
If any settings need to be changed, this is the opportunity to change them. Once the 'Install' button is pressed, the installation will begin.
Once the installation has completed, select the 'Close' button.
2.5.3 Enable Plugin for the Organization
-
After IIS is restarted, log into the Exchange Admin Center.
-
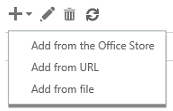
Browse to Organization | Apps and select "Add from file" from the Add plus sign menu.
-
Browse to the install location. Example from Exchange 2013
C:\Program Files\Microsoft\Exchange Server\v15\ClientAccess\Owa\Retain
-
Select manifest.xml and Open.
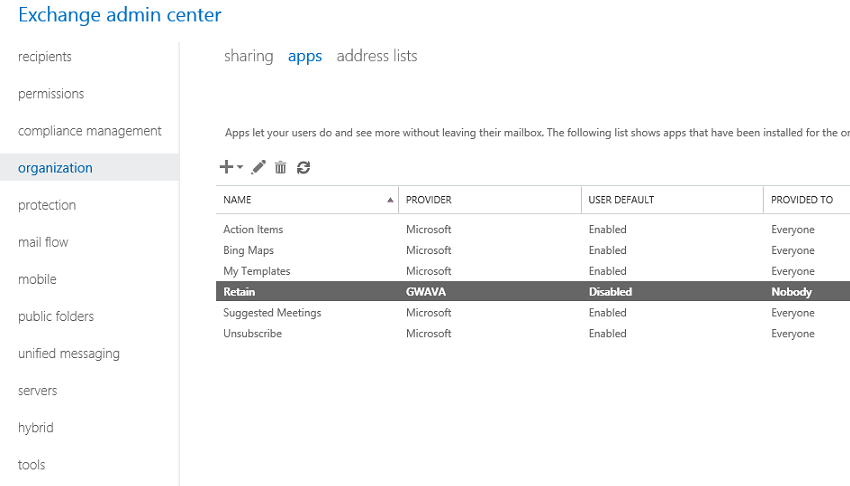
Double click to edit
-
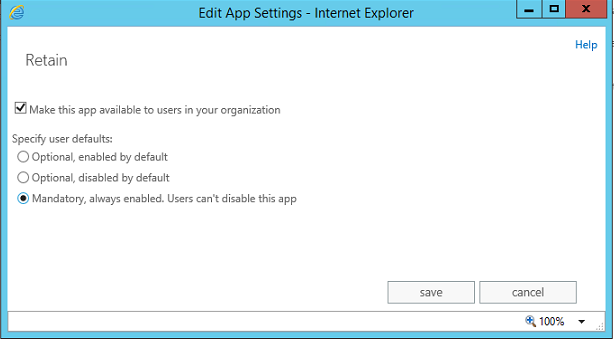
Enable "Make this app available to users in your organization"
-
Select "Mandatory, always enabled. Users can't disable the app"
2.5.4 The Plugin in the Outlook Web App
If you did not make the plugin mandatory, the plugin may not be active:
-
Click the gear icon near the top right next to your users name and select "Manage apps...".
-
A list of apps available to the users will be listed. Notice that Retain App is available but disabled. Select the Retain app and in the right sidebar, click the Enable link.
-
Navigate back to your inbox with the right arrow or by clicking on your username and choosing My Mail.
Using the plugin:
-
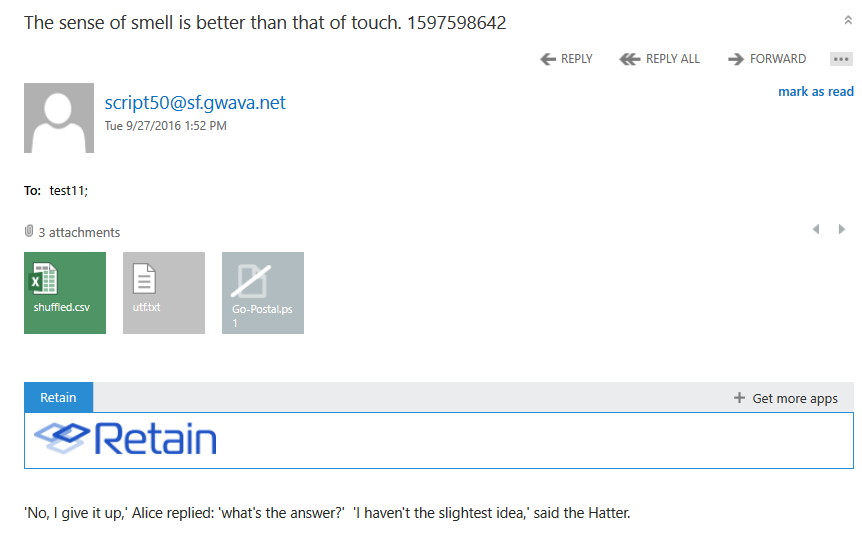
Browse to any message. Within the Viewer pane on the right or if you open the message in its own window, you will see a Retain link inside a grey bar.
-
Clicking the link will reveal a Retain logo image and clicking on that will open a new window to the Retain archive.
2.5.5 Change Features, Repair or Remove the Plugin
To add or remove features, repair or remove the plugin, run the installer on the Outlook Web App server again. The plugin will detect that it is currently installed and give you these options:
-
Add or Remove features will allow you to adjust the features installed to the plugin.
-
Repair will refresh the installation of the plugin.
-
Remove will delete the plugin.

If you entered incorrect data or changed the location of the Retain server, you will need to uninstall the plugin and then re-install to enter the correct data.