2.6 Retain PST Importer
The Retain PST Importer is a tool which inputs mail from PST archives into the Retain system. The PST Importer is a utility which is installed on a Windows machine, local to the PST archive and works in coordination with the Retain Server.
The Retain PST Importer is found on the tools page. To access the tools page, select the 'tools' link from the top right of the Retain Server administration page.

2.6.2 Installation
Installation of the PST Importer is simple. Locate the ‘Retain PST Importer Install.exe’ file and run it.
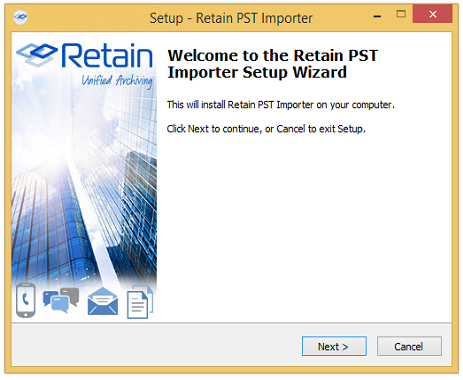
Once initialized, the installation will display this page. Select ‘Next’ to continue.
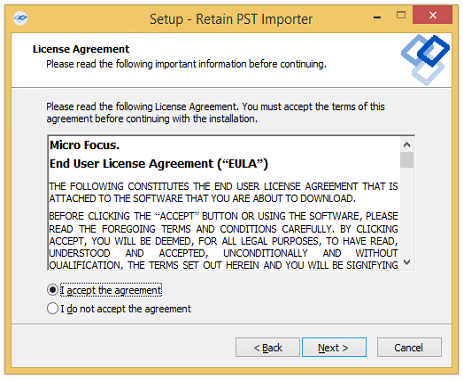
Accept the License agreement and select ‘Next’ to continue.
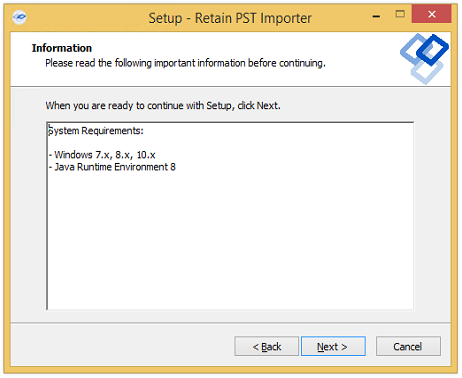
The System Requirements are listed. Select ‘Next’ to continue.
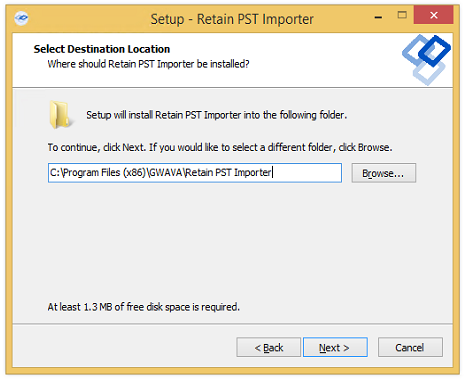
The installation folder is displayed. Change it as desired and select ‘Next’ to continue.
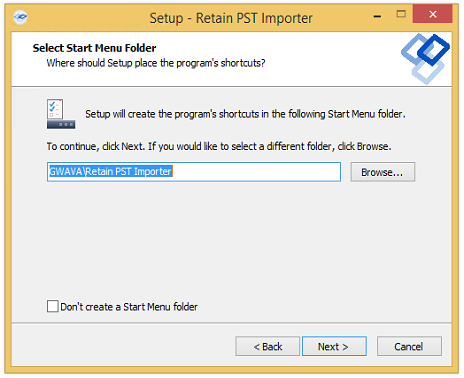
The PST Importer may be installed with a shortcut in any desired start menu folder. The default folder is displayed. Change as desired and select ‘Next’ to continue.
Select which icons are going to be installed in the system and select ‘Next’ to continue.
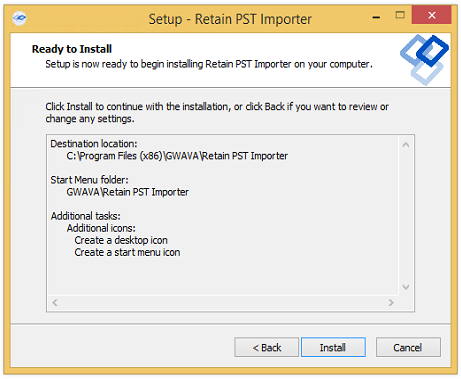
Review the installation settings. If any settings need to be changed or revised, use the ‘Back’ button to return to the appropriate pages and change them.
When correct, select ‘Install’ to install the program.
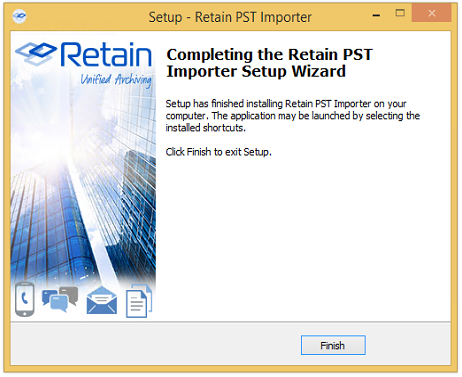
Once the installation is completed successfully, select the ‘Finish’ button.
Configuration and Use
The PST Importer requires a Worker configuration and a bootstrap file to know where and how to communicate with the Retain Server. A new worker must be created, configured, and the configuration file loaded into the PST Importer. Follow the steps below.
-
In the Retain Server administration console, create a new Worker. It would be appropriate to name it ‘Importer’ or ‘pst importer’ for ease of remembrance, but any name desired will do. Remember that this worker should never be configured with any jobs in the Retain Server. A general configuration is all that is required; no specific settings need to be changed from default, except the connection information if it needs to be modified in accordance to the needs of the local network. It is imperative that the PST Importer has an open connection to the Retain server. When the settings are correct, save the new Worker.
-
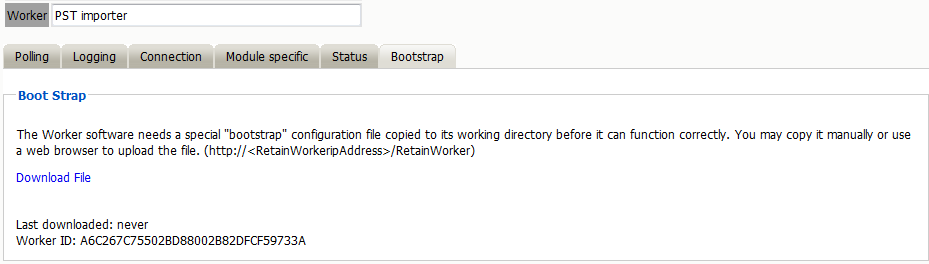
Download the bootstrap file.
-
Run the PST Importer utility. Locate the Retain PST Importer icon or start menu item and run the program.
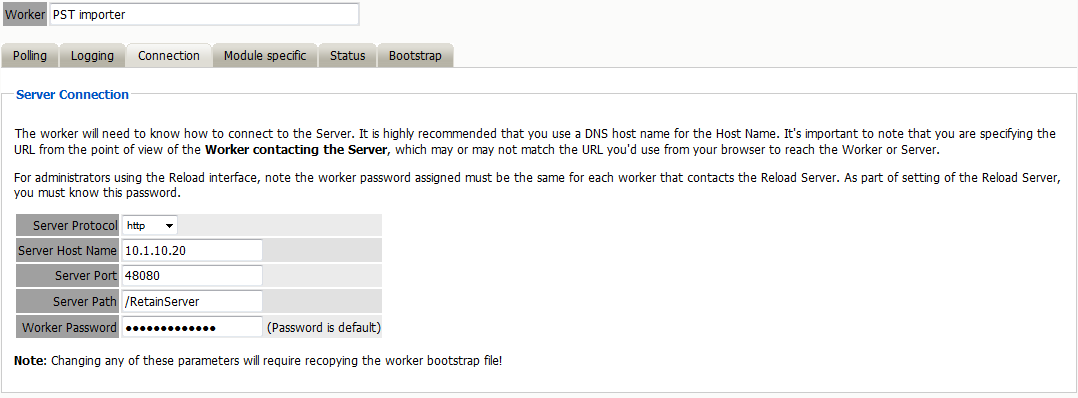
On initial startup, the Retain PST Importer opens to the configuration page. The worker configuration file contains all the connection information for the Retain Server. (If the location changes, the worker configuration file will need to be re-downloaded.)

-
Upload the Worker Configuration file to the PST Importer.
Select the Retain Server Connection tab, where the bootstrap file is specified and select the ‘folder’ to browse to the file location. Select the appropriate worker configuration file and load it into the Import tool.
2.6.3 Use
Use of the PST Importer is very simple. The PST Importer tool may be restricted to import only messages in the archive which fall into a specified date range or it will attempt to import the entire archive. The PST Importer may be restricted to import only messages which meet selected criteria:
-
A specified date range (inclusive)
-
Before a specified date (exclusive)
-
After a specified date (exclusive)
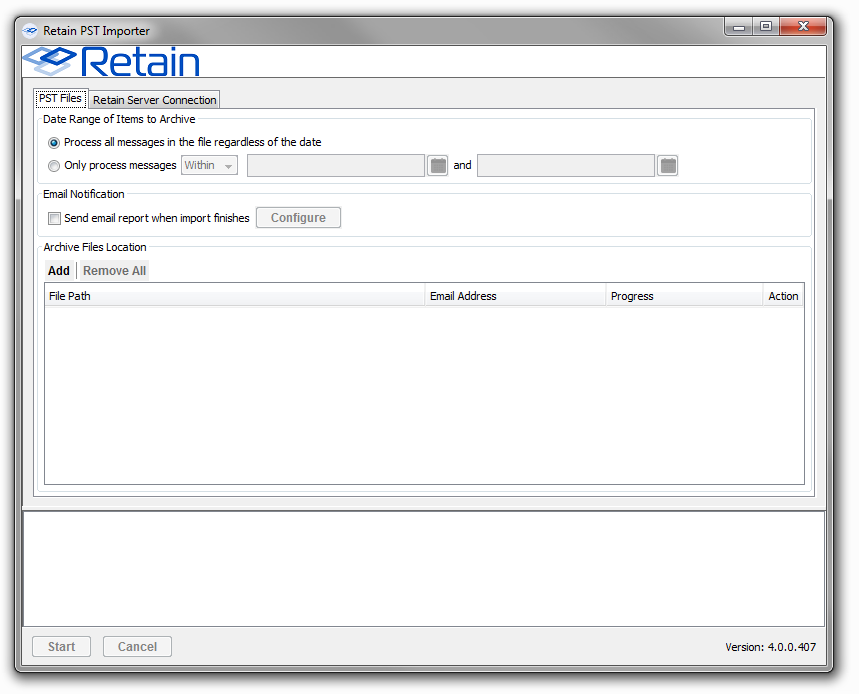
If desired, the PST Importer may send a notification message when the job is complete. The email will contain a job summary including:
-
The total number of messages selected for import
-
Number of successfully process messages
-
Number of messages not processed

To receive a notification email, an SMTP connector needs to be specified and settings provided. Security protocol options are: ‘Unencrypted, TLS, and SSL’. Test the connection to ensure the settings are correct.
When the desired archive or archive have been added and settings have been configured, select the ‘Start’ button to begin importing the archive. Rolling information is displayed in the information window at the bottom of the screen.
To add or remove an archive to or from the PST Importer tool, use the ‘add’ and ‘remove all’ buttons at the top of the archive window.
Adding an archive opens a browse window to allow selection of the archive. Adding an archive requires the selection of the desired messaging system, (select the system the user will be using so messages will be added to their archive). The user can select the file name pattern corresponding to the PST archives and whether to import the archive into existing root folders or to have the tool import the archive in to automatically created subfolders.
Users can import messages from the PST archive for either existing users in Retain, or if the user does not currently exist in Retain, it will be automatically created.

When complete, select ‘Browse’ button to browse to and select the archive. Hovering over the path will show the complete path.
To remove all the archives from the list, select ‘remove all’.