5.10 Retain for Social Messaging Gateway

5.10.1 Setting up the VM & Installing the OS

Before setting up the Virtual Machine

Ensure the firewall is configured as such:

oFrom RSM WAN IP to Untrusted, all TCP/UDP ports

oIf the RSM WAN IP is a private IP, it needs to be NATed to an appropriate routable IP address. The LAN IP address does not need a corresponding inbound NAT rule.

NOTE:It is critical that these firewall rules are in place before proceeding.

5.10.2 Configure the Virtual Machine

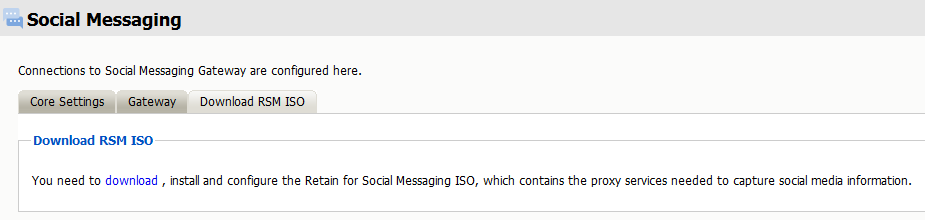
  1. Download the ISO from the link found in the Social module page, on the ‘Download RSM ISO’ tab.

  2. Install it onto a VM or to the desired machine with the following minimum specs:

    • 2GB RAM (minimum)

    • 2 CPU cores (minimum)

    • 60 HDD (minimum)

    • The recommended RAM, CPU and HDD specification will be determined by the expected load and size of the organization being served. Consult your Micro Focus technical representative.

    • 2 NICs - vmxnet 3, ensuring the interfaces are in different VLANs. NOTE: The second NIC in the VMware settings list is the primary NIC that will be used for proxy traffic. This NIC will be labeled “Internet” on the RSM. The first NIC will be the “Local” port, and may be disconnected if desired when configured.

    • Redhat Linux enterprise 5 64bit base OS (selected from the dropdown list when setting up the VM – there is no need to actually install the Redhat OS)

  3. Mount the ISO and start up the VM or server.

  4. Set the password for the “tech” and “admin” users. This will then install the RSM OS. Once it’s installed and has come back up after the reboot, the RSM will have the default LAN IP of 192.168.0.254/24. The WAN interface will try to obtain an IP address from DHCP.

  5. Set the LAN IP via the console by sending a ctrl-alt-ins and then follow the prompts.

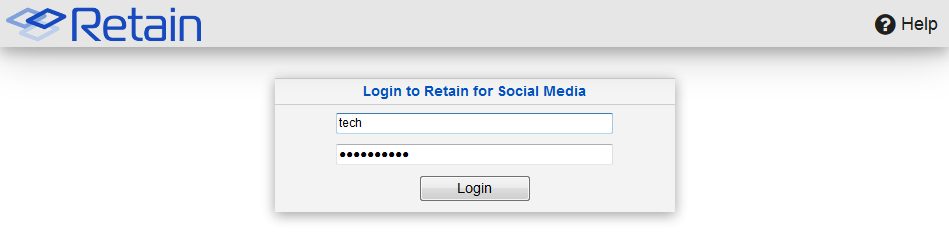
  6. All configuration operations are via the web user interface. Log onto the RSM interface by browsing to the LAN IP on either port 80 or 443 and logging in as the “tech” user, (the “admin” user doesn’t have the required permissions).

You will initially be prompted to confirm the EULA and provide your details. If the email address is not accepted at this stage (the RSM will try to validate all addresses), then use “root@ mail.RSM”.

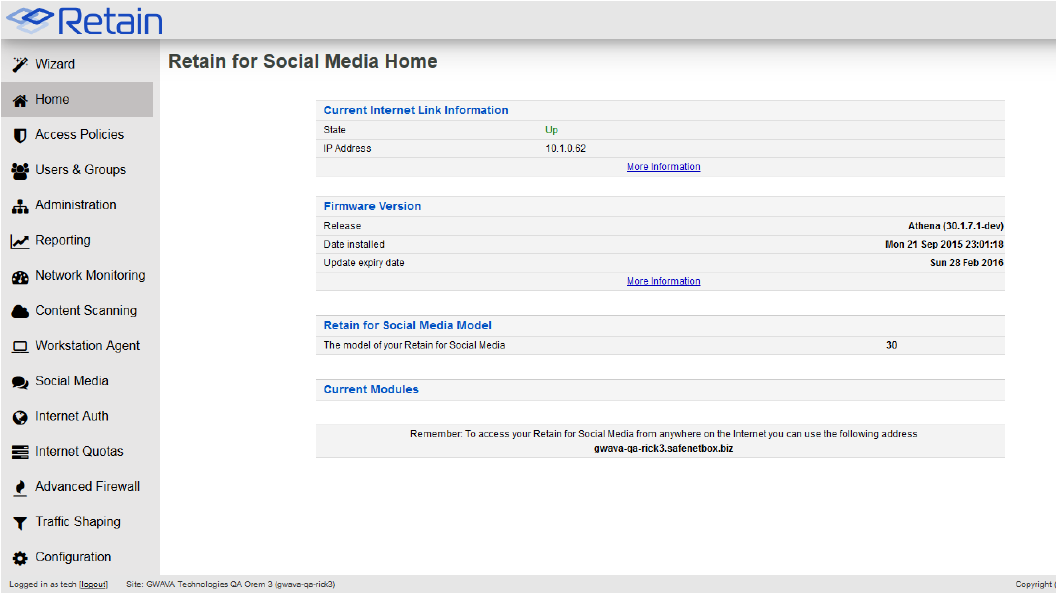
  1. Click the “Wizard” button from the left-hand navigation bar, and follow the prompts for setting the language, time zone and network details.

  2. Once the network settings have been accepted, select Configuration -> Internet from the left-hand navigation pane, and check “Show Advanced Options”.

    From the drop down list, next to “DNS server configuration” select “Always use static server” and then enter in the required DNS servers.

    Click on Update.

    Browse to

    Configuration -> Apply and click on the “Apply Changes” button.

  3. If the LAN IP Address has been changed in the Wizard setup, you will need to browse to the new IP address and log onto the RSM interface again after applying the network settings.

  4. The WAN (or Internet) Interface of the RSM will be used for proxy traffic.

  5. The LAN interface is not used for production traffic, but can be utilized as a management-type port if required.

  6. It is critical that the two interfaces are configured on different subnets from this point on, regardless if the LAN port is utilized or not.

  7. After the Network configuration has been completed you will be prompted to supply a sitekey. A sitekey is a unique identifier for your RSM and it should be relevant to your organization. Only alphanumeric and “-“ are accepted, with a minimum character count of 3.

    1. a.Your RSM representative will supply the registration key to you.

    2. b.After the sitekey has been successfully applied, your RSM will reboot.

  8. Log back onto the RSM and browse to Administration -> Updates and click on “Run Update Now”.

The RSM will go through its update process, which could take up to 30 minutes and reboot multiple times.

5.10.3 RSM Configuration

The configuration of the RSM is achieved via its Web User Interface. You need only browse to the (WAN or LAN) IP address and enter in the appropriate credentials. For the following you will need to use the “tech” account with the password that was set when creating the virtual machine. Specific instructions on how to use and configure the different features of the interface are accessed through the ‘Help’ screens inside RSM.

NOTE:When making changes to the RSM configuration, remember to update the page you are working on before navigating away from it. When you want to make your changes live, browse to the “Apply” section in the relevant module and click on the “Apply Changes” button.

5.10.4 Proxy Configuration

The following describes how to configure the RSM in a direct proxy setup. The client will then direct their browser to the WAN IP address of the RSM on the specified port (8080 for example).

  1. Browse to Configuration -> Web Proxy.

  2. In the drop down list next to “Direct Proxy Mode” select “Direct”.

  3. Specify the port to use (8080 by default).

  4. In the drop down list next to “Provide proxy on Internet interface”, select “yes”.

  5. In the drop down list next to “HTTPS inspection”, select “Enabled for all traffic”.

  6. Click on “Update”.

  7. Browse to Configuration -> Apply and click on the “Apply Changes” button.

  8. After 1-2 minutes, once the changes have been applied (when the yellow apply banner disappears), test the proxy by pointing your browser to the RSM WAN IP on the specified port and browse to a standard HTTP web site (HTTPS sites will be tested shortly).NOTE: You can view the proxy logs by browsing to Configuration -> Web Proxy and clicking the “View Web Proxy logs” link in the top right hand corner of the page.

5.10.5 RSM CA Certificate Installation

The RSM will be performing HTTPS inspection, meaning it will have visibility to view encrypted web traffic. This is critical to ensure that all Social Information Governance functionality is available. In order to do this successfully, the RSM CA Certificate needs to be installed on all client devices that will be using the RSM as a proxy service.

  1. Download the certificate from <IP>/noauth/cacert.

    If using Microsoft Active Directory create a Group Policy Object

    In GPMC open the relevant policies that apply to the Computers that need to have this certificate installed and navigate to Computer Config>Windows Settings>Security Settings>Public Key Policies and import the CA Certificate as a Trusted Root Authority.

    NOTE:This GPO will NOT apply to Safari or Firefox browsers. The certificate will need to be manually installed.

  2. If manually installing the certificate ensure it’s installed as a Trusted Root certificate.

  3. Once the certificate has been deployed, test by browsing to a HTTPS site and view the web proxy logs. You should not see a certificate warning in the browser and the proxy logs should display your HTTPS request.

5.10.6 Social Information Governance Configuration

Social Information Governance is a Rule/ Action process, meaning that a rule needs to be triggered before an action takes place. A rule is made up of one or more criteria. A criterion tells the RSM what should trigger the rule. A rule has one action assigned to it. An action may have multiple sub-actions.

Actions can be either:

  • Block

  • Alert

  • Modify

  • Moderate

  • Or in some cases, combinations of the above (i.e., Block and Alert) For example a rule to block a staff member from posting extreme profanity on twitter will contain the following:

  • oA criterion that uses the “extreme profanity” pattern list.

  • oAnother criterion that sets the Application type to “Twitter”.

  • oA final criterion that specifies the user’s action as “send”

  • oAn action to block.

NOTE:All Criteria must be true before the rule is triggered. In other words: If the user sends a post to Twitter, which matches an entry in the “extreme profanity” pattern list, then take the associated action to Block. This rule would not trigger if the user read extreme profanity on Twitter, so care must be taken in establishing the Social Information Governance requirements for your organization. The RSM comes with predefined rules that may apply to the relevant organization type.

5.10.7 Enabling Social Information Governance

  1. Enable Social Information Governance by browsing to Content Scanning -> General. Under the SafeChat Settings table:

    a. From the dropdown list next to “Enable SafeChat scanning of web content?” select “Yes”

  2. Click on “Update”

  3. Browse to Content Scanning -> Apply and click on the “Apply Changes’ button.

5.10.8 Creating Pre-Defined Social Information Governance Rules and Actions

  1. After the changes have been applied create the predefined rules by browsing to Content Scanning -> General and click on the “Add suggested settings” button.

  2. Browse to Content Scanning -> Rules where you can see the rules that have been created. The rules and corresponding actions will be currently disabled.

  3. Enable the rules by

    • Clicking “edit” next to the rule.

    • Check “Enabled”.

    • Additional criteria can be added at this stage by clicking on the “Add Criteria” link.

    • Click on “Update”.

  4. 4.When you are happy for the rules to come into effect, browse to Content Scanning -> Apply and click the “Apply Changes” button.

5.10.9 Creating Custom Social Information Governance Rules

To add or modify a rule:

  1. Browse to Content Scanning -> Rules and click on “Add new rule” in the top left hand corner

  2. Enter a descriptive name for the rule into the textbox provided. This will be used for referring to this rule, for example when modifying or deleting this rule.

  3. Select the action to be run when the rule is matched.

  4. Click the Update button to save the rule.

  5. Enter criteria as required. The rule will be triggered when all the listed criteria are matched.

    NOTE:NOTE: If no criteria are specified then this rule will never be triggered.

  6. Select the checkbox provided at the top of the page to enable the rule, once you are happy for it to become active.

  7. Click the Update button to save the rule.

5.10.10 Creating Custom Social Information Governance Actions

To add or modify an action:

  1. Enter a descriptive name for the action into the textbox provided. This will be used for referring to this action, for example when modifying, deleting or using this action.

  2. Click the Update button to save the action.

  3. Enter sub-actions as required.

    NOTE:If no sub-actions are specified then this action will not do anything, but the rule will still trigger a match, this can be useful for reporting.

  4. Select the checkbox provided at the top of the page to enable the action, once you are happy for it to become active.

  5. Click the Update button to save the action. Once all changes have been made to the

  6. Content Scanning section:

    1. Browse to Content Scanning -> Apply.

    2. Click on the “Apply Changes” button.

The Configured Social Information Governance rules and actions will now be live in a few seconds.

5.10.11 Social Information Governance Moderation

The Moderation section of Content Scanning allows authorized users to approve or deny messages held by a “Hold for Moderation” sub-action. A Content Scanning action needs to be configured to hold messages in a particular moderation “queue” until processed. An authorized user can then view each queue, reviewing the pending messages of a queue in detail, and selecting whether each message is approved or denied. An example would be to hold for moderation any messages that contain the name of the company for moderation and review before it’s sent to Twitter, Facebook, etc. The authorized user can then elect to allow that message to be sent or reject the message, giving an explanatory comment if necessary.

NOTE:Please refer to the online help under Users & Groups to create individual users and groups if you want to limit access to these features a defined group of users. Social Information Governance Moderation requires the configuration of:

  1. A moderation queue and;

  2. An action to hold messages in the moderation queue.

5.10.12 Creating a Moderation Queue

  1. Browse to Content Scanning -> Manage Moderation Queues.

  2. Select “Create New Queue”.

    • Provide a descriptive name for the queue.

    • Select which groups (if any) can view this queue.

    • If an explanatory comment is required for any actions within this queue (i.e., releasing or denying), set the appropriate value here.

  3. Click on “Update”.

5.10.13 Creating a Moderation Action

This is simply a Content Scanning action to hold messages into the specified moderation queue.

  1. Follow the steps described under “Creating Custom Social Information Governance Actions”.

  2. When selecting the sub-action, select “Hold for Moderation”.

  3. Select the moderation queue from the drop-down list.

  4. Assign this action to the required rule (please refer to “Creating Custom Social Information Governance rules” for more detail).

5.10.14 Configuring Secure Social Media Authentication

The RSM can be used to grant users access to social media accounts without having to divulge the account password. The RSM will determine whether users can access particular social media accounts based on the group membership of the user. This can be used, for example, to allow certain members of your organization the ability to make posts to your organization’s Twitter or Facebook account without divulging the password for those accounts.

NOTE:This functionality currently applies to LinkedIn, Twitter and Facebook accounts.

5.10.15 Configuring RSM to authenticate to a company’s social media site

  1. Browse to Social Media -> Accounts and click on “Configure New Account” in the top right hand corner of the page.

  2. Configure the account options:

    • Select the application.

    • Type in the username and password for the account

      NOTE:This feature will not work with accounts that require two-factor authentication. It is recommended that a long, complex and very secure password be used for the account.

    • Select which user groups can access this account through the RSM.

      NOTE:Users with Social Media Account administration privileges are allowed to access all social media accounts regardless of this setting.

    • Provide a description of the account (i.e., “ABC Corp. Main Facebook page”)

    • Set a session lifetime. This determines how long the login session cookie will be active before timing out. Leave it blank to use the application’s default values.

  3. Click on “Update”.

  4. Browse to

  5. Content Scanning -> Apply and click on the “Apply Changes” button.

  6. Users can access the company’s social media sites by browsing to the RSM, supplying appropriate credentials and then browse to

  7. Social Media -> Accounts.

    • They will see the list of social media accounts they have permission to access (for example Facebook and Twitter, but not LinkedIn).

    • Click on the social media account desired, and the RSM will log into that application for the user.