9.3 M+ and Netmail to Retain Migrator
The M+ and Netmail to Retain Migrator allows the migration of M+ and Netmail archives into Retain for easier storage and eDiscovery searching.
9.3.1 System Requirements
-
Windows 7.x (64-bit), 10
-
Java JRE 8 required
-
4 GB RAM recommended
-
Dual-core processor or better recommended
-
Retain 4.0 or higher
All archives must be local to the Migrator, or located on an active mapped drive. The migrator requires direct file access.
The M+ and Netmail to Retain Migrator is found on the tools page. To access the tools page, select the 'tools' link from the top right of the Retain Server administration page.

9.3.3 Installation
The install is straightforward. Simply execute the installation file and follow the prompts.
If Java 8 is not installed, the installer will prompt you to download it.
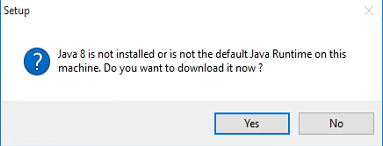
Press Yes to be taken to the Java 8 download page, please choose the appropriate version for your system and install it, then press Retry.
The install will welcome you.

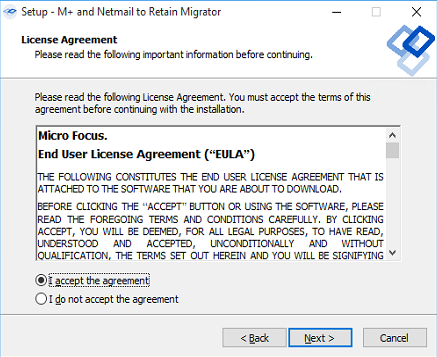
You will need to agree to the license.
The System Requirements will be listed.

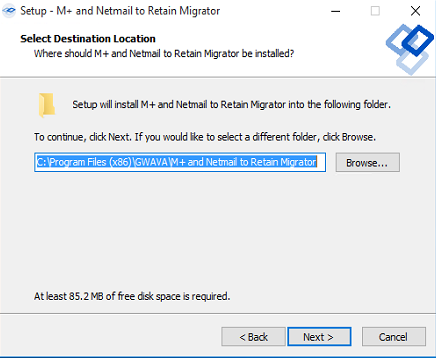
If you desire to change the installation directory, the migrator may be installed to any location on the local machine.
A start menu folder will be created unless specified otherwise. The location may be modified.

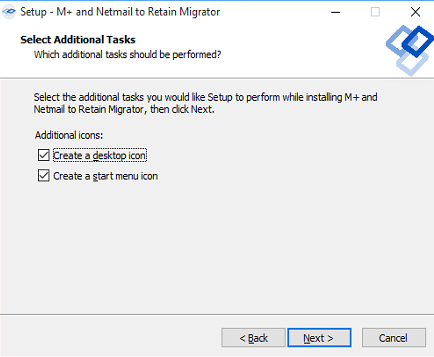
Desktop and start menu shortcuts may be created, or not, as desired. The default is shown.
All installation settings are displayed for confirmation. To confirm the settings and begin the install, click ‘Next’. Use the ‘Back’ button to change any settings before continuing.
Once the ‘Next’ button has been selected, the installation will commence.

Once the installation has completed successfully, this window will be displayed. Select ‘Finish’ to exit the installer.
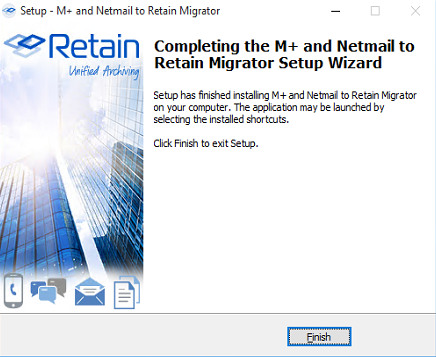
The Migrator is now ready to be run and configured on the local machine.
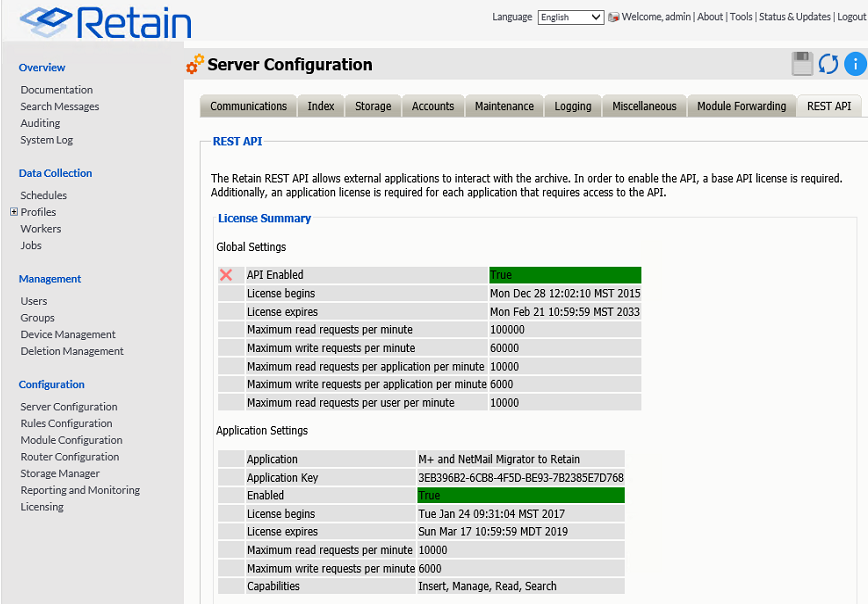
9.3.6 Install the REST license
Browse to the Retain Server Web Console | Server Configuration | REST API
Browse to the M+ and Netmail Retain Migrator license PEM file

You should see it appear on the license list:
9.3.7 Create a REST Collector
Create a REST Collector by providing a name and press the Add collector button.
Click the Export button and save the file to disk.

If using Retain 4.0-4.0.3.1:
Download a worker bootstrap Workers file.
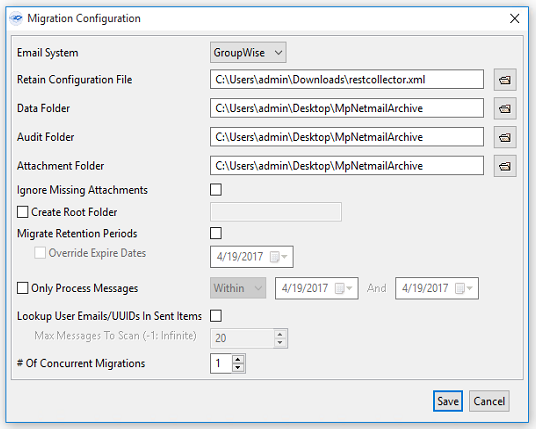
9.3.10 Configure Migrator
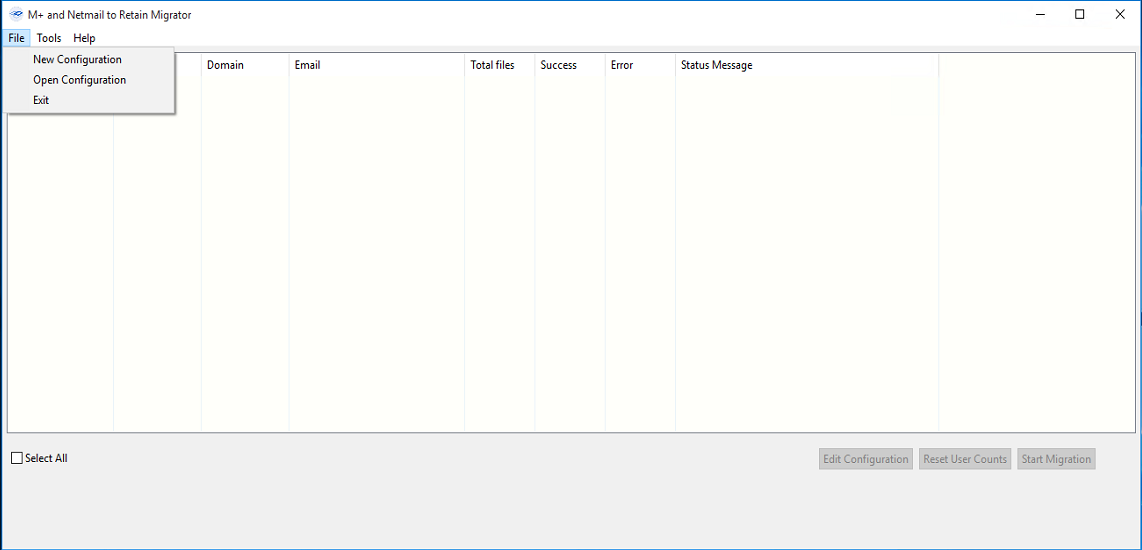
Start the tool by running the executable file from the shortcut.
-
File | New Configuration Select
-
Select the Email System: Exchange or GroupWise
Exchange
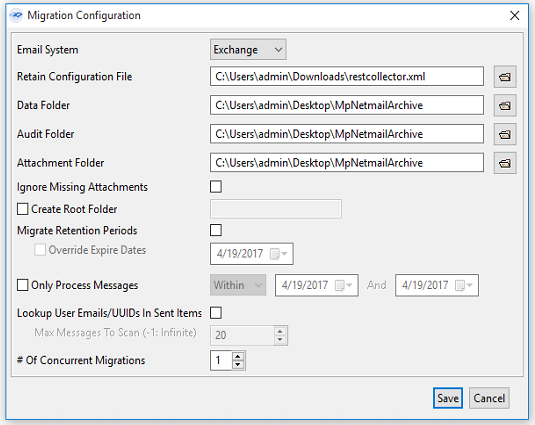
GroupWise
-
Browse to the REST Configuration XML or Worker Bootstrap CFG file exported from Retain.
-
Point the migrator to the parent folder of the Data, Audit and Attachments folders.
-
Ignore Missing Attachments: Attachments that are not present will be skipped and the remaining messages will be processed, instead of erroring out.
-
Create Root Folder: Enabling this option will allow you to specify the name of the root folder for the destination of the migrated messages and folder structure in each user's Retain mailbox. If this option is not enabled, the messages and folder structure will be placed directly under the user's Retain mailbox.
-
Migrate Retention Periods: This option will migrate the expiration date of the migrated messages into Retain.
-
Override Expiry Dates: This option is dependant on "Migrate Retention Periods" and will override the existing expiration date with one of your choosing.
-
Only Process Messages: Enabling this option allows you to limit the migration by date in one of three ways:
-
Falling between 2 dates (inclusive).
-
Before a certain date (exclusive).
-
After a certain date (exclusive).
Inclusive means that messages on the dates will be included.
Exclusive means that messages on that date will be excluded. For example, if you want all messages before 21 Oct 2015 (exclusive) it will only migrate message until midnight 20 Oct 2015.
-
-
Lookup User Emails/UUID in Sent Items: Enabling this option will cause the migration tool to lookup the user email or UUID that may exist in the user's M+ or Netmail Sent Items.
-
Select the # of Concurrent Migration threads to run:
NOTE:The number of concurrent migrations may be as high as 10, or as low as 1. Performance will be determined by the processor of the local machine; a multi-core or multi-threaded processor will perform fine with multiple concurrent migrations, while machines with lower resources will be taxed by higher numbers of concurrent migrations.
-
Click Save to File and select a name and location for your configuration file. The next time you run the migrator you can load the configuration from file to save time.
-
Click Save to exit the Migration Context
9.3.12 Users File Generation
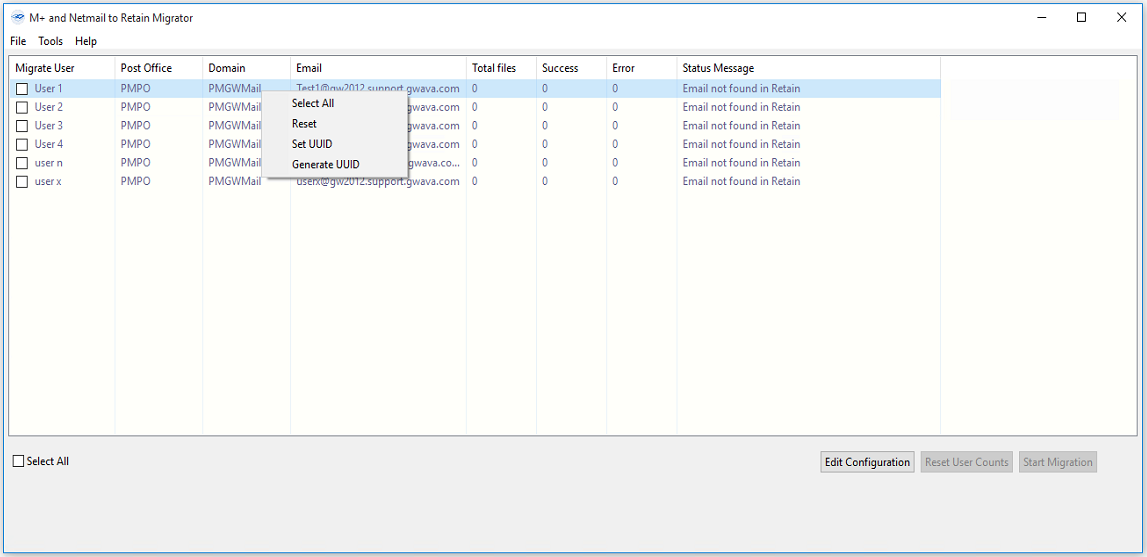
When a user list is generated, the migration tool will attempt to locate the GUID based on the connection information in the Migration Context.
If the GUID isn't found in the mail system, the archive data will be used to determine the correct ID.
If both methods fail, you have the option to generate a unique ID by right-clicking on the user. Generating a random ID should always be the last option.
WARNING:If an ID is generated for a user that has already been archived in Retain under another ID, duplicate accounts may be created.
Once the tool is configured it will attempt to load the users. To create the list manually:
-
Click Tools | Generate Users File | Generate Users File: The tool will connect to the selected mail system and create a CSV file of all users.
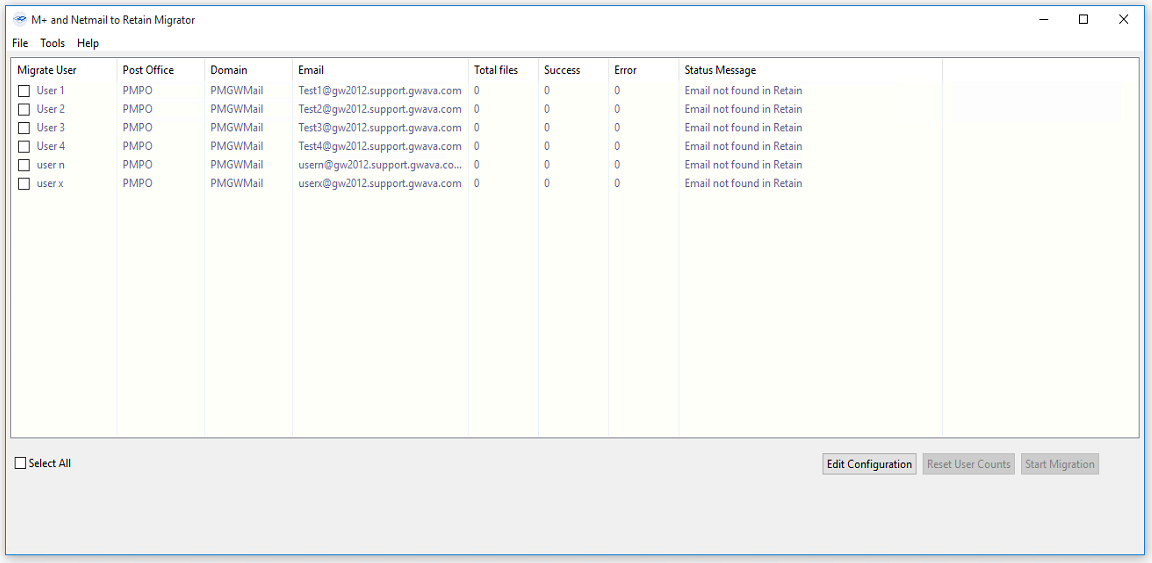
The tool will generate a list of users and request a file save location.
Green means that the user's email address was found in Retain.
Purple means that the user's email address was not found in Retain.
The file will contain the following information:
-
"userID";"userPostOffice";"userDomain";"userEmail";"userDisplayName";"userType";"uuid";"userFolderPath";"status"
9.3.13 Select Users to Migrate
Click on the checkbox to select individual users or Select all for all users.

You may also use the contextual menu by right-clicking
Start the migration: Click the Start Migration button at the bottom of the tool
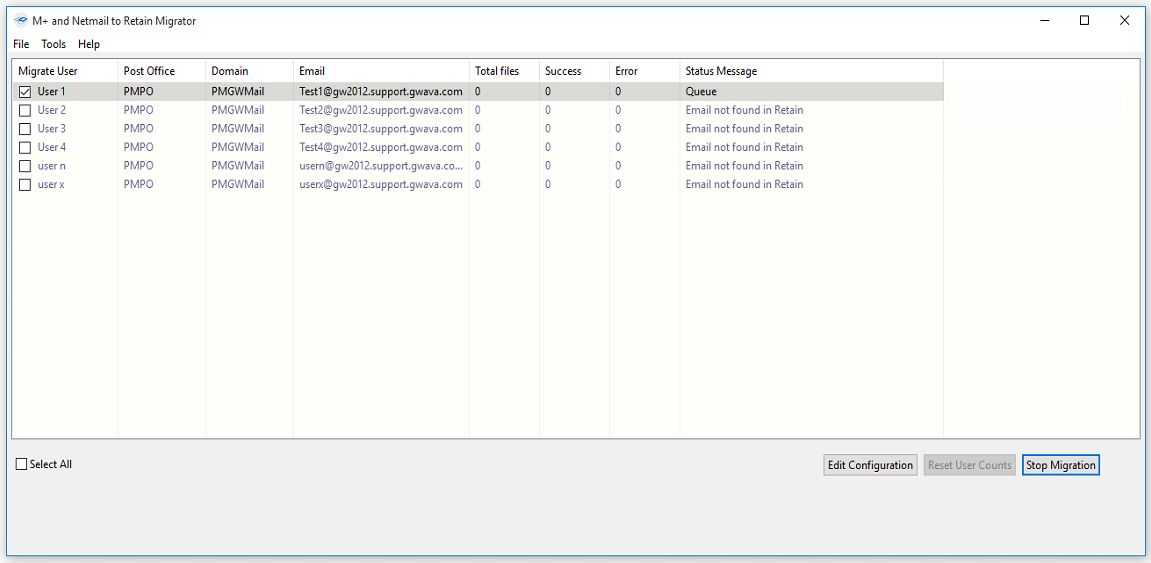
The migration tool will display statistics on the number of successfully archived messages, number of errors, users being migrated, the status of each user (done, migrating, queued, etc.) and how long the migration for that user took.
If a Running migration is stopped, (by pressing the ‘stop’ button), it may be resumed simply by migrating the user again. The tool maintains a record of progress of users. If a user needs to be completely re-migrated, select the user and then select ‘Reset’ from the right-click menu to reset the migration status. The user will then be completely re-migrated.
Migration Complete
When the migration is complete the status for each user will be Done, with a number of Successful items and Errors.
Console
You can view the detailed progress of the migration by enabling the Console from the Tools menu.
Disable Console Screen for best performance (recommended). The console exacts a performance hit,it is not recommended to leave the console open during the migration.
Click Tools | Show Console to toggle setting
