4.3 Upgrading From Retain 3.5.1.1 or 4.x to 4.7
To upgrade to Retain 4 requires that Retain be upgraded to 3.5.1.1 first. Please see Planning and Best Practices Retain Planning and Design Best Practices page for system design recommendations.
Retain 4 requires new licenses to function after the upgrade. An upgraded Retain 4 system will not function until the licenses are applied.
Upgrading from earlier versions of Retain follow the general plan of: 1.x to 1.8, 1.8 to 2.6.2, 2.6.2 to 3.5.1.1. This will probably also involve operating system and database upgrades as well.
Once Retain is updated to 3.5.1.1, the upgrade process to Retain 4 may begin.
4.3.3 Retain Configuration
If your Retain system was installed with version 3.0 or older, we recommend checking some settings and consider making some adjustments:
Logging Level = Diagnostic
Both your Server and Worker logging levels should be set to "diagnostic" unless you do not have the available disk space on your root partition.
The Worker logging level is found under Data Collection | Workers | [select the Worker object] | Logging.
The Server logging level is found under Configuration | Server Configuration | Logging.
Indexing All Content
Indexing all content is now the default.
Workers
Under the Connection tab of the Worker object ( Data Collection | Workers), be sure the port is set to 48080. For systems created with Retain 3.2 and later, it defaults to port 48080; however, if the Worker object was created with an earlier version of Retain than 3.2, the port default was 80. This causes the Worker traffic to the Server to pass through the web server, which slows the job down. Avoid SSL unless required by security requirements. It will cut the job speed in half.
For larger systems, you can divide up your jobs and assign each job to its own Worker. Only one job can run at a time for a given Worker; thus, if you install multiple Workers, you now can have those jobs run simultaneously in parallel. We recommend that each Worker object (created in the Retain Server administration interface) be given a name that describes its location and - if on the Retain server with other Workers - the directory to which it was installed. For multiple Workers on the same server, each Worker program directory will be named RetainWorker (the first installed Worker) and RetainWorkerX (where "X" is the Worker number assigned during the installation).
For installing additional workers on Linux, see Installing Additional Workers on Linux.
For installing additional workers on Windows, see Installing Additional Workers on Windows.
For Office 365 and Gmail, you will definitely want multiple Workers as archiving over the Internet from those systems is very slow - especially with Gmail. In those cases, create multiple distribution lists within those systems and create a separate job for each distribution list.
Archiving from GroupWise Disaster Recovery
Several years ago when GroupWise first supported the SOAP protocol, it was unstable. When Retain would run a job against a post office, the POA would often crash. Because this issue had such a big impact on customers, Micro Focus developed a method for archiving from a GroupWise Disaster Recovery backup designed to be a temporary solution until all of the SOAP issues in GroupWise were addressed. Novell eventually addressed the issues in their product and it became reliable and stable.
It is a recommended best practice to archive directly from the live post office and not from GroupWise Disaster Recovery. The archive job has a very light footprint on the post office - it only logs into one mailbox at a time and requests items. It would be like running the GroupWise client in caching mode and downloading mail on a daily basis. In addition to that, the performance and reliability of the archive jobs is much higher going straight to the production post office. There can be issues when archiving from GroupWise Disaster Recovery backups, especially if you don't stay right on top of the jobs to ensure they are completing properly.
We do not recommend running archive jobs against GroupWise Disaster Recovery unless there is a stability issue with your production post office. In such cases, that should be a temporary solution.
GroupWise Module
If you are archiving with the GroupWise Module, log into Retain and determine which storage flag Retain is currently using. This is the flag you want to choose during the upgrade process. Retain will query GroupWise and update the Item Store Flag in the Retain database for each user.
If you should choose incorrectly, it can be changed in the module. If not set correctly, it will mean that the next job will, at most, do a full dredge.
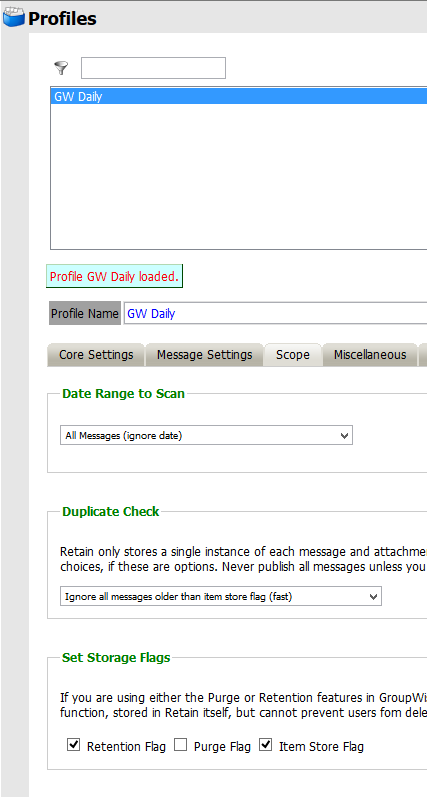
Please note that after the upgrade to 4.2 there will be a new default Scope setting in Profile(s).
The option "New items" will become the default selection if previously the Date Range to Scan was set to "All Messages (ignore date)" and Duplicate Check was set to anything other than "Try to publish all messages (SLOW)."
Please note that in 4.2 upgrade the controls for the GroupWise Storage Flags have been moved from the Profile to the Module Configuration page.
See the GroupWise module page for more details.
Profiles
GroupWise
Scope
One of the main points of having Retain is to have a complete archive of messages in your system because of data retention policies under which your organization must operate. If your email system's retention functionality is not understood or properly configured, users could purge items from their trash folder before Retain gets a chance to archive it. See the KnowledgeBase article: " How Retention Services and Item Store Flags Work".
Message Placement
Also, users make take a few days to organize their mail into folders. When the Retain archive job runs, it will take a "snapshot" of the user's mailbox as it exists at the time of archiving that mailbox.
If an Item A is in the main mailbox folder at the time of the job, it gets placed into the main mailbox folder in the Retain mailbox. If the user subsequently moves the item to another folder, Retain will not remove the item from the main Retain mailbox folder; instead, Retain simply creates an additional pointer to the item in the folder to which the user moved the message. This means the item will be found in the main mailbox folder and in the folder the user eventually moved it to.
To avoid this, some customers set the Date Range to Scan to Number of days from job start (older) and set the number of days to a value between 7 - 21. This gives the users that extra time to organize their new email before Retain archives it.
Miscellaneous
To save disk space, enable the option Don't store MIME.822 attachments and then activating the settings:
-
Store/index Internet Headers
-
Include Routing Properties
These settings will grab the data that is in the MIME.822 attachments and store and index them.
We also recommend only including shared folders that are owned by the mailbox. The other setting can cause errors in the job due to circular folder references.
Under Disabled/Expired Users, set "When Retain encounters a disabled or expired mailbox" setting to "Ignore".
Exchange/O365
Scope
One of the main points of having Retain is to have a complete archive of messages in your system because of data retention policies under which your organization must operate. If your email system's retention functionality is not understood or properly configured, users could purge items from their trash folder before Retain gets a chance to archive it. See the KnowledgeBase article: " How Retention Services and Item Store Flags Work".
Message Placement
Also, users make take a few days to organize their mail into folders. When the Retain archive job runs, it will take a "snapshot" of the user's mailbox as it exists at the time of archiving that mailbox.
If an Item A is in the main mailbox folder at the time of the job, it gets placed into the main mailbox folder in the Retain mailbox. If the user subsequently moves the item to another folder, Retain will not remove the item from the main Retain mailbox folder; instead, Retain simply creates an additional pointer to the item in the folder to which the user moved the message. This means the item will be found in the main mailbox folder and in the folder the user eventually moved it to.
To avoid this, some customers set the Date Range to Scan to Number of days from job start (older) and set the number of days to a value between 7 - 21. This gives the users that extra time to organize their new email before Retain archives it.
Miscellaneous
Enable these settings:
-
Store/index Internet Headers
-
Include user's recoverable items.
We strongly recommend abandoning the practice of using journal mailboxes to meet retention requirements (ensuring nothing gets deleted before being archived). Journaling doubles the traffic on your Exchange server and can adversely impact performance. Instead, have Retain archive the Recoverable Items folder in each mailbox and configure Rolling In-Place Holds. See the Knowledge Base article: " How to Transition from Journaling to Rolling In-Place Hold for Exchange Archiving" on how to configure this. It also provides links to articles on other recommended settings in Exchange.
Reporting & Monitoring Server
This tool provides archive stats as well as archive job stats. In Retain 4, it becomes a very critical tool for identifying errors in your jobs because it not only shows the error counts, but through drill downs on the error numbers, an administrator can see the exact message on which the error occurred, the folder in which it is stored, its delivered date, and the error description.
If you use this tool, make sure that when configuring it, you check the box under Core Settings that reads, Disable the disk usage statistic. This utility is too much of a drain on system resources and will be re-designed in the future. In the meantime, disable it. In Retain 4, this utility is disabled by default.
And, like the Worker, the port settings under the Connection tab should all be set to 48080 if possible so that the Server and the R&M Server are talking directly to one another's tomcat port.
4.3.4 Upgrade Process
If upgrading from Retain 4.0.x the upgrade process should take between 15 and 30 minutes, depending on the size of the system, very large systems may take longer.
-
Download the latest version of Retain.
On Linux, you may use the command line "wget http://download.gwava.com/download.php?product=Retain&version=current"
-
Extract the archive. This will extract into a new folder.
On Linux, in the GUI right-click and select "Extract Here" or on the command line "unzip Retain<version>.zip"
On Windows, right-click and select "Extract All..."
-
If on Linux, open a terminal window in the Retain install folder and make the bash script file executable by running the command: "chmod +x *.sh"
-
Run the installer:
On Linux: "./RetainInstall.sh"
On Windows: "RetainInstall.exe"
-
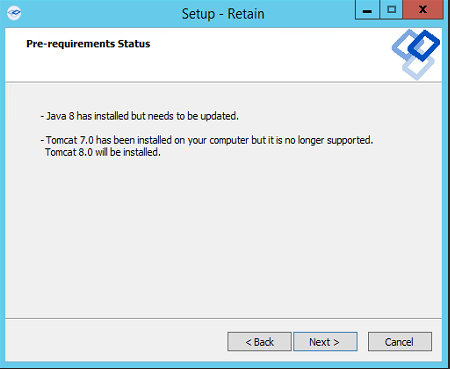
The installer will check the tomcat version that is installed and will upgrade it to Tomcat 8.0
-
Retain will detect if a previous version of Retain exists on the server. It will report what components have been installed and will ask if you wish to upgrade the current installation or if you want to add new components as well.
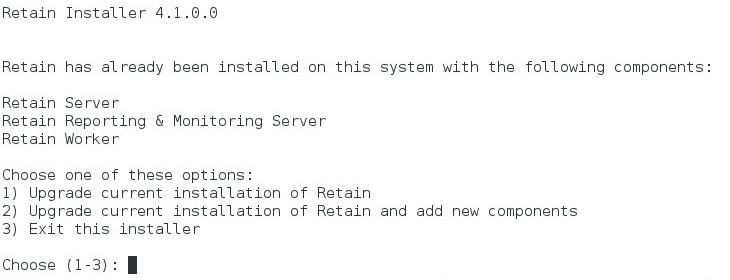
-
If you choose to install additional components it will ask what you wish to install.
-
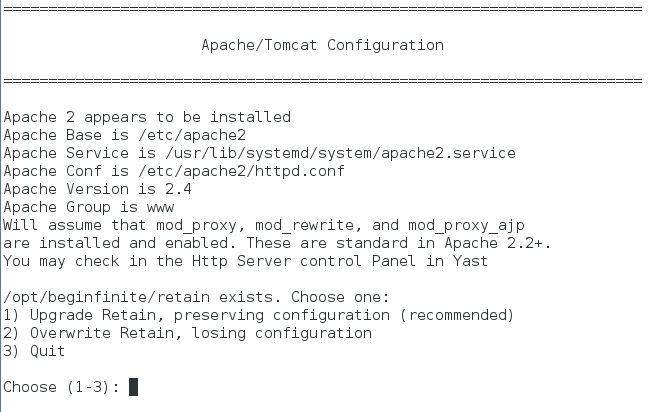
Then the installer will ask if you want to Upgrade Retain, preserving the existing configuration or Overwrite Retain which will replace the configuration file but will not erase data. This is useful in certain troubleshooting circumstances.
-
After choosing to upgrade or overwrite Retain, the installation will begin. Wait until the installation is finished.
4.3.5 Post-Install Tasks
-
Browse to Retain Web Console.
-
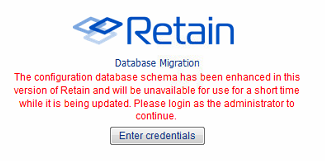
The upgrade may require a configuration database update, depending on the version of Retain you upgraded from. Select the ‘Enter Credentials’ button and enter the administrator account username and password. Select the button to start the migration.
-
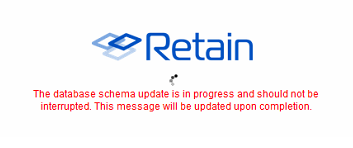
During the database Migration, do not interrupt the process. Wait until the process completes.
-
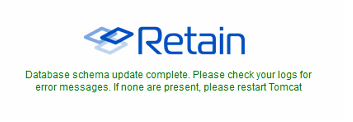
Once the migration is complete, the system will instruct you to restart tomcat.
-
Once the update has completed, restart tomcat to initiate the new database.
-
The tomcat restart will take a little bit longer than a normal restart, as the database needs to be initialized and set up the new interface.
-
After a few minutes, browse again to the Retain Management interface.
-
-
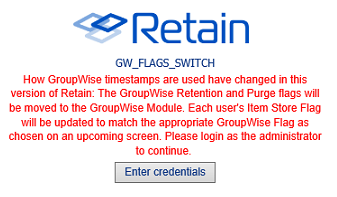
If you have the GroupWise module configured how the GroupWise timestamps are used by Retain have changed.
-
You will receive a warning page describing what will happen.
-
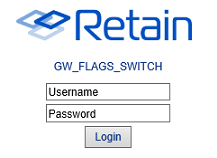
You will need to enter the admin credentials.
-
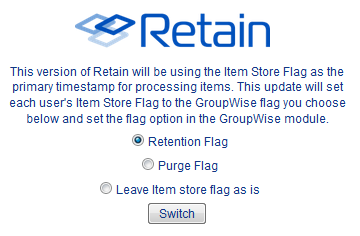
Choose which timestamp flag Retain will use in the Module.
-
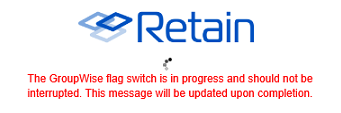
Retain will update, which will take some time. The Retain interface will not be available until this process completes. In Retain 4.2, this process is done in the background so the interface is available immediately, however jobs will be disabled until the process is complete.
-
When the migration is complete you will need to restart tomcat. In Retain 4.2, no restart of tomcat is needed, jobs will begin again on schedule once the process is complete.
-
-
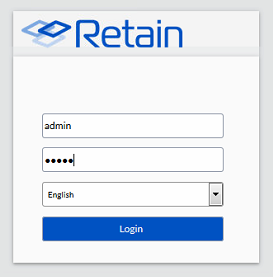
Login to the Retain Management interface. If upgrading from a version of Retain previous to Retain 4.x, new licenses for Retain 4 must be immediately applied. These licenses should be provided by the sales representative. (Removing old licenses is not required, but may help to keep interface looking clean.)

-
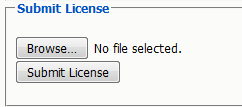
To install the new licenses, select the ‘Browse’ button from the ‘Submit License’ section at the bottom of the screen. Select the desired license and when back in the Retain interface, select ‘Submit License’ to upload the new license to the system. Repeat the process for each license required for the active and desired modules in the system.
-
It is a good practice to remove expired licenses from the Retain system to keep the interface clean and to easily see any licensing issue. However, removing expired licenses is not required.
-
-
If upgrading from Retain 3.5.1.1:
-
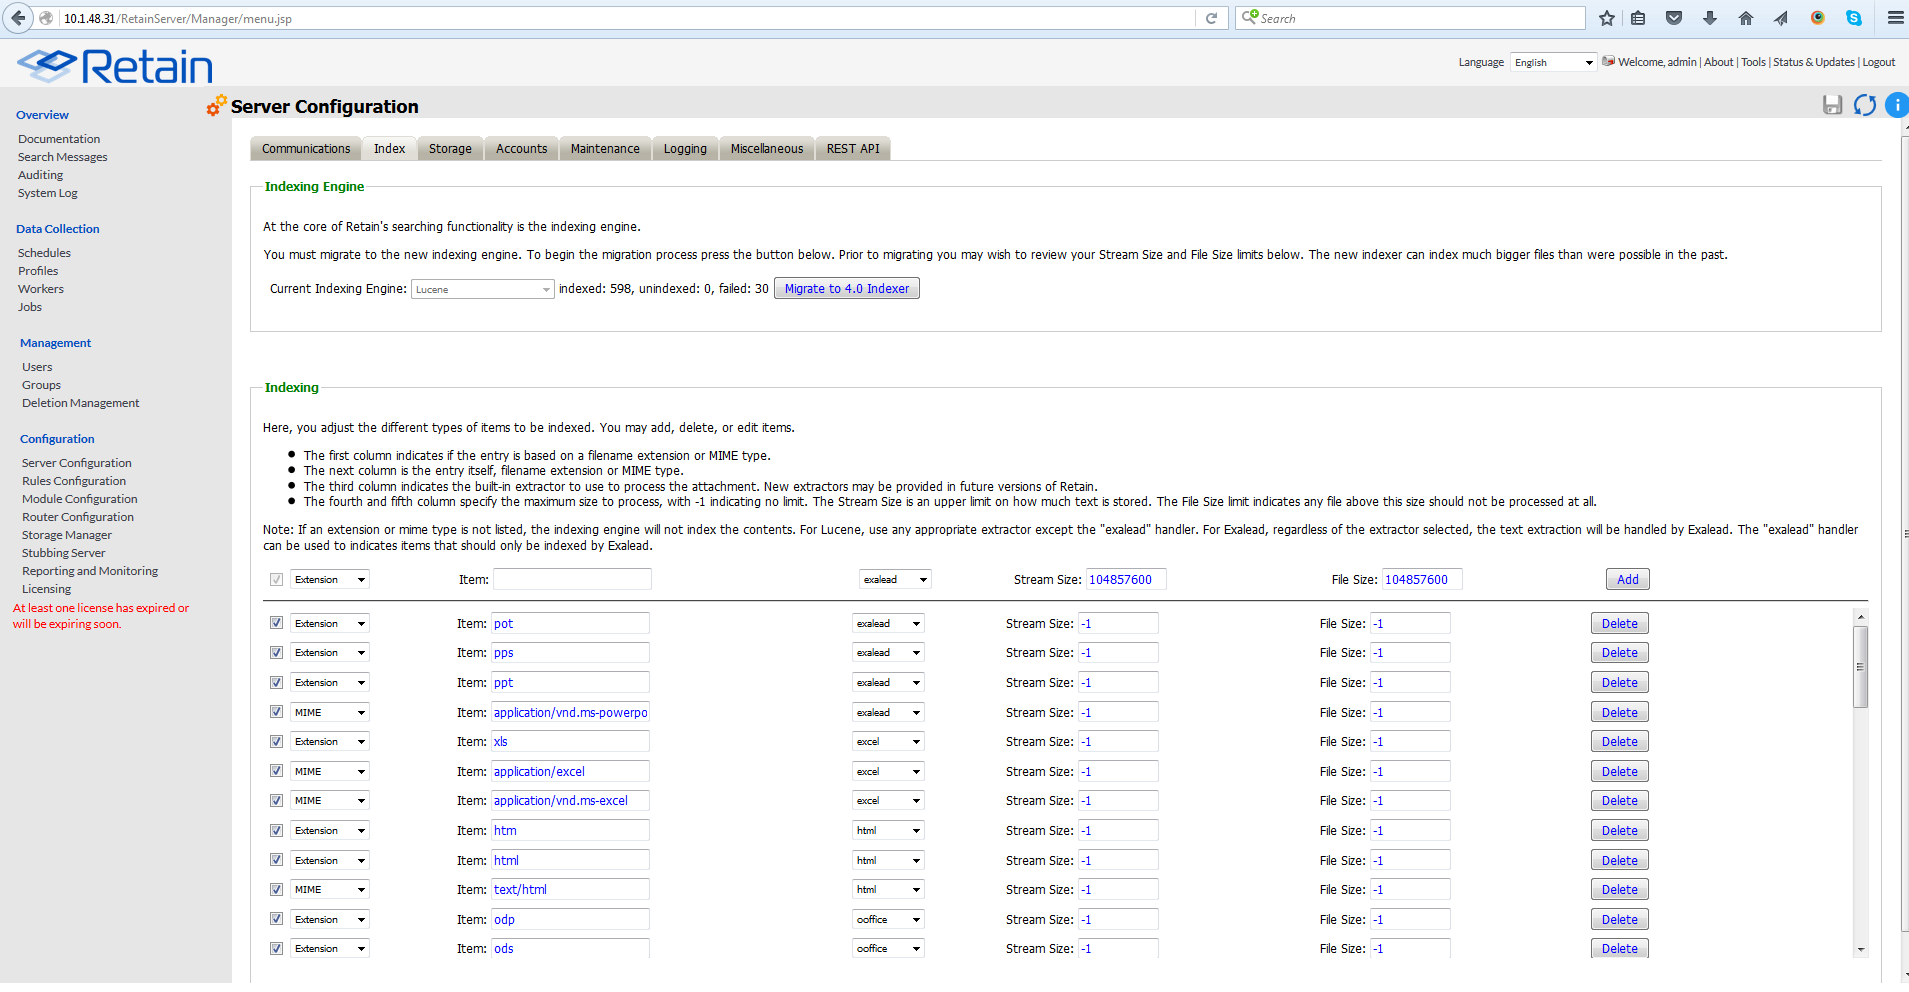
Immediately go to the Server Configuration page and select the Index tab.
-
Select the Migrate to 4.0 indexer button.
-
There are two index options: High Availability Indexer and the standard index. Both options utilize the same high performance index engine and will both provide new searching functionality; however, the 'standard' engine is embedded while the 'High Availability Indexer' is a scalable, external, cluster system for large systems. The default is set to the standard index. The standard index engine is very powerful and sufficient for everything up to extremely large or busy systems.
If you wish to use the High Availability Index engine, a separate license is required. Please contact support for guidance, system planning, and installation.
-
Once the migrate button has been pressed, the new indexer section is displayed.

-
The Standard engine only requires the Retain admin credentials. Enter the administrator credentials then save the changes by selecting the save-changes button to continue.
-
The index migration begins automatically. During the migration of the index, the active index is displayed at the top of the page. The active index displayed at the top of the page will still be available and fully functional. New search options and features will not be available until the new index becomes active.
-
The index page is updated every 10 seconds to display the progress. With no archive jobs, migrations of the index will average 60 messages per second on a Linux server, and about 45 messages per second on Windows Server. Migration speed is limited by disk IO, (and network speed with external indexes). Large messages with large attachments will take longer. If archival jobs are running, the speed of the migration will depend wholly on the size and activity of the archival job.
-
When the index page updates showing the new index is running, the new index has automatically become active.
-
Once the index migration is complete, the indexer will need to optimize the index files. This is done during the nightly maintenance. The larger or more segmented the indexes the longer this will take. This may temporarily triple the disk space the indexes use as the files are consolidated. It is a recommended to go to the Server Configuration | Maintenance tab and set the Enable Index Optimization to Saturday weekly. The first optimization is the longest and may take many hours, after that it usually only takes minutes and can be done nightly.
-
-
The upgrade is complete.