6.2 Durations
NOTE:Note, this menu option is only visible when Purchase Orders is enabled in Admin>Setup>Billing.
Note, within the Help Desk application this option is found within Supervisor>Service tab.
The Durations menu is used to configure periods of time used for warranty and lease durations. They appear as a drop-down list when a default Warranty Service Level Agreement (SLA) is assigned to an Item Type. The duration selected determines the length of the warranty period.
Within Purchase Orders, the Lease Durations appear when a PO is created for leased Items, to specify the lease period.

Within the Duration menu, a number of default durations exist. These can be edited or new durations created.
6.2.1 Creating or editing durations
To create or edit durations:
-
Select CMS > Durations
(In the Help Desk application as a Supervisor select the Service > Durations tab)
-
Select the New button to create a new duration
Or, click on the duration Interval Name to edit an existing duration. The individual Duration screen appears.
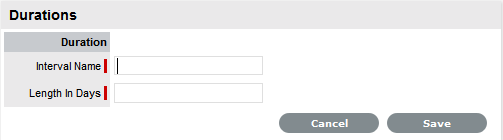
-
Enter the required interval name
-
Define the time period for the Duration
-
Click Save.
6.2.2 Delete a Duration
To remove an entry on the Durations list:
-
Select CMS>Durations
The Durations screen appears.
-
Click on the Duration link that is to be deleted
-
Select the Delete button
A warning message is displayed.
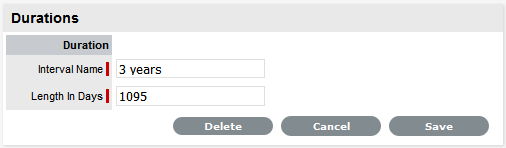
-
Click OK in the warning message.