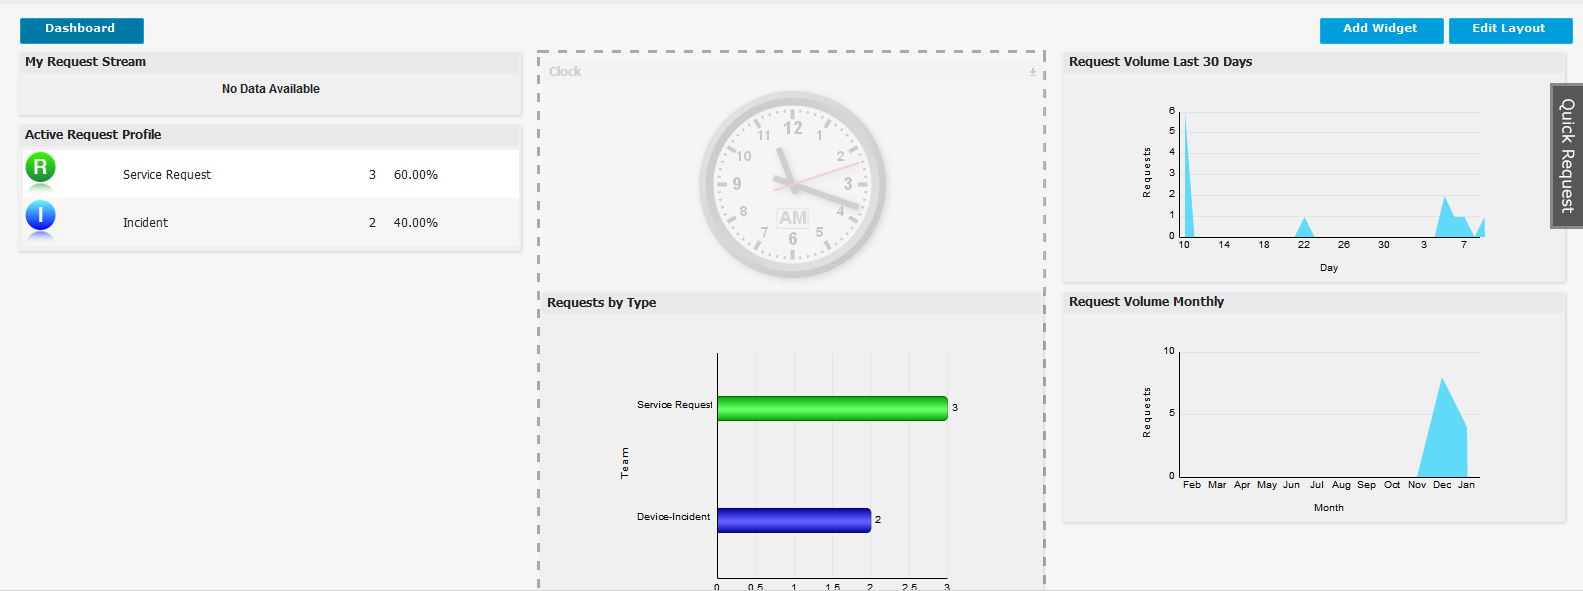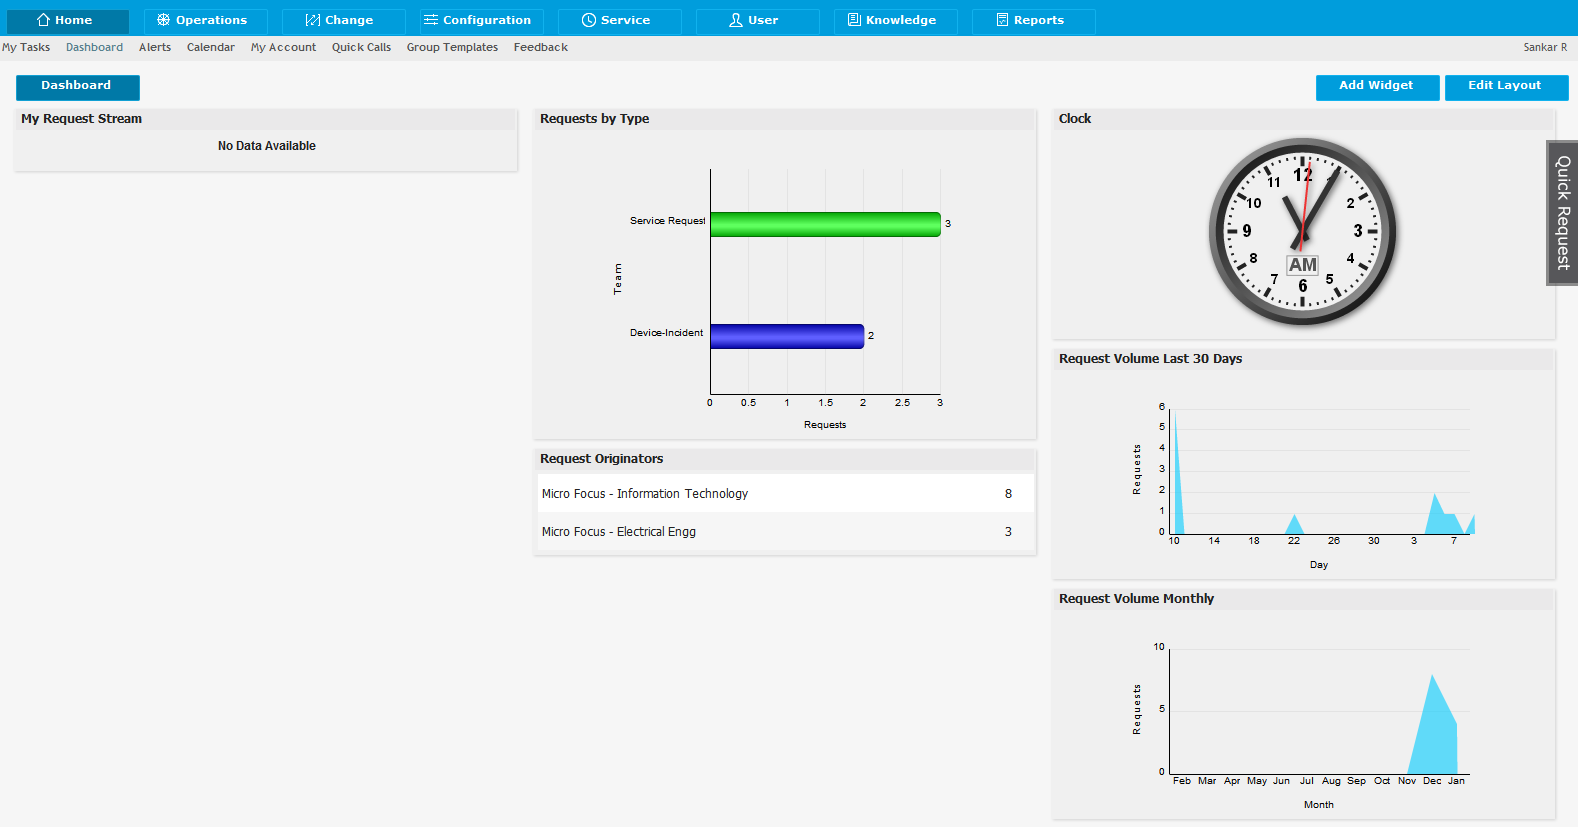
The Dashboard can be customized to display automatically updating request lists, system reports and information using widgets. The Request Stream widget provides Users with a list of requests that automatically updates without requiring a screen refresh, as is required in the My Tasks tab.
Users can set the Dashboard as their default landing page upon logging into the system, by adjusting the Default Home option within the My Account screen.

Information displayed on the Dashboard can be adjusted according to the Layout defined and the widgets selected.
To customize the Dashboard Layout, within the Home tab:
Select
the Dashboard tab
The Add Widget and Edit Layout buttons are visible on the right side
of the screen.
Click
![]()
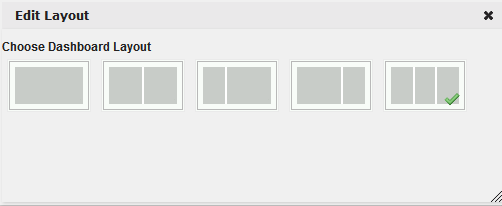
The Edit Layout window is displayed.
Click
the image for the required Layout option
The screen will default to the selected option. To
move any existing widgets to another location on the screen, click
on the widget heading and drag to the preferred location.
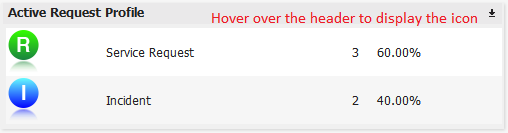
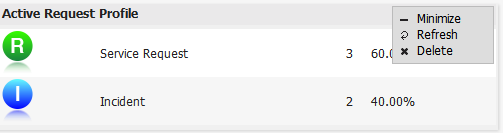
To access the Minimize, View Data, Refresh and Delete widget menu options, scroll over the widget header.
Menu Option |
Description |
Minimize/Maximize |
Select Minimize to reduce the view of the widget to the Widget Header. When minimized, the Maximize option becomes available. Click Maximize to display the widget in full. |
View Data |
Available within the Request Stream widget menu option. Select to view the request details that make up the widget content. By default number of request is 50, you can configure as per your requirement. To configure the View Data:
|
Refresh |
Select to manually refresh the data displayed. |
Delete |
Click to remove the widget from the dashboard. A warning message will be displayed, select OK to continue with the deletion process. |
To add widgets to the Dashboard, within the Home tab:
Select
the Dashboard option
The Add Widget and Edit Layout buttons are visible on the right side
of the screen.
Click
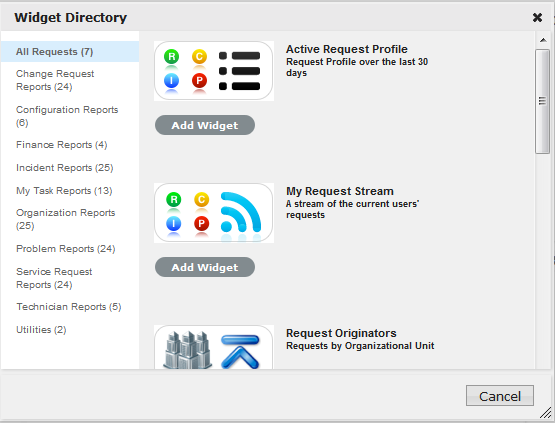
![]()
The Widget Directory is displayed with the categories across request
types, Configuration Management, Finance and Utilities.
Select
a widget category
The list of available widgets is refreshed based on the category selected.
Click
the Add Widget button for the widget to be included on the Dashboard
The widget is applied to the Dashboard and the Directory screen is
closed automatically.
To
move the widgets to another location on the screen, click the widget
heading to engage the drag icon and move the widget to the preferred
place on the dashboard.