Select Finance>Invoices
Click
New
The Customer tab appears.
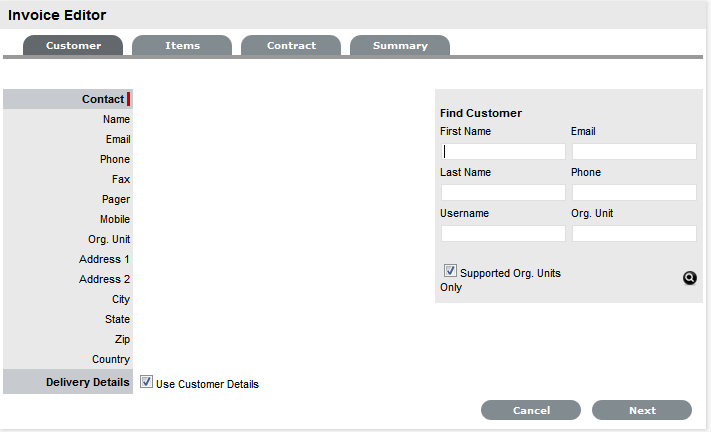
To assign a Customer to the Invoice:
Search for a Customer who already exists in the system
Enter any known information such as their First Name, Last Name, Email Address, Org. Unit or Username in the Find Customer fields. To view a list of all Customers in the database, leave all the fields blank.
Click

Click on a Customer's name to assign them to the Invoice
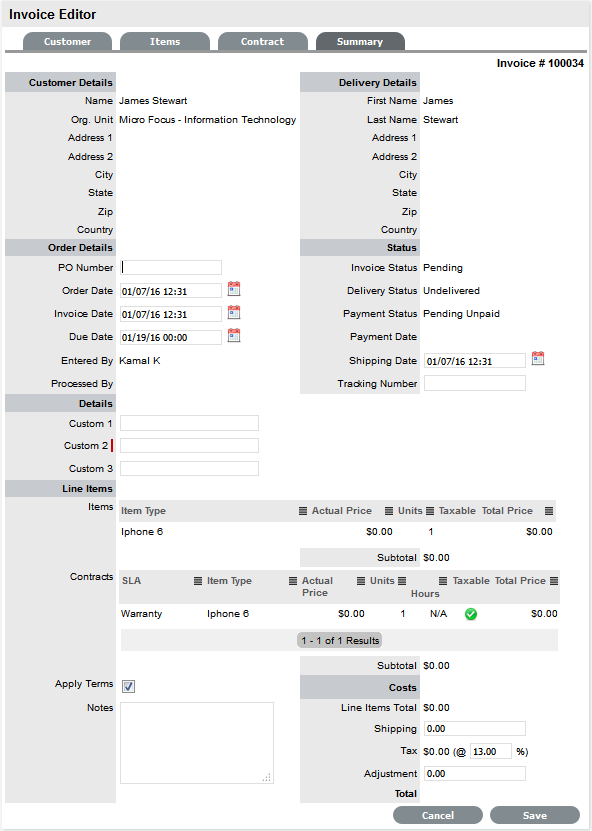
The Delivery Details are automatically extracted from the Customer Details. If they are not the same, uncheck by clicking the tick in the Use Customer Details box and enter the correct details.Select Next to continue.
The system moves to the Items tab.
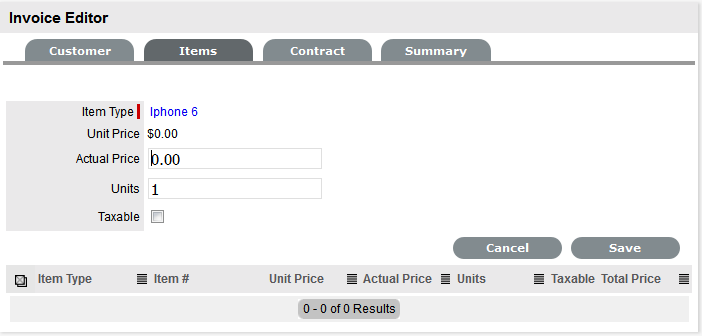
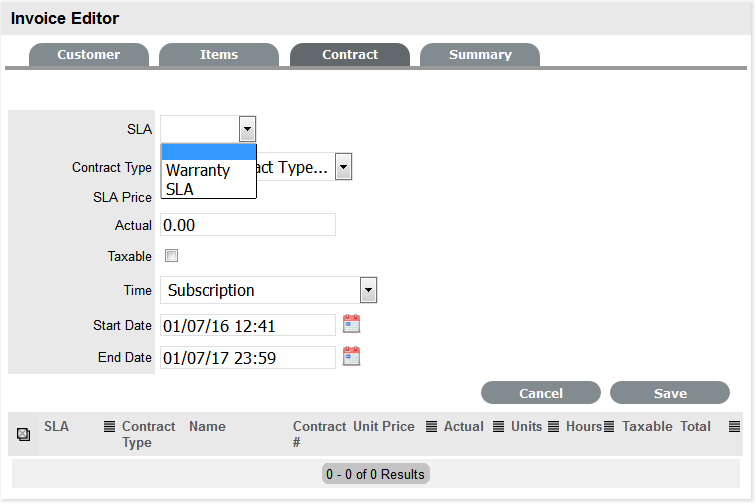
To add an Item Type for an Item Order:
Select
 if the Invoice is to purchase a new Item
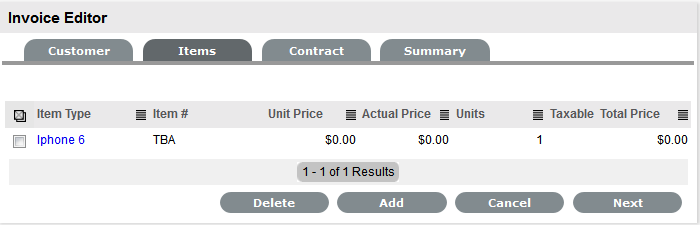
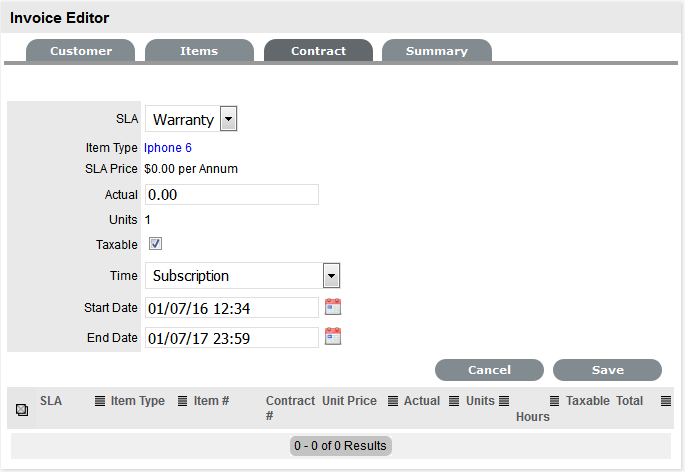
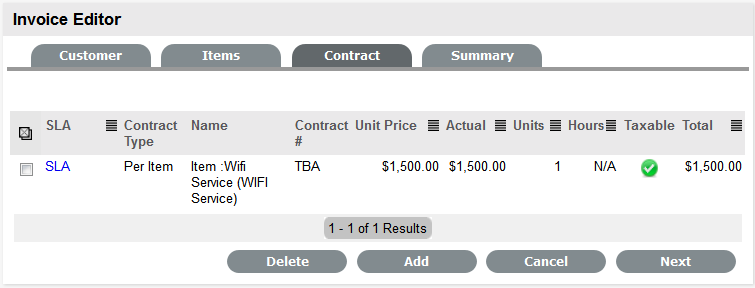
Otherwise, click Next to purchase a Service Contract.
Search for the Item Type to be associated with the Invoice
Leave the search field blank and click the Search button to display a list of Item Types that can be assigned to the InvoiceSelect the relevant Item Type link to add it to the Invoice