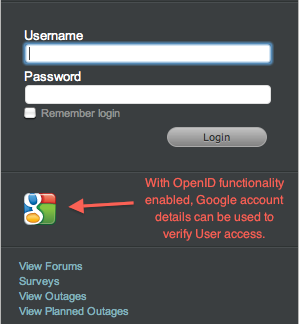
The Social tab is available when the OpenID Consumer option is enabled within the Setup>Privileges>System tab. This functionality delegates the authentication of Customers and Users when accessing the system to OpenID Providers. Users and Customers with accounts with OpenID Providers recorded in the system can invoke the functionality by clicking the appropriate icon displayed on the system Log in page.
Within the Social tab, the OpenID Providers that are to be used to verify the online identity of Customers and Users accessing the system are configured. By default the system includes the details for Google and Yahoo, which can be enabled by opening the relevant link and selecting Yes.
To use the default OpenID Provider options of Google or Yahoo to authenticate Customer and User access:
Select Setup > SSO > Social tab

Click the URL Name of the relevant Provider
Select Edit
Toggle the Enable option to Yes
Click Save.
The Open ID Provider icon will now be visible on the system Login page.
To remove the system default OpenID Provider list options, follow the above steps, but select the Delete button within the Details view of the OpenID Provider.
To enter the account details for an OpenID Provider:
Select Setup > SSO > Social tab
Click New
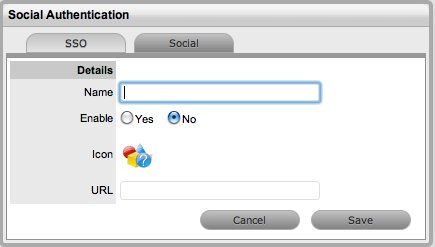
Complete the Name field
Select Yes to enable the Provider to authenticate Users and Customers
Click ![]() to upload the OpenID's icon that will be displayed on the system
Log in page
to upload the OpenID's icon that will be displayed on the system
Log in page
![]()
Click Choose File to
search for the image file
The image must be 32x32 pixels.
Click ![]() to upload
to upload
Define the URL details for the OpenID Provider
Click Save.
The icon for the OpenID Provider will now be active on the system Log
in page.