
I Denotes Mandatory fields
All sections throughout the application use a uniform system for creating, editing and deleting elements. Whether you are working with requests, Customers, Items or Item Types, the procedure for creating, editing or deleting existing elements is the same.
When entering details relating to any element throughout the system,
required information is marked with a I.
I Denotes
Mandatory fields
To create an element:
Navigate to the appropriate
section
For example, if you want to create a Customer, navigate to the User>Customers
section.
Click ![]() in the upper left-hand corner of the list of Customers
in the upper left-hand corner of the list of Customers
This will open a new Customer window.
Fill in the appropriate details
Click ![]() .
.
The new Customer now exists in the system and will appear in the list
of Customers.
To edit an element:
Navigate to the appropriate section
Click the Entry link
in the list
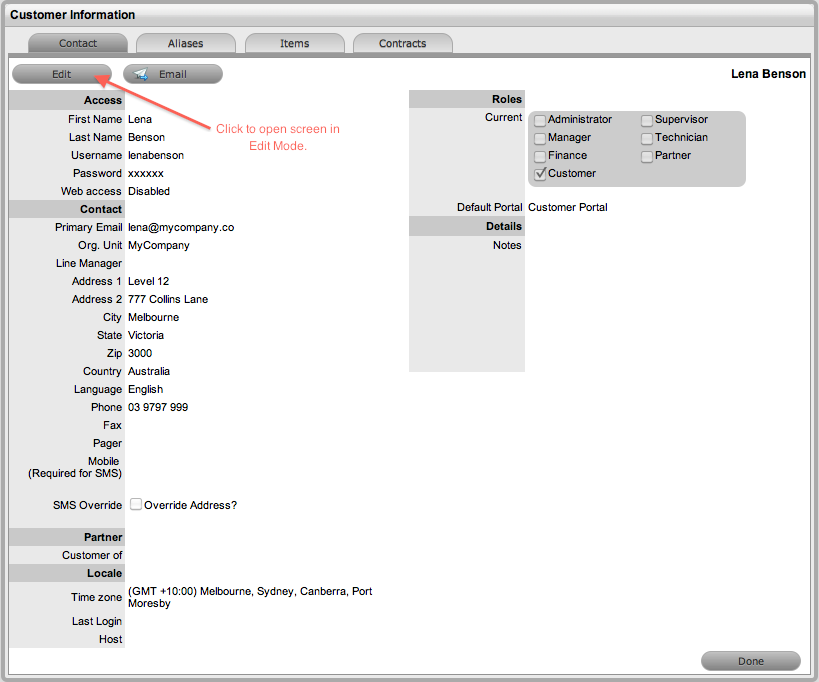
For instance, to edit a Customer, navigate to the User>Customers
section and click on the Customer Name hyperlink. This will open up
the Customer's Details screen.

Click ![]() in
the upper-left corner of the window to enter Edit mode
in
the upper-left corner of the window to enter Edit mode
Make the necessary changes
Click ![]() .
.
The changes will now take effect and the User will be returned to the
list.
To delete an entry:
Navigate to the appropriate section
Technicians do not have the ability to delete Incidents or Customers
Click the link in the
list corresponding to the entry to be deleted
For instance, to delete a Customer, navigate to the User>Customers
section and click on the Customer you want to delete. The Information
screen opens.
Click ![]() in the upper-left corner of the window to enter Edit mode
in the upper-left corner of the window to enter Edit mode
Click ![]() at the bottom of the section.
at the bottom of the section.
The entry is now deleted and the User will be returned to the list.
Most lists within the system can be exported to either PDF and/or Excel.
This functionality is available wherever the PDF ![]() and/or
and/or
![]() buttons are visible.
buttons are visible.
Tip: To customize the view of an Excel export, create a list view with the preferred columns, use the view and select the Excel button. See List Views for more information on customizing a list.
For better formatted and more user-friendly hard copies of Help Desk Incident print views, enable the Print Background setting on your web browser. Using Internet Explorer the setting is found in: Internet Options>Advanced>Printing>Print background colors and images.