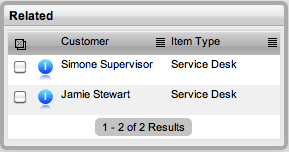
The Related sidebar is automatically displayed when an Incident is linked to other requests.
Incidents can be linked in the following ways:
Using the Group button within the Incident list
Within the Incident Groups option under the Incident tab
Linking requests within the Analysis tab of an Incident
As a result of multi-Item request creation.
Any Incidents that belong to a group can be viewed within the Related Requests sidebar window, inside the Incident Information screen. Within this window, all related requests are listed and can be controlled as one. For example, notes can be applied to all related Incidents, or the entire group can be closed.
The details of a related Incidents can be viewed by hovering the mouse over the colored icon. Click on the same icon, and the system moves to the Incident Information screen of that related Incident.

The Bulk option allows one or more related requests to have the following information updated simultaneously:
Priority, Workflow, Team, Status, Escalation Layer &Technician
Notification method and recipients
Request Classification
Items
Description, Attachments and Notes.
To complete a bulk update for any of the above elements:
Go to Incident>Incidents
Or, within Incident>Incident Groups select the Group # link and
move to the Related tab.
Click on the Request # link of the relevant grouped request
Tick the checkboxes of the requests in the Related Requests sidebar that are to be updated
Select ![]()
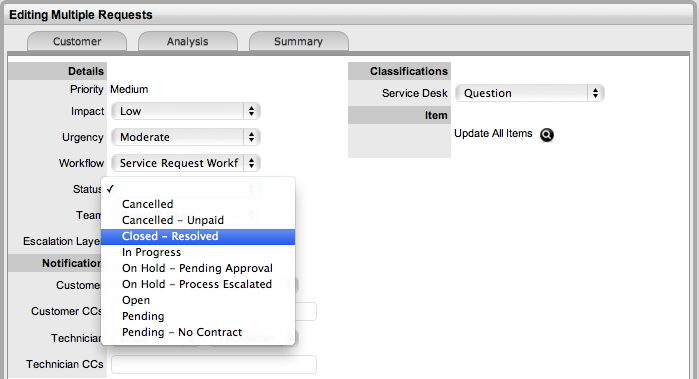
The system displays the Bulk Editor screen.
The system does not allow requests with a Status of Pending - No Contract to be updated. If the bulk update is only associated with requests of this status, an error message is displayed noting that one or more requests need to be selected.
Amend the appropriate element as per the above list
Click Save.
To remove an Incident from an Incident Group:
Go to Incident>Incidents
Or, within Incident>Incident Groups select the Group # link and
move to the Elements tab.
Click on the Request # hyperlink of a grouped request
Click![]()
The Incident opens in Edit mode and checkboxes become available next
to the Incidents in the Related sidebar.
Tick the checkboxes of the Incidents to be removed
Select ![]() .
.
The marked Incidents are removed from the Group.
Requests within the Related sidebar can be closed individually by moving the Workflow State to a Exit/Closed State within the Incident Information Screen. Grouped requests can also be closed as a group, by changing the request Status to a Exit/Closed State as part of a Bulk update. (See Bulk Updates above.)
Alternatively, all Incidents can be closed by using the Solution button within the Notes tab of an Incident. This option is available if the Handshaking facility has not been enabled for the system, within the Administrator>Setup>Privileges>Requests tab.
To close related Incidents using this method:
Go to Incident>Incidents
Or, within Incident>Incident Groups select the Group # link and
move to the Related tab.
Select the Request # hyperlink of a request in the relevant Group
Click ![]()
Enter the note details of the Solution
Check the Apply to Incident
Group option
![]()
If relevant, enable
Create Knowledge
This will move the content of the Note field to a Solution Knowledge
Base Article with the Visibility of Assigned Request.
Click ![]() .
.
The related requests are automatically closed and the Note content
is also made available in the Knowledge Base if the Create Knowledge
option was enabled.
When an Incident has a Solution
applied to it, the ![]() icon is visible next to the exit Status, within the Incident Summary
Tab. To view the Solution, click the icon.
icon is visible next to the exit Status, within the Incident Summary
Tab. To view the Solution, click the icon.