After the Customer details are assigned to the Incident, an Item or Items are assigned to the Incident. This assignment associates all the relationships of the Item(s), including Service Level Agreements and assigned support Teams to the Incident.
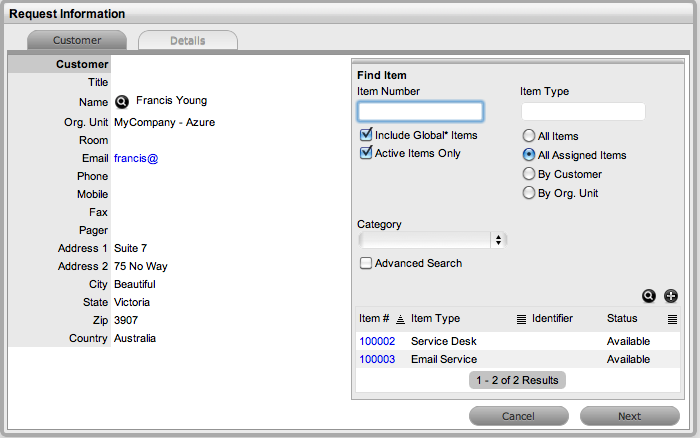
When creating an Incident, if the Customer assigned to the Incident owns any Items they will be listed below the Find Item search box. By default, the list is defined by the All Assigned Items option. It is also possible to search by:
All
Items
(Only visible if the Search All Items option is enabled within Admin>Setup>Privileges>User
tab.)
All Assigned Items (Customer and Organization Unit)
Assigned Items by Customer
Assigned Items by Organizational Unit.
The list can be filtered using the Include Global* Items option. This will display Items that are available to all Users in the system, as they have not been assigned to a specific Customer or Organizational Unit. It can also be filtered using the Active Items Only option, which means only Items that are assigned an active lifecycle state are displayed if the option is checked.
The system also allows for multiple Items to be assigned to a request during the Incident creation process, if relevant. This results in separate Incidents being created for each Item assigned to the initial Incident, which are then displayed within the Related Requests window within the Incident Information screen.
The requests are managed as individual Incidents to cater for any special requirements relative to each Item. For example, consider a situation where a Team rolls-out an update in an organization. In this instance, during the Incident creation process multiple Items are assigned to a single Incident, which the system automatically allocates to separate Incidents that are then managed on an individual basis. This allows appropriate Teams/ Technicians to be assigned to the Incidents relative to their skill-set or departmental assignments. The implementation process more effectively differentiates between the tasks and Items being modified and ensures each Item has its own Audit Trail, Attachments and Notes for future reference.
Multi-Item Requests are listed as separate Incidents within the Incidents List View, and can be accessed as a group within the Incidents Groups List View.
To assign an Item to the Incident:
Click the relevant Item link if listed below the Find
Item search box
Or, click ![]() to Search
for an Item or click
to Search
for an Item or click ![]() to Create an Item.
to Create an Item.
The option to create an Item is
only available to Technicians if the system Administrator has enabled
the Create Items option within the Setup>Privileges>User screen.
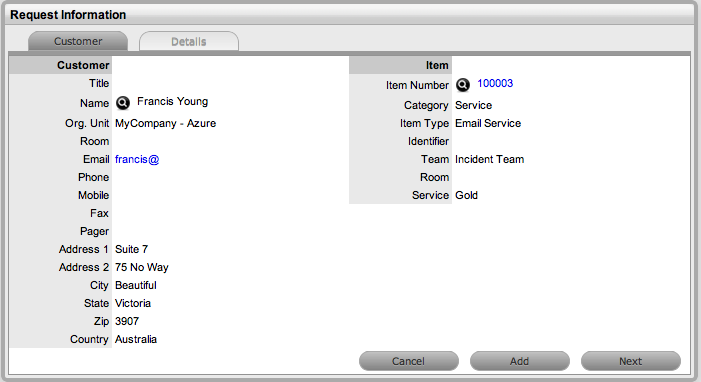
Click Next to move to the
Details tab if only one Item is to be assigned to the Incident
Or, select Add to assign additional Items. If Add is selected, a Selections
window will be displayed that lists all the current Items assigned
to the request.

Continue to add all the
relevant Items to the Incident and then select Next to move to the
Details tab.
Within the Details tab the Incident is profiled by assigning a Classification
and Incident Description.