Within the ZENworks tab the Service Desk can be configured to work seamlessly with the Configuration Management tool. In the first instance this is achieved by using ZENworks as the OpenID Provider for authenticating Service Desk Users and Customers. On a day to day basis, the ability to use the Remote Control and Bundle Management capability for the Configuration tool within a request, increases the efficiency of Service Desk Users when managing their workload.
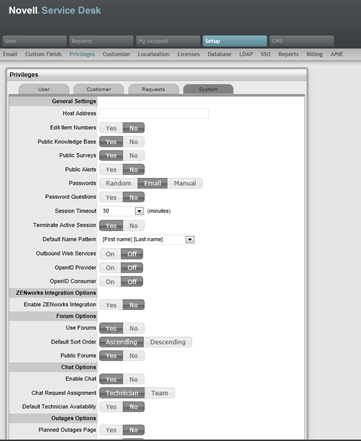
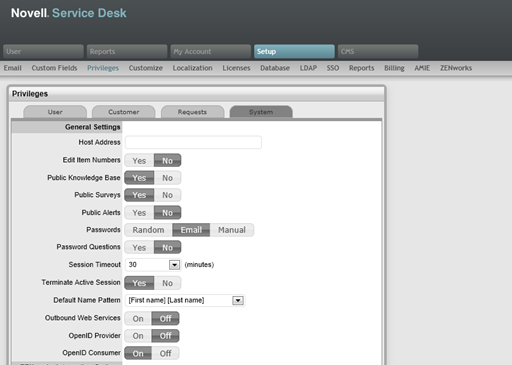
To enable ZENworks the Enable ZENworks Integration option within Setup > Privileges > System must first be enabled.
Once enabled, the ZENworks tab shall be displayed in the Novell Service Desk menu. The ZENworks server details can be configured through Setup > ZENworks

To enable authentication of Service Desk Users through ZENworks the OpenID Consumer option within Setup > Privileges > System must first be enabled.
Once enabled, the ZENworks tab shall be displayed in the Novell Service Desk menu. The ZENworks server details can be configured through Setup > ZENworks.
To define the ZENworks server information and OpenID Provider details, as an Administrator:
Select Setup > ZENworks tab
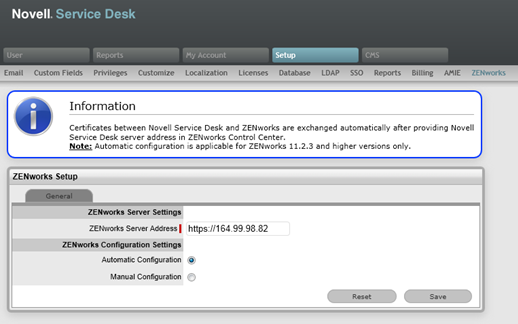
Complete all the following fields:
ZENworks Setup |
|
General Settings |
|
ZENworks Server Address |
Complete the server details hosting the ZENworks instance. |
Automatic Configuration |
Select this option to automatically exchange certificates. Select this option for ZENworks versions 11.2.3 & above only. In ZENworks (ZCC)select Import NSD Certificate by directly contacting the server to complete exchanging the certificates. |
Manual Configuration |
Select this option to manually download the Service Desk certificate and import it to ZENworks. Click Download Certificate to download certificate. |
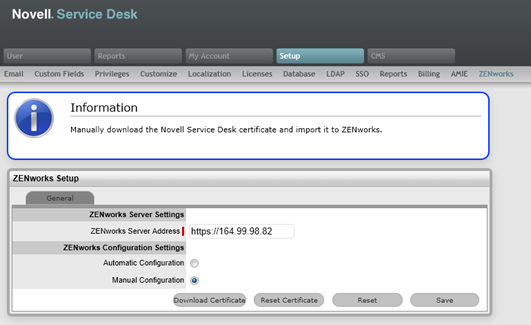
Click Save.
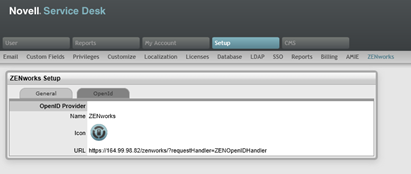
OpenID Provider |
|
Name |
Enter ZENworks as the OpenID Provider name. |
Icon |
By default the ZENworks icon that is to be available on the Service Desk log in page for Customers and Users accessing the Service Desk by the relevant Portals. |
URL
|
The OpenID Provider URL is automatically generated based on the Server Address details when the Save button is selected.. |
Select the Reset button for the system to reset the entered information.
To complete the ZENworks integration:
Import Customer and User details from the eDirectory authentication server
Import Items using the AMIE and the ZENworks 11.
When validating account details of Users and Customers accessing the Service Desk, the system will query two locations for unique identifiers:
details in the GUID field imported from eDirectory for the Customer or User
the Customer's or User's email address.