6.2 Creating a Collaborative Storage Policy
After you assign a managed path, the next step is to create a collaborative storage policy for the group or container you selected in Step 5. In this procedure, the Collaborative Storage policy will apply to the Group object. However, a Collaborative Storage policy can apply to a Group's parent container thus making it applicable to all existing and new groups located therein.
-
In NSMAdmin, click the tab.
-
Click .
-
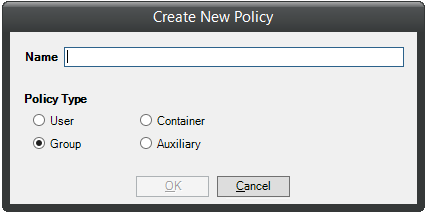
Select > > .
-
Specify a descriptive name for the new policy and click .
-
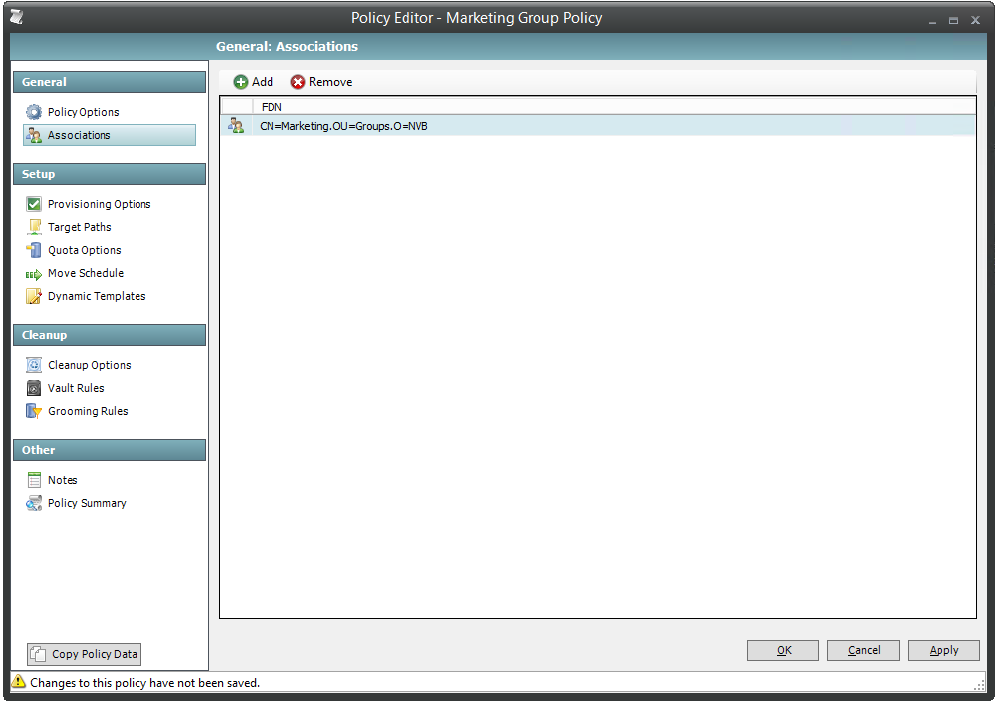
In the left panel, click .
-
At the top of the right pane, click and browse to select the group or container that you selected in Step 5.
-
Click , then click .
-
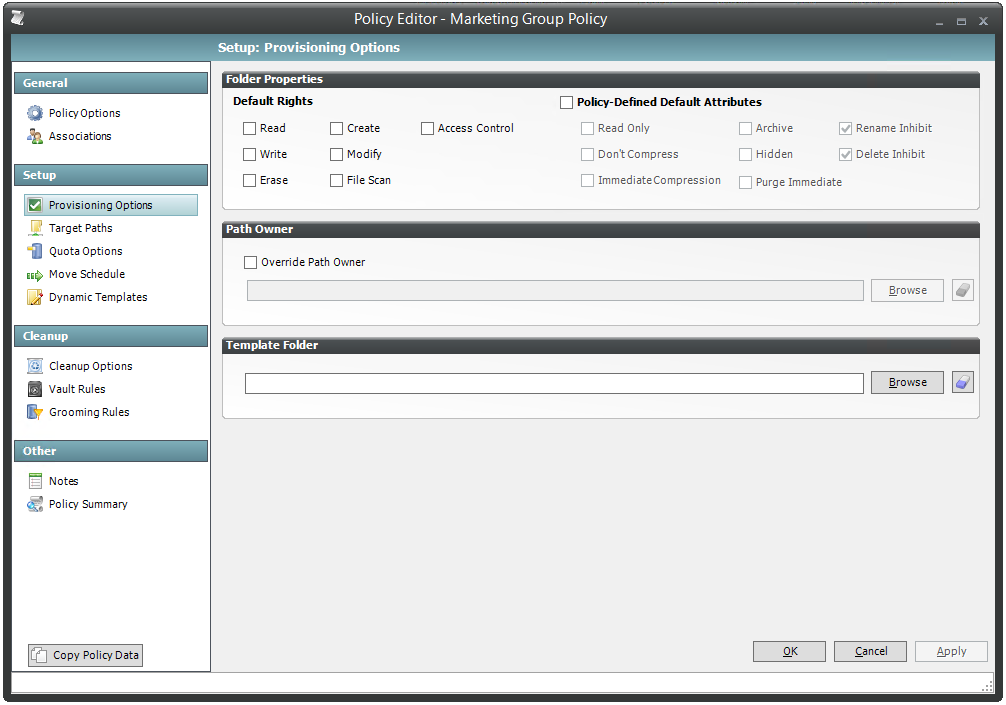
In the left panel, click .
-
In the Default Rights region, specify the rights that you want the managed object to have to the collaborative managed path.
-
In the Policy-Defined Default Attributes region, select the check box.
This enables the Rename Inhibit and Delete Inhibit attributes—which in most cases you should leave selected.
-
(Conditional) From the other attributes in this region, select any additional attributes you want to apply.
-
In the left panel, select , then click .
-
Browse to and select the parent of the folder you selected in Step 9.
-
Click , then click .
-
In the left panel, select .
-
In the Initial Quota region, select the check box and specify the amount of initial quota you want assigned to the collaborative storage folder.
-
(Conditional) If you want to set specifications for a quota manager, select and set quota maximums, increments, and managers.
-
In the left pane, select .
-
Browse to select the folder where you want to vault the files that will be groomed.
If the folder does not exist, you can right-click to create the folder.
-
Click to save the vault path, then click .

-
In the Grooming Rule Editor dialog box, indicate the files that Novell Storage Manager will groom from the collaborative storage pertaining to this policy.
For information on each of the fields in this dialog box, refer to Section 5.4.9, Setting Grooming Rules.
-
Click to save the grooming rule.
-
Continue with Section 6.3, Performing Management Actions.