2.1 Request List
The Request List page displays all the requests. The requests can be identified based on the associated icon:
-
 Service Request
 -
 Incident
 -
 Change Request
 -
 Problem
The following table provides information on various actions that can be performed in all the requests pages:
|
Actions |
Description |
|---|---|
|
Create Requests |
|
|
Export Data |
The list can be exported into a PDF or Excel by clicking After clicking the icon, the following pop-up will be displayed. 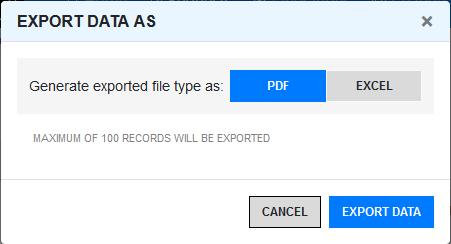
While exporting to excel, you have an option to select the columns that should be included in excel. 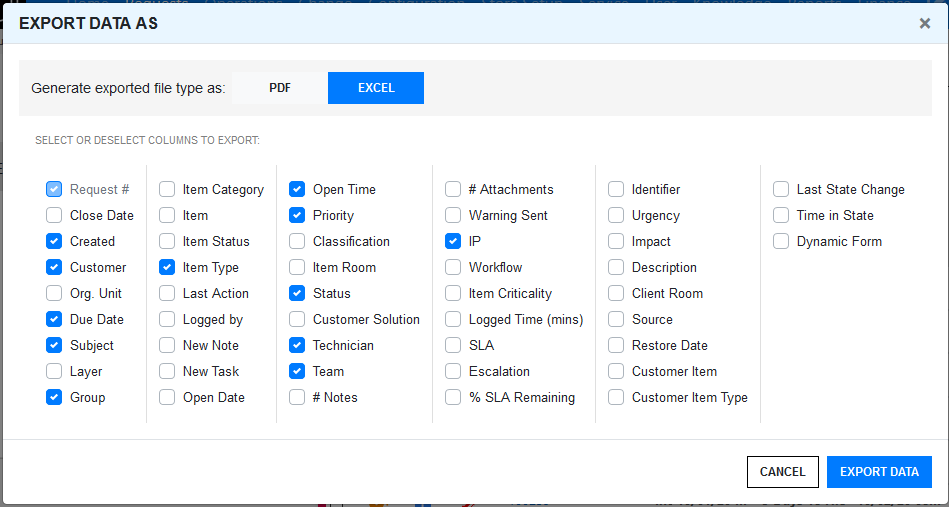
NOTE:By default, the displayed column in the list view will be selected while exporting the data. |
|
Link |
To link (Group) requests, select the required requests, Click This is a bulk operator, you can select multiple request to link. However, If any selected request is part of an existing group, then the remaining requests will be added to the same group. The linking (grouping) fails, if you have selected requests that are part of more than one group. For instance, if you have two Groups (A and B) each with two requests (A1, A2, B1 and B2), and you want to add two unlinked requests to Group A, select the check boxes for the unlinked requests and either A1 or A2 or both. If B1 or B2 is also clicked, the linking process will fail as the system cannot decide to which group the two new requests should be added. The link icon is not displayed in the Problems tab. However, you can link the Problem Requests with other type of non-grouped requests in the My Tasks tab. |
|
Close |
Click This is a bulk operator, you can select multiple request to close. However, if you have selected multiple requests, then the operation will be performed only on the requests that are applicable. |
|
Reopen |
Click This is a bulk operator, you can select multiple request to reopen. However, if you have selected multiple requests, then the operation will be performed only on the requests that are applicable. |
|
Delete |
Click This is a bulk operator, you can select multiple request to delete. However, if you have selected multiple requests, then the operation will be performed only on the requests that are applicable. |
|
Customizing Columns |
To customize the displayed columns, you can drag or drop the column in the required place. To add more columns, click the 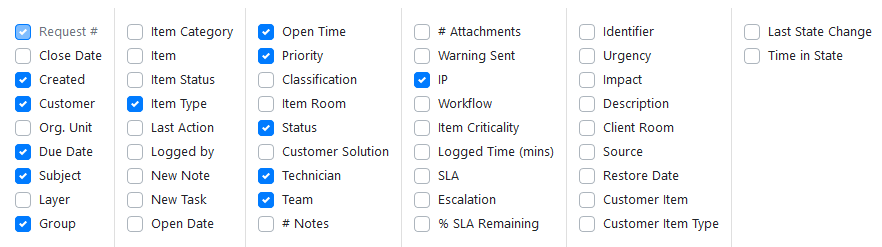
NOTE:For older request, Time in State and Last State Change columns will not display any data. After modify the requests, the data will be displayed in these two columns. For more information, see the Section 2.7.12, Customizing Columns section. |
|
Awaiting Inputs |
The |
|
Awaiting Approval |
The |
|
SLA Breached |
The |
|
Escalated |
The |
|
More Actions |
Click the Depending on the privileges, the option enabled might vary. 
|
|
Search |
On the top-right corner of the Request list page, you can find the search field. Using this field, you can search for Requests. 
For more information, see Full Text Search Options |
|
Filters |
Click the arrow icon to view filter panel. Using this panel, you can filter requests based on various available options. 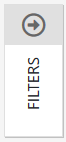
For more information on the available filter options, see the Section 2.7.13, Filters section. |
|
Messages |
If user adds a note to the technician in the request, then the message will be displayed along with the request, as shown in below image 
|
 icon displayed at the bottom of the screen.
 . A Group Number will be automatically assigned and an hyperlink will be displayed in the Group column.
 to close requests. Only the supervisor can perform this action.
 to reopen requests. Only the supervisor can perform this action.
 to delete request. Only the supervisor can perform this action.
 icon, and then select the required field that should be displayed.
 icon represents that the request is awaiting inputs from the customer.
 icon represents Awaiting My Approval.
 icon represents that the request is escalated.
 icon to view actions that can be performed on the request.