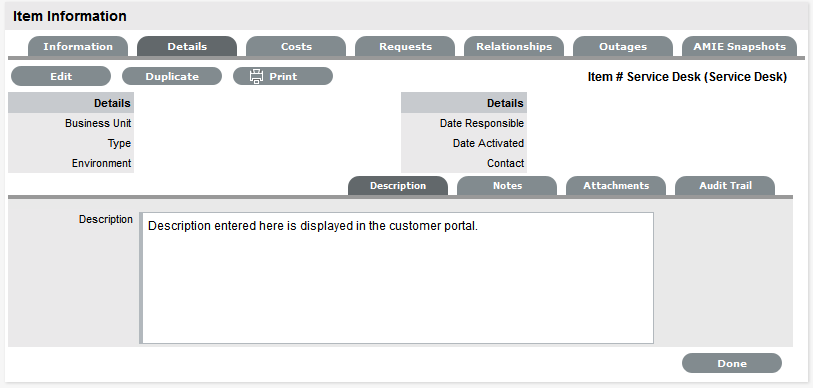
1.35 Details Tab
Once the basic information for an Item has been completed, additional details can be defined for the Item. The Details tab displays a list of custom fields set for the Item's Category. The information to be completed within this section is configured by the Supervisor when customizing the Item Type templates in Configuration > Categories. Fields marked as Required, must be completed for the Item Details of the Item to be saved successfully.
For more information about Item custom fields, see: Categories.
Clicking Save at the far bottom of the page after the Details tab has been completed, will create the Item and save it to the database.
NOTE:Items can be duplicated at any time by clicking the Duplicate button. A new Item is created with properties that are identical to the original Item (with the exception of the Item Number, as this must be unique and is generated automatically).
1.35.1 Item Description
Content entered in the Description field is made available on the Customer Portal in the expanded information window of an Item. For Service Items included in the Service Catalog tab of the Customer Portal, information about the Service can be included within the Item Description field. The Service Item information can be further defined by completing Item attribute fields that are configured as Customer Visible within the Category Information screen, and therefore also displayed in the Customer Portal.
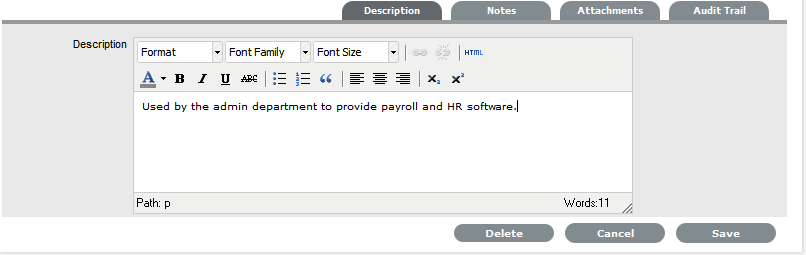
To add an Item Description, within the Item's Details tab:
-
Click Edit
-
Move to the Description tab
-
Add information in the Description field
-
Click Save.
1.35.2 Item Notes
To add Notes to an Item, under the Item's Details tab:
-
Click Edit
-
Select the Notes tab

-
Click New
-
Enter details in the Notes field

-
Click Save.
The Note will be allocated an identification number hyperlink for access. It will also be time- and date-stamped.
1.35.3 Item Attachments
To add Attachments to an Item, within the Item's Details tab:
-
Click Edit to display the Attachment tab New button
-
Click New

-
Browse and select a file
-
Enter a Description, if required
-
Adjust Private and Public option, if relevant
Selecting Public will make it accessible on the Customer Portal, when the Item is in a Customer Visible state.
-
Click
 .
.
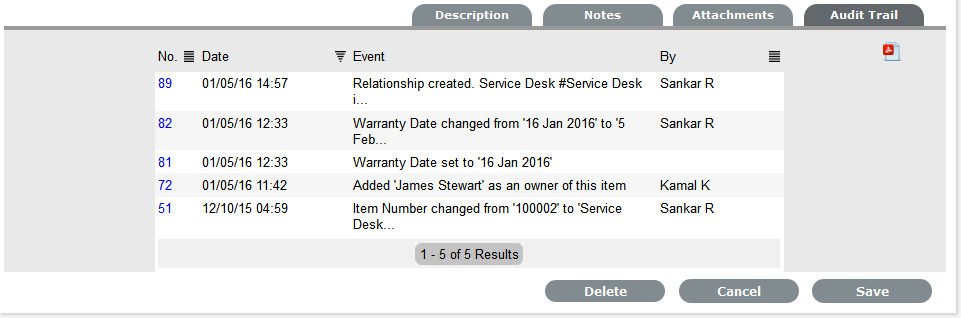
1.35.4 Item Audit Trail
The Audit Trail tab records all changes that are made to fields within the Item Information and Details screens. These entries are made to record all the alterations made to Items and the CMDB.
To view an audit trail entry, under the Item Details tab:
-
Select the Audit Trail tab
-
Click on the identification number hyperlink to display the entry details.