11.3 Creating a Disk Encryption Policy
Both the encryption of a device’s disks and the use of ZENworks Pre-boot Authentication (optional) are controlled through the Disk Encryption policy.
|
|
 Watch a
 To create a Disk Encryption policy:
-
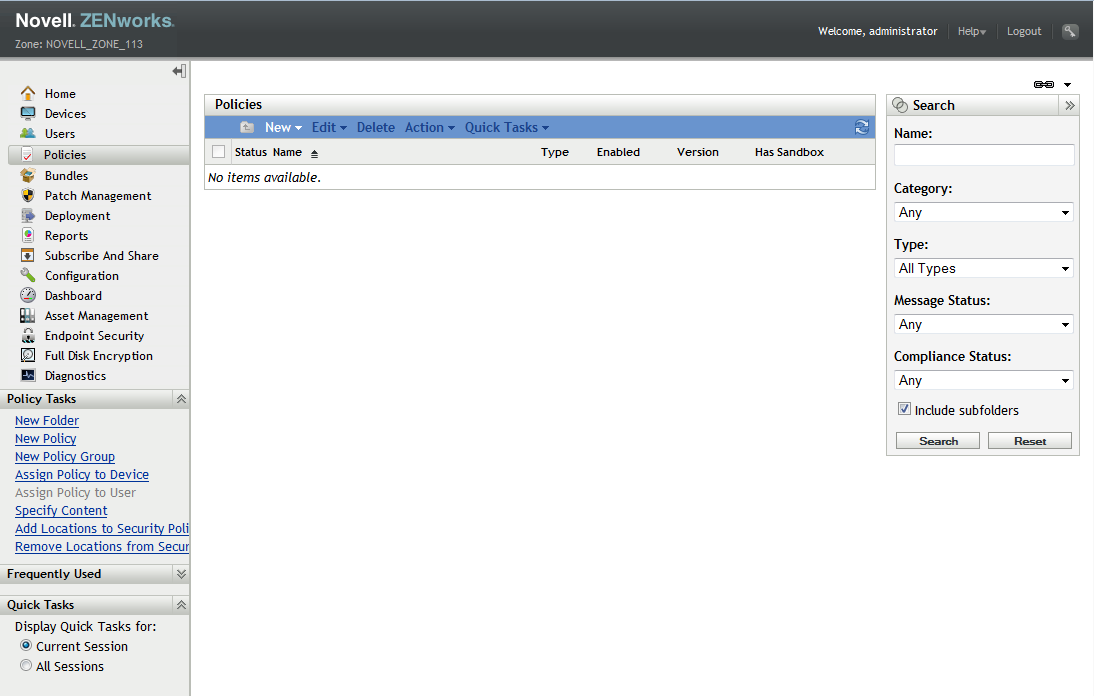
In ZENworks Control Center, click to display the Policies page.
-
In the Policies panel, click > to launch the Create New Policy Wizard.
-
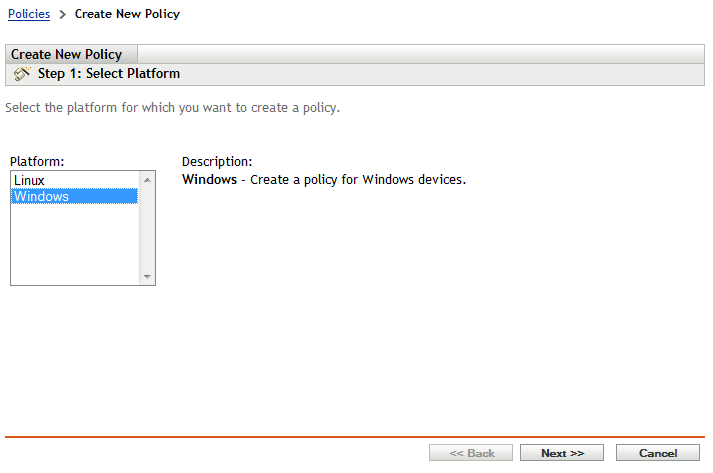
On the Select Platform page, select , then click .
-
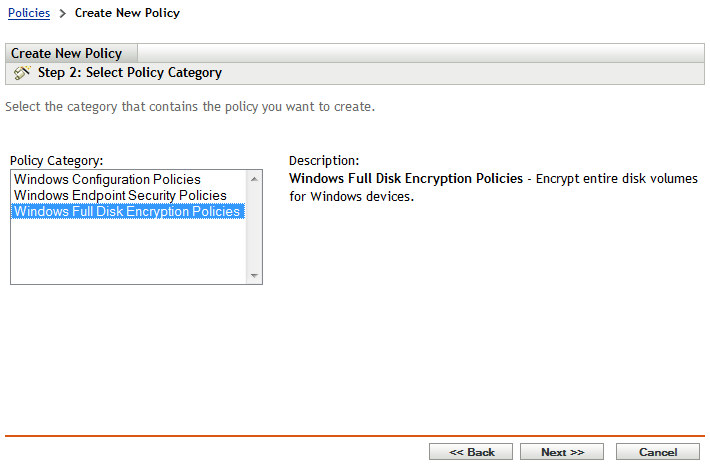
On the Select Policy Category page, select , then click .
-
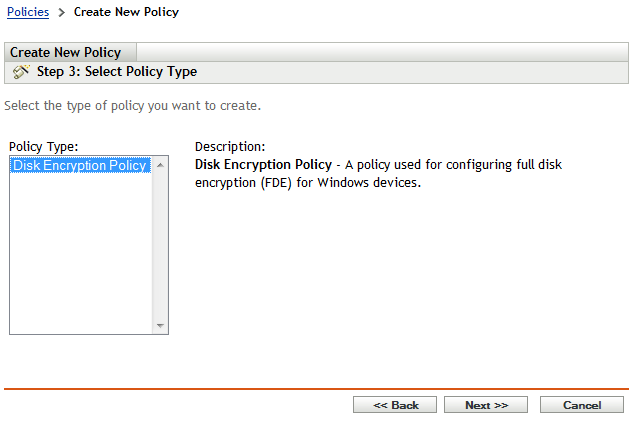
On the Select Policy Type page, select , then click .
-
On the Define Details page, enter a name for the policy and select the folder in which to place the policy.
The name must be unique among all other policies located in the selected folder.
-
Configure the policy specific settings, then click until you reach the Summary page.
For information about a policy’s settings, click > in ZENworks Control Center.
-
On the Summary page, review the information to make sure it is correct. If it is incorrect, click the button to revisit the appropriate wizard page and make changes. If it is correct, select either of the following options (if desired), then click .
-
Create as Sandbox: Select this option to create the policy as a sandbox version. The sandbox version is isolated from users and devices until you publish it. For example, you can assign it to users and devices, but it is applied only after you publish it.
-
Define Additional Properties: Select this option to display the policy’s property pages. These pages let you modify policy settings and assign the policy to users and devices.
-