6.2 Installing the Standalone Management Console
If you are not using the Management and Policy Distribution Services (see Section 2.1, Deployment Scenarios), you must install the standalone version of the Management Console. The standalone Management Console enables you to create security policies and manually distribute them to endpoint machines.
-
Make sure that the computer where you plan to install the Management Console has a supported SQL server installed. For information about supported SQL servers, see Section 2.2.5, SQL Server Requirements.
-
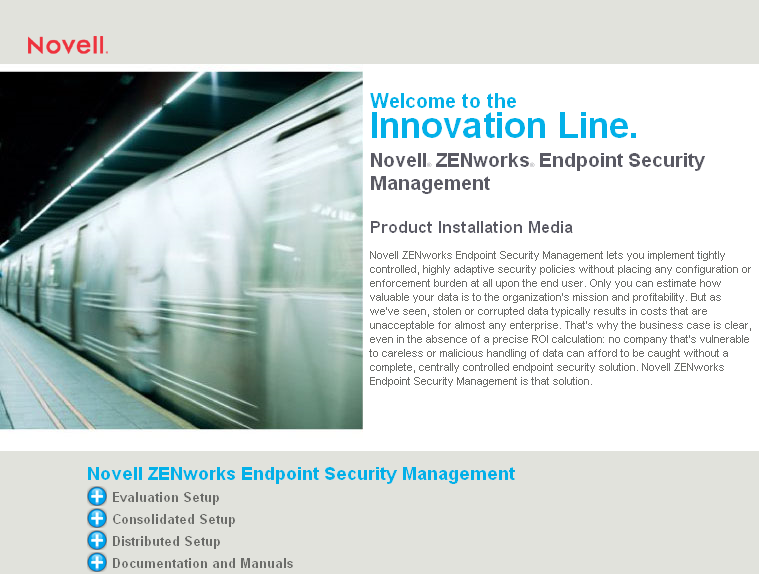
At the target computer, insert the ZENworks Endpoint Security Management disk to run the Master Installer.
The Master Installer is a set of browser-based screens that helps you launch the setup programs for the various ZENworks Endpoint Security Management components.
If the Master Installer does not auto-run, double-click default.htm on the root of the disk.
-
Click the language you want to use for the text displayed on the Master Installer pages.
-
Click .
-
Click to launch the Management Console installation program.
You can also launch the installation program directly from the installation media:
\Installs\SAMC\setup.exe
-
Select the display language for the installation program, then click .
-
If .NET 3.5 is not already installed on the server, you are prompted to install it. Follow the prompts to complete the .NET 3.5 installation.
-
Complete the installation, using information from the following table. Each row of the table corresponds to one of the installation program screens that requires input.
-
After the configuration is validated, click to close the validation dialog box.
-
Select the option, then click
You can also launch the Management Console by double-clicking the icon on the desktop or by selecting the menu > > > > .