11.2 Windows: Installing and Setting Up a Basic Vibe Site
You should already have reviewed Section 8.0, Planning a Basic (Single-server) Vibe Installation and filled out the Single-server Installation Planning Worksheet. The following sections step you through the process of installing and starting OpenText Vibe on Windows:
11.2.2 Running the Windows Vibe Installation Program
-
Log in to the Windows server as a user with Administrator rights.
-
In Windows Explorer, browse to the directory where you downloaded and extracted the Vibe software.
-
Ensure that there is a license-key.xml file in the directory.
The Vibe installation program does not start without a license file, and it has a different name when you download it.
For more information about licensing, see Section 13.0, Updating Your Vibe License.
-
Double-click the installer-teaming.exe file to start the Vibe installation program.
-
Accept the License Agreement, then click .

-
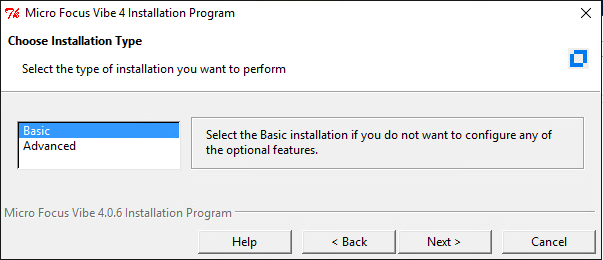
Click to accept the default of .
-
Click to accept the default of .
-
Use the information that you have gathered on the Single-server Installation Planning Worksheet to provide the information that the Vibe installation program prompts you for:
- Installation Locations
- Default Locale for OpenText Vibe
- Network Information
- WebDAV Authentication Method
- Database Selection
- Database Type
- JDBC URL
- Credentials
- Setup
- Encryption Algorithm
- Outbound Email Configuration
- Protocol
- Host, Port, and Time Zone
- User Name, Password, and Authentication
- Allow Sending Email to All Users
- Inbound Email Configuration
- Adding File Types for HTML Conversions
The installation program stores the information that it gathers in the installer.xml file in the same directory where you started the installation program.
-
After you have provided all the requested information, click to begin the Vibe installation.
-
When the installation is complete, click to exit the Vibe installation program.
Information about the installation process is written to the installer.log file in the same directory where you ran the Installation program. If a problem arises during the installation, the installer.log file provides information that can help you resolve the problem.
-
Continue with Creating the Vibe Database.