6.7 Activities
An activity is very similar to a command step, except that activities are reusable and cannot use input or output variables. The Activities pane shows a library of user-defined, reusable activities that can reduce the amount of configuration necessary when building templates.
Activities are exported or imported as XML files. These files can be exported or imported from one system to another.
Figure 6-3 Activity Pane

iTRAC activities can be used in iTRAC templates to define a workflow step, or they can be manually executed from within an incident. Sentinel provides three types of actions that can be used to build Activities:
6.7.1 Incident Command Activity
An incident command activity enables you to launch a specific command with or without arguments. The following fields from the incident associated with the workflow process can be used as input to the command:
-
DIP (Target IP)
-
DIP : Port
-
RT1 (DeviceAttackName)
-
SIP (Initiator IP)
-
SIP : Port
-
Text (incident information in name value pair format)
NOTE:The command must be stored in the <install_directory>\config\exec directory on the iTRAC workflow server, usually the same machine where the Data Access Server (DAS) is installed.
6.7.2 Incident Internal Activity
An incident internal activity enables you to mail or attach information from the Sentinel database to the incident associated with the workflow process. Each of these options has a prerequisite.
-
Vulnerability for the Initiator IP address (SIP) or the Target IP address (DIP): This requires that you run a vulnerability scanner and bring the results of the scan into Sentinel by using a Vulnerability (or “information”) Collector.
-
Advisor attack-related data: This requires the purchase and installation of the optional Advisor data subscription service.
-
Asset data This requires that you run an asset management tool such as NMAP and bring the results into Sentinel by using an Asset Collector.
To send mail messages from within the Sentinel Control Center, you must have an SMTP Integrator that is configured with connection information and with the SentinelDefaultEMailServer property set to true.
6.7.3 Eradication Activity
The eradication activity is used to run the arp command. The arp command displays and modifies the IP-to-Physical address translation tables used by the Address Resolution Protocol (ARP).
The arp -a command displays the current ARP entries by interrogating the current protocol data. If inet_addr option is specified, the IP and physical addresses for only the specified computer are displayed. If more than one network interface uses ARP, entries for each ARP table are displayed.
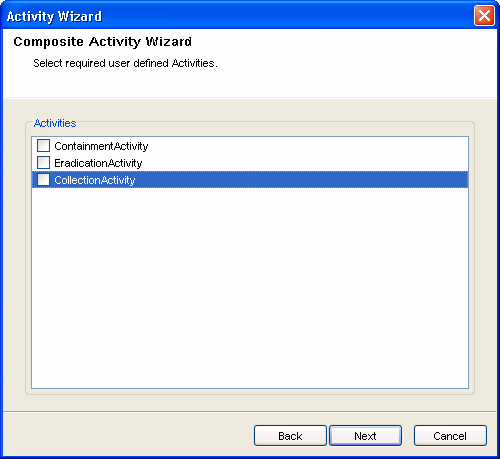
6.7.4 Incident Composite Activity
An incident composite activity enables combine one or more existing command and internal activities.
6.7.5 Creating iTRAC Activities
-
Click the tab.
-
In the Navigator, click or click the button in the Activity pane.
-
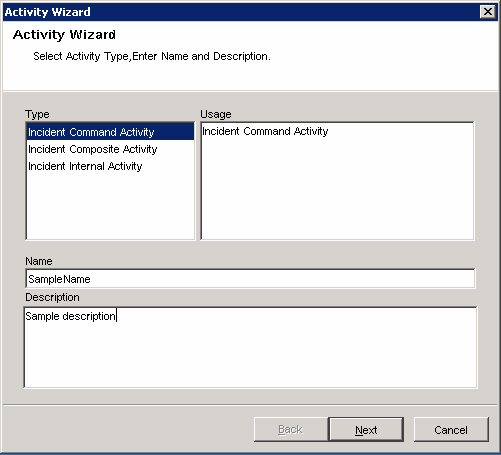
Select an existing activity and click the Add button. The Activity Wizard window displays.
-
Select an activity type: , , or .
-
Provide a name and description for this activity. Click .
-
(Conditional) If you selected an incident command activity, configure the settings:
-
In the Command Arguments Wizard, specify the command.
-
Provide the arguments for this command. You can select , (Values from the Drop-down list), or specify values.
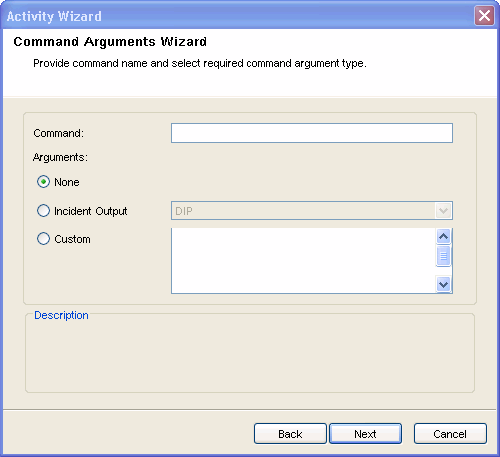
-
Click .
-
(Optional) Configure an incident command activity to e-mail the output to a specific address or attach the output to the incident associated with the workflow process in this window.
-
Select and specify the To and From e-mail address and subject.
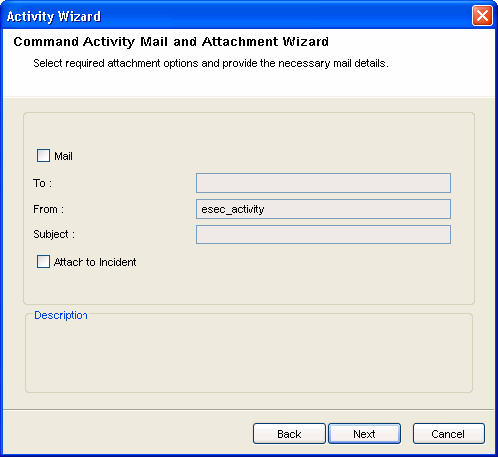
-
Select , if required.
-
Click .
-
View and confirm the details you chose in the Summary page and click Finish.
-
-
Conditional) If you selected an incident internal activity, configure the settings:
-
In the Command Arguments Wizard, specify the command.
-
Provide the arguments for this command. You can select , (Values from the Drop-down list), or specify values.
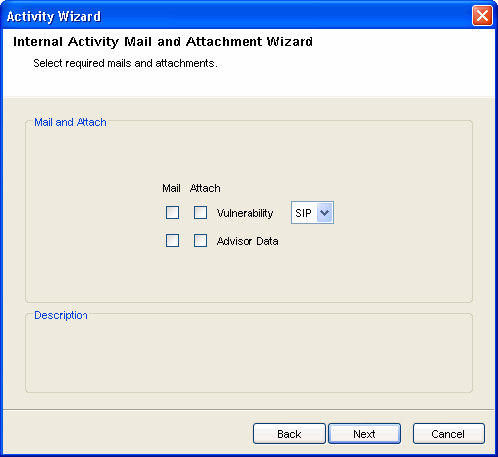
-
Click .
-
Select your options (Mail and attach).
-
If you select Mail, you are prompted to provide To and From e-mail address and subject. Provide this information and click .
View and confirm the details you chose in the Summary page and click .
-
-
Conditional) If you selected an incident composite activity, configure the settings:
-
Select the activities from the list of available activities and click .
-
View and confirm the details you chose in the Summary page and click .
-
6.7.6 Managing Activities
After creating an activity, you can modify, import or export it.
Modifying Activities
-
Click the tab.
-
In the Navigator, click .
-
Select activity that needs modification and click View/Edit. Edit Activity window displays.
-
Edit information in the , , and tabs.
-
Click .
Exporting Activities
-
Click the tab.
-
In the Navigator, click .
-
Click the icon. The Wizard window displays.
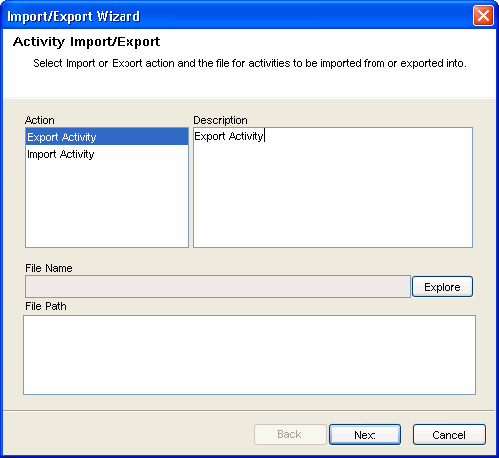
-
Select Export Activity and click .
-
Navigate to where you want save your exported file.
-
Click .
-
Select one or more activities to be exported.
-
Click Next, then click .
Importing Activities
-
Click the tab.
-
In the Navigator, click .
-
Click the
 icon. The Import/Export Wizard window displays.
-
Select Import Activity and click.
-
Navigate to your import file. Click .
-
Click .You see a list of activities that are imported.
-
Click , then click .