3.3 Editing Profiles
Novell AppArmor enables you to manually edit Novell AppArmor profiles by adding, editing, or deleting entries. To edit a profile, proceed as follows:
-
Start YaST and select .
-
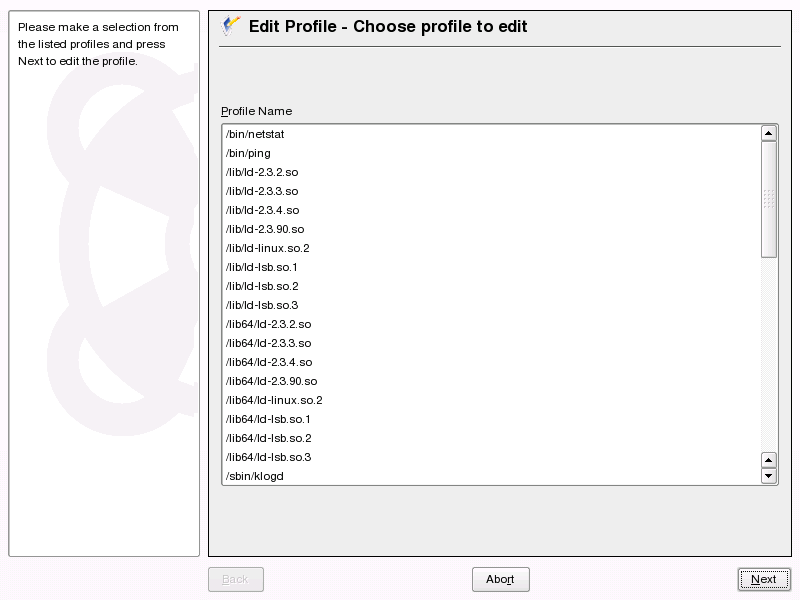
From the list of profiled applications, select the profile to edit.
-
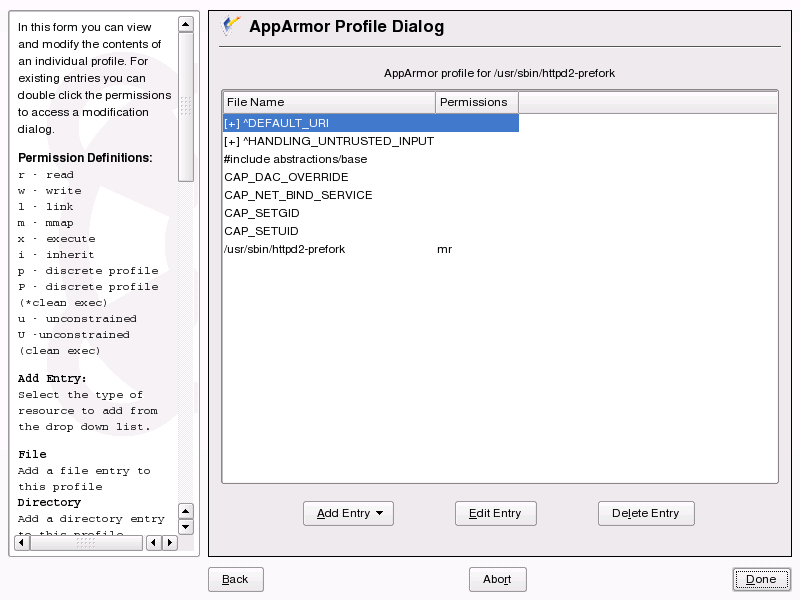
Click . The window displays the profile.
-
In the window, you can add, edit, or delete Novell AppArmor profile entries by clicking the corresponding buttons and referring to Adding an Entry, Editing an Entry, or Deleting an Entry.
-
When you are finished, click .
-
In the pop-up that appears, click to confirm your changes to the profile and reload the AppArmor profile set.
HINT: Syntax Checking in AppArmor
AppArmor contains a syntax check that will notify you of any syntax errors in profiles you are trying to process with the YaST AppArmor tools. Should an error occur, edit the respective profile manually as root and reload the profile set with the rcapparmor reload command.
3.3.1 Adding an Entry
The option can be found in Section 3.2, Manually Adding a Profile or Section 3.3, Editing Profiles. When you select , a drop-down list displays the types of entries you can add to the Novell AppArmor profile.
From the list, select one of the following:
- File
-
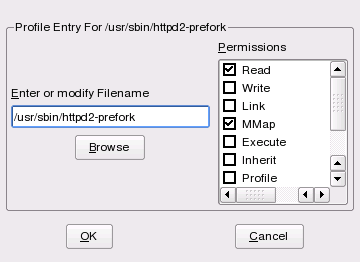
In the pop-up window, specify the absolute path of a file, including the type of access permitted. When finished, click .
You can use globbing if necessary. For globbing information, refer to Section 4.7, Pathnames and Globbing. For file access permission information, refer to Section 4.8, File Permission Access Modes.

- Directory
-
In the pop-up window, specify the absolute path of a directory, including the type of access permitted. You can use globbing if necessary. When finished, click .
For globbing information, refer to Section 4.7, Pathnames and Globbing. For file access permission information, refer to Section 4.8, File Permission Access Modes.
- Capability
-
In the pop-up window, select the appropriate capabilities. These are statements that enable each of the 32 POSIX.1e capabilities. Refer to Section 2.1, Breaking a Novell AppArmor Profile into Its Parts for more information about capabilities. When finished making your selections, click .

- Include
-
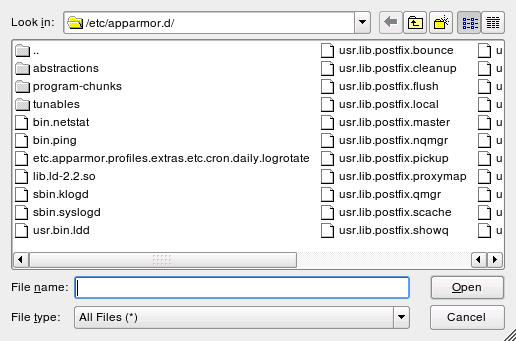
In the pop-up window, browse to the files to use as includes. Includes are directives that pull in components of other Novell AppArmor profiles to simplify profiles. For more information, refer to Section 2.2, #include Statements.
- Hat
-
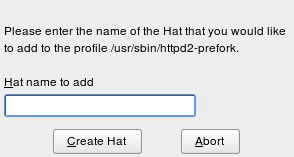
In the pop-up window, specify the name of the subprofile (hat) to add to your current profile and click . For more information, refer to Section 5.0, Profiling Your Web Applications Using ChangeHat.
3.3.2 Editing an Entry
When you select , the file browser pop-up window opens. From here, you can edit the selected entry.
In the pop-up window, specify the absolute path of a file, including the type of access permitted. You can use globbing if necessary. When finished, click .
For globbing information, refer to Section 4.7, Pathnames and Globbing. For file access permission information, refer to Section 4.8, File Permission Access Modes.
3.3.3 Deleting an Entry
To delete an entry in a given profile, select . Novell AppArmor removes the selected profile entry.