13.3 Adding Items in the Dataflow Editor
13.3.1 Adding an Identity Vault in the Dataflow Editor
Figure 13-17 The Dataflow Editor’s Toolbar
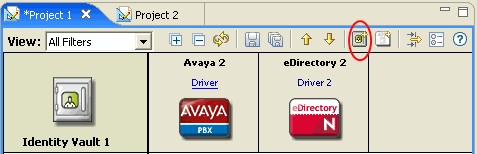
To add an Identity Vault, click the icon on the toolbar.
To configure the Identity Vault, double-click it.
To delete an Identity Vault, select it, then press Delete.
13.3.2 Adding a Driver in the Dataflow Editor
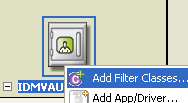
Figure 13-18 An Identity Vault in the Dataflow Editor
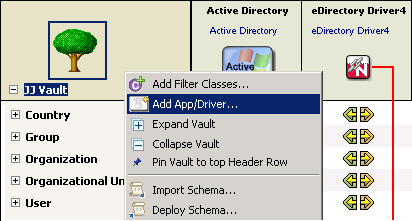
To add a driver while in the Dataflow editor, right-click an Identity Vault, then select .
To delete an Identity Vault or driver, select it, then press the Delete key.
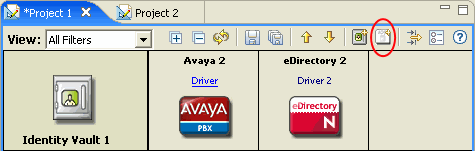
13.3.3 Adding an Application in the Dataflow Editor
-
On the toolbar, click the icon.
-
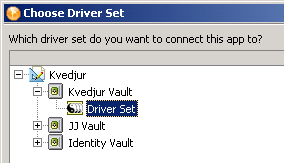
Browse to and select the driver set that you want this application to connect to, then click .
-
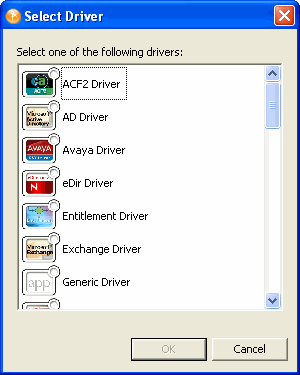
Select the driver you want to create, then click .
Designer creates a skeleton of the driver. It does not launch the Driver Configuration Wizard. If you want to configure the driver, right-click the connection icon in the Modeler, then select .
13.3.4 Adding Classes and Attributes
You can add classes and attributes to the dataflow.
To add a class:
-
Right-click an Identity Vault, then select .
-
Select the class that you want to add, then click .
If you want to add more than one class, press Ctrl and select the classes.
To add an attribute:
-
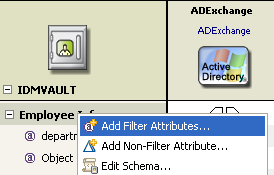
Right-click a class, then select .
-
Select the attribute that you want to add, then click .
If you want to add more than one attribute, press Ctrl and select the attributes.
13.3.5 Adding Non-Filter Attributes
The Dataflow editor provides non-filter attributes. By default, all classes and attributes in the Dataflow editor come directly from all of the filter policies of the drivers. However, in production environments, it is common to cause data to flow a certain way directly in your Policy Script code, XSLT, or in external code that you call out to.
Usually, these non-filter attributes aren’t defined in a policy filter (unless you’re describing “augmented” processing) and aren’t in the schema map. This is because they are generated outside of normal driver operations and you need them in the schema mapping rule only if the engine processes them.
Normally, non-filter attributes are operated on in the Publisher Command Transformation policy set or the Subscriber Output Transformation policy set.
The Dataflow editor lets you add the non-filter attributes to the table for documentation purposes so that you can capture the attributes and have an accurate picture of your actual enterprise dataflows.
To add a non-filter attribute:
-
Right-click the class or attribute name, then select .

-
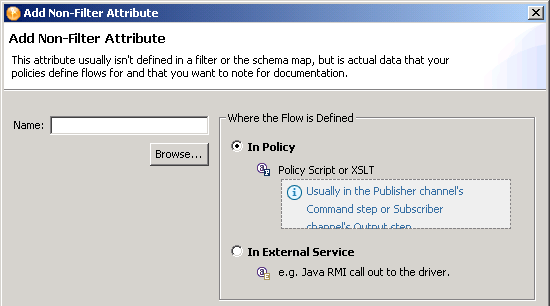
Specify the name of the attribute or class, or click , then browse to and select the attribute or class.
-
Click .
-
Select where the flow of the attribute or class is defined.
In Policy: The dataflow is defined in a policy script or an XSLT style sheet.
In External Service: The dataflow is defined in a Java* RMI call to the driver.
-
Click .
If the non-filter attribute is defined by a policy, a small P is added to the icon. This icon distinguishes a non-filter attribute from a regular filter attribute.
Figure 13-19 A Non-Filter Attribute

If the attribute is defined by an external service, a small E is added to the icon.
Figure 13-20 A Non-Filter External Attribute
